Love this? Save it for later!
Share the inspiration with your friends
“Are you sure this will even work?” I muttered under my breath, staring skeptically at the tiny bowl of dough that looked more like a sticky mess than bread. It was late on a weeknight, and honestly, I was just too tired to deal with a complicated baking project. But the craving for a crispy panini—the kind with that perfect crunch and soft, airy inside—was strong. So, with barely five ingredients in my kitchen, I gave it a shot.
The kitchen smelled faintly of yeast and warm dough within the hour. I slapped the dough onto a hot pan, pressing it down gently, and waited. A few minutes later, a golden crust crackled as I flipped it. That first bite? Honest-to-goodness magic. Crispy on the outside, tender on the inside, and so much better than store-bought panini bread.
Since that night, this easy crispy 5-ingredient panini bread recipe has become my go-to when I want a quick homemade sandwich base without fussing over fancy ingredients or long baking times. It’s straightforward, forgiving, and honestly, kind of fun to make. It’s the kind of recipe that feels like a little victory in a busy day—a reliable way to get that satisfying crunch and flavor without any stress.
What stuck with me was how simple this bread is, yet it delivers exactly what a panini bread should. No weird textures, no puzzling steps. Just real ingredients, a bit of patience, and a crispy crust that makes every sandwich feel special. If you’re like me, juggling a busy schedule but craving that fresh homemade touch, this recipe might just become your next kitchen win.
Why You’ll Love This Recipe
Honestly, I’ve tested a bunch of bread recipes, and this crispy panini bread stands out because it balances simplicity with real flavor and texture. Here’s why it’s become a staple in my kitchen:
- Quick & Easy: Takes about an hour from start to finish, including rising time, perfect for last-minute sandwich cravings or quick meal prep.
- Minimal Ingredients: Only five basics you probably already have on hand—flour, yeast, water, salt, and a touch of olive oil—no fancy or hard-to-find items needed.
- Perfect for Any Sandwich Occasion: Whether it’s a quick lunch, a cozy dinner, or a casual get-together, this bread supports all kinds of fillings and flavors.
- Crispy on the Outside, Soft on the Inside: The panini bread recipe nails that dream texture with a satisfyingly crunchy crust and a light, airy crumb inside.
- Reliable Results: A forgiving dough that’s great even for beginners—you won’t feel intimidated or overwhelmed.
- Flavor that Shines: Just a hint of yeast and olive oil, letting your sandwich fillings take center stage without being overpowered.
This isn’t just another panini bread recipe; it’s one that I’ve come back to time and again. The simple technique—cooked right on the pan—gives it a rustic charm and unbeatable crispness. Plus, it pairs incredibly well with any cheesy filling, like in my crispy ultimate BBQ chicken grilled cheese sandwich, making sandwiches feel like a treat, not just a meal.
What Ingredients You Will Need
This easy crispy panini bread recipe calls for simple pantry staples that come together to create a bread that’s both crunchy and tender. Here’s a quick look at what you’ll need and why:
- All-Purpose Flour – About 2 cups (240 grams). This is the base that gives structure. I prefer using unbleached flour like King Arthur for a slightly better texture.
- Active Dry Yeast – 1 teaspoon. The magic behind the rise and that subtle fermented flavor. Make sure it’s fresh and not expired for best results.
- Warm Water – 3/4 cup (180 ml), around 105°F (40°C). Helps activate the yeast and brings the dough together.
- Salt – 1 teaspoon. Essential for flavor balance and controls yeast activity.
- Olive Oil – 1 tablespoon. Adds a touch of richness and helps create that beautifully crisp crust.
You don’t need any fancy additions here—just these five ingredients deliver a straightforward, no-fuss bread. If you want to experiment, swapping olive oil with melted butter creates a slightly different flavor profile. For gluten-free folks, I’ve tinkered with almond or oat flour blends, but the texture changes quite a bit.
Feel free to add a sprinkle of herbs or garlic powder for a twist, but honestly, the simplicity is what makes this bread shine with any filling. And if you’re interested in making a quick sauce or spread to pair with this bread, my creamy pesto gnocchi recipe has some great ideas for fresh herbs and garlic combinations.
Equipment Needed
Since this recipe is designed to be easy and quick, the equipment list is short and budget-friendly:
- Mixing Bowl: A medium-sized bowl to combine ingredients and let the dough rise comfortably.
- Wooden Spoon or Dough Scraper: For mixing and folding the dough. I find a dough scraper helpful, but a sturdy spoon works fine.
- Cast Iron Skillet or Heavy-Bottomed Pan: This is key for getting that crispy exterior. If you don’t have cast iron, a non-stick pan or stainless steel skillet will work too.
- Kitchen Towel or Plastic Wrap: To cover the dough while it rises and keep it from drying out.
- Measuring Cups and Spoons: For accuracy, especially with yeast and salt.
If you’re a fan of gadgets, a stand mixer with a dough hook can speed up mixing, but honestly, this dough is so simple it barely needs it. Keeping your skillet well-seasoned or using a light coat of oil before cooking helps prevent sticking and builds flavor over time.
Preparation Method
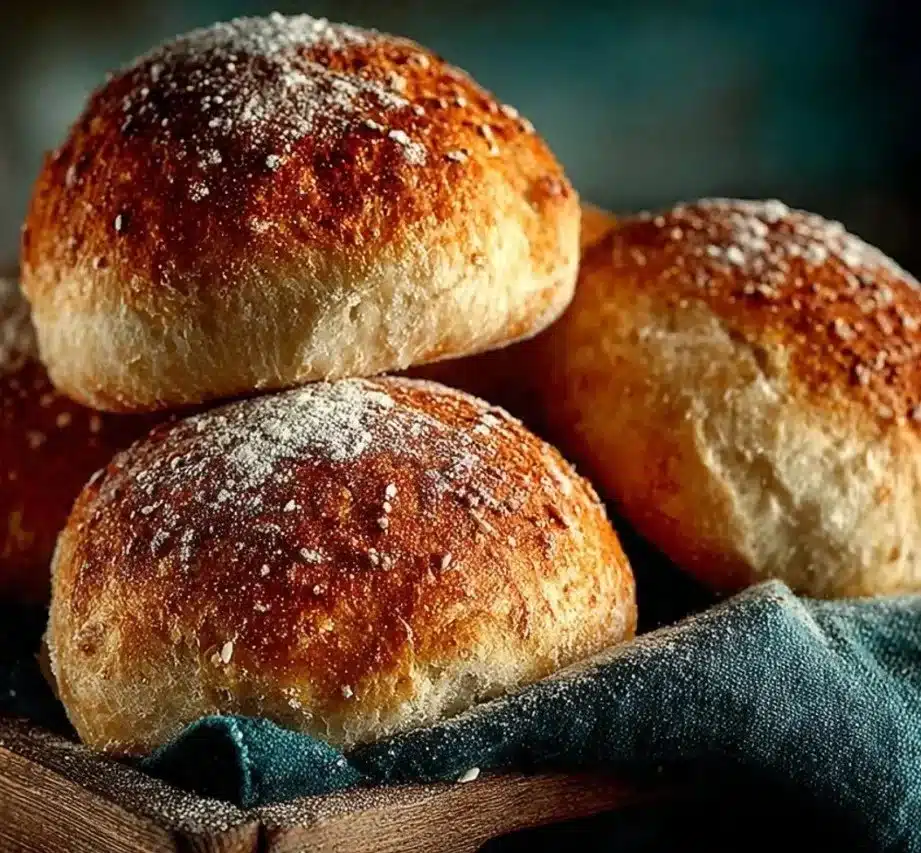
- Activate the Yeast (5-10 minutes): In your mixing bowl, combine 3/4 cup (180 ml) warm water with 1 teaspoon active dry yeast. Stir gently and let it sit until it’s frothy and bubbly on top. This tells you the yeast is alive and ready to work.
- Mix the Dough (5 minutes): Add 2 cups (240 grams) all-purpose flour and 1 teaspoon salt to the yeast mixture. Pour in 1 tablespoon olive oil. Using a wooden spoon or your hands, mix until a sticky dough forms. It’s okay if it feels a bit wet; that’s what keeps it tender inside.
- First Rise (45 minutes): Cover the bowl with a kitchen towel or plastic wrap. Let the dough rise in a warm spot until it roughly doubles in size. If your kitchen is cold, I place the bowl near the stove or on top of the fridge. Don’t rush this step; it’s key for flavor and texture.
- Shape the Dough (5 minutes): Lightly flour your work surface. Turn the dough out and gently shape it into a rough oval or rectangle—perfect for panini size. Don’t overwork it; keep it loose and airy.
- Preheat the Pan (5 minutes): Heat your cast iron skillet or heavy pan over medium heat. You want it hot but not smoking. Brush the pan lightly with olive oil to prevent sticking.
- Cook the Bread (6-8 minutes per side): Place the shaped dough in the skillet. Press down gently with a spatula or a heavy pan lid for even contact. Cook until the bottom is golden brown and crispy—about 6-8 minutes. Flip carefully and cook the other side until equally golden and the bread sounds hollow when tapped.
- Cool and Serve (10 minutes): Transfer the bread to a wire rack or plate. Let it cool slightly so the crumb sets but still warm enough to enjoy that fresh-baked softness inside. This is your perfect panini bread base!
One tip I learned: if the bread browns too quickly but is still doughy inside, lower the heat and cover the pan with a lid for the last few minutes. This traps steam and helps cook it through without burning the crust.
Cooking Tips & Techniques
Making crispy panini bread at home can feel intimidating, but here are some tips I picked up that make it way easier:
- Water Temperature Matters: Too hot and you kill the yeast, too cold and it won’t activate. Aim for warm water around 105°F (40°C). I use a kitchen thermometer, but if you don’t have one, warm to the touch like a cozy bath.
- Don’t Over-Knead: This dough is meant to be sticky and loose. Overworking it can lead to a tough crust. Gentle folding and shaping keep it light.
- Give It Time to Rise: Yeast needs patience. If your kitchen feels chilly, place the dough somewhere warm or turn on the oven light for a cozy spot.
- Press While Cooking: Lightly pressing the dough with a spatula or pan lid helps develop that signature crispy panini crust.
- Adjust Heat as Needed: Cast iron retains heat well. Start medium, then lower if it’s browning too fast before the inside cooks.
- Personal Fails: I once rushed the rise, and the bread was dense and lacked flavor. Lesson learned: patience is part of the recipe.
Also, multitasking helps—while the dough rises, you can prep fillings or sauces. This timing makes putting together a sandwich feel smooth and satisfying.
Variations & Adaptations
This easy crispy panini bread recipe is a great base for experimenting. Here are a few ways to switch it up:
- Herb-Infused: Add 1 teaspoon dried Italian herbs or fresh chopped rosemary into the dough for an aromatic twist. It pairs beautifully with savory fillings.
- Garlic Butter Crust: Brush the bread with melted garlic butter right after cooking for extra flavor and a glossy finish.
- Gluten-Free Option: Substitute the flour with a gluten-free blend, but expect a slightly different texture. Adding a teaspoon of xanthan gum can help mimic elasticity.
- Whole Wheat Version: Swap half the all-purpose flour with whole wheat for a nuttier, heartier flavor. You might need a touch more water.
- Cooking Methods: If you don’t have a skillet, baking the dough on a parchment-lined sheet at 425°F (220°C) for 15-20 minutes works well, just less crispy on the bottom.
One of my favorite tweaks is adding a bit of sun-dried tomato paste into the dough for a subtle tang, which makes for a standout sandwich base when paired with fresh mozzarella. And if you want a cheesy panini, check out the technique in my BBQ chicken grilled cheese sandwich recipe for inspiration.
Serving & Storage Suggestions
This crispy panini bread tastes best warm, fresh from the pan, when the crust crackles under your fingers and the crumb is soft. Serve it with your favorite fillings—roast veggies, melted cheese, or smoky meats all work wonders.
For storage, wrap cooled bread tightly in foil or place it in an airtight container. It keeps well at room temperature for 1-2 days. For longer storage, pop it in the fridge for up to 4 days or freeze it wrapped in plastic and foil for up to 3 months.
To reheat, toast slices in a skillet over medium heat or use a toaster oven to bring back that crispness. Avoid microwaving unless you want a chewy crust—trust me, it’s no fun.
Flavors tend to deepen after resting a bit, so if you’re prepping ahead, letting the bread sit wrapped overnight can make it even tastier. Pair it with fresh salads or light soups, or make your meal feel extra special by combining it with a vibrant side like the avocado caprese salad.
Nutritional Information & Benefits
This panini bread recipe is a simple, wholesome option with approximately 150 calories per serving slice (about 1/6 of the dough), primarily from carbohydrates and a small amount of healthy fat from olive oil.
Key benefits include:
- Low Ingredient Count: Minimal additives and preservatives make it a cleaner choice than many store-bought breads.
- Olive Oil: Adds heart-healthy monounsaturated fats and a light antioxidant boost.
- Customizable: You can make it whole wheat or gluten-free to suit dietary needs.
- Free from Added Sugar: Perfect for those watching sugar intake while still enjoying fresh bread.
While it contains gluten, this bread is free from dairy and eggs, making it suitable for many common dietary restrictions. From a wellness perspective, homemade bread like this lets you control what goes in, avoiding unnecessary chemicals and additives found in many commercial breads.
Conclusion
Making crispy panini bread from scratch with just five ingredients feels like a little kitchen triumph every time. It’s a recipe that doesn’t ask for much—just a bit of time and simple ingredients—and rewards you with bread that’s crunchy, tender, and utterly satisfying.
What I love most is how easily it adapts to different flavors and meals, whether you’re stuffing it with cheese and grilled chicken or layering fresh veggies. It’s a humble recipe that turns everyday sandwiches into something memorable.
Give this easy crispy 5-ingredient panini bread recipe a try and see how it changes your sandwich game. And if you experiment with it, I’d love to hear how you made it your own—leave a comment or share your twist. Here’s to more delicious, no-fuss homemade bread moments!
Frequently Asked Questions
Can I use instant yeast instead of active dry yeast?
Yes, you can swap instant yeast for active dry yeast. Use about 25% less instant yeast and mix it directly with the flour, skipping the activation step.
How do I know when the bread is fully cooked?
The bread should be golden brown on both sides and sound hollow when tapped. If it browns too fast but feels doughy inside, lower the heat and cover the pan for a few minutes.
Can I make the dough ahead of time?
Absolutely! You can prepare the dough and refrigerate it covered overnight. Just bring it back to room temperature before shaping and cooking.
Is this bread suitable for sandwiches other than paninis?
Definitely. The bread has a versatile texture and flavor that works well for any sandwich or even as a side with soups and salads.
What if I don’t have a cast iron skillet?
A heavy-bottomed non-stick or stainless steel pan works fine. The key is even heat distribution to get that crispy crust.
Pin This Recipe!
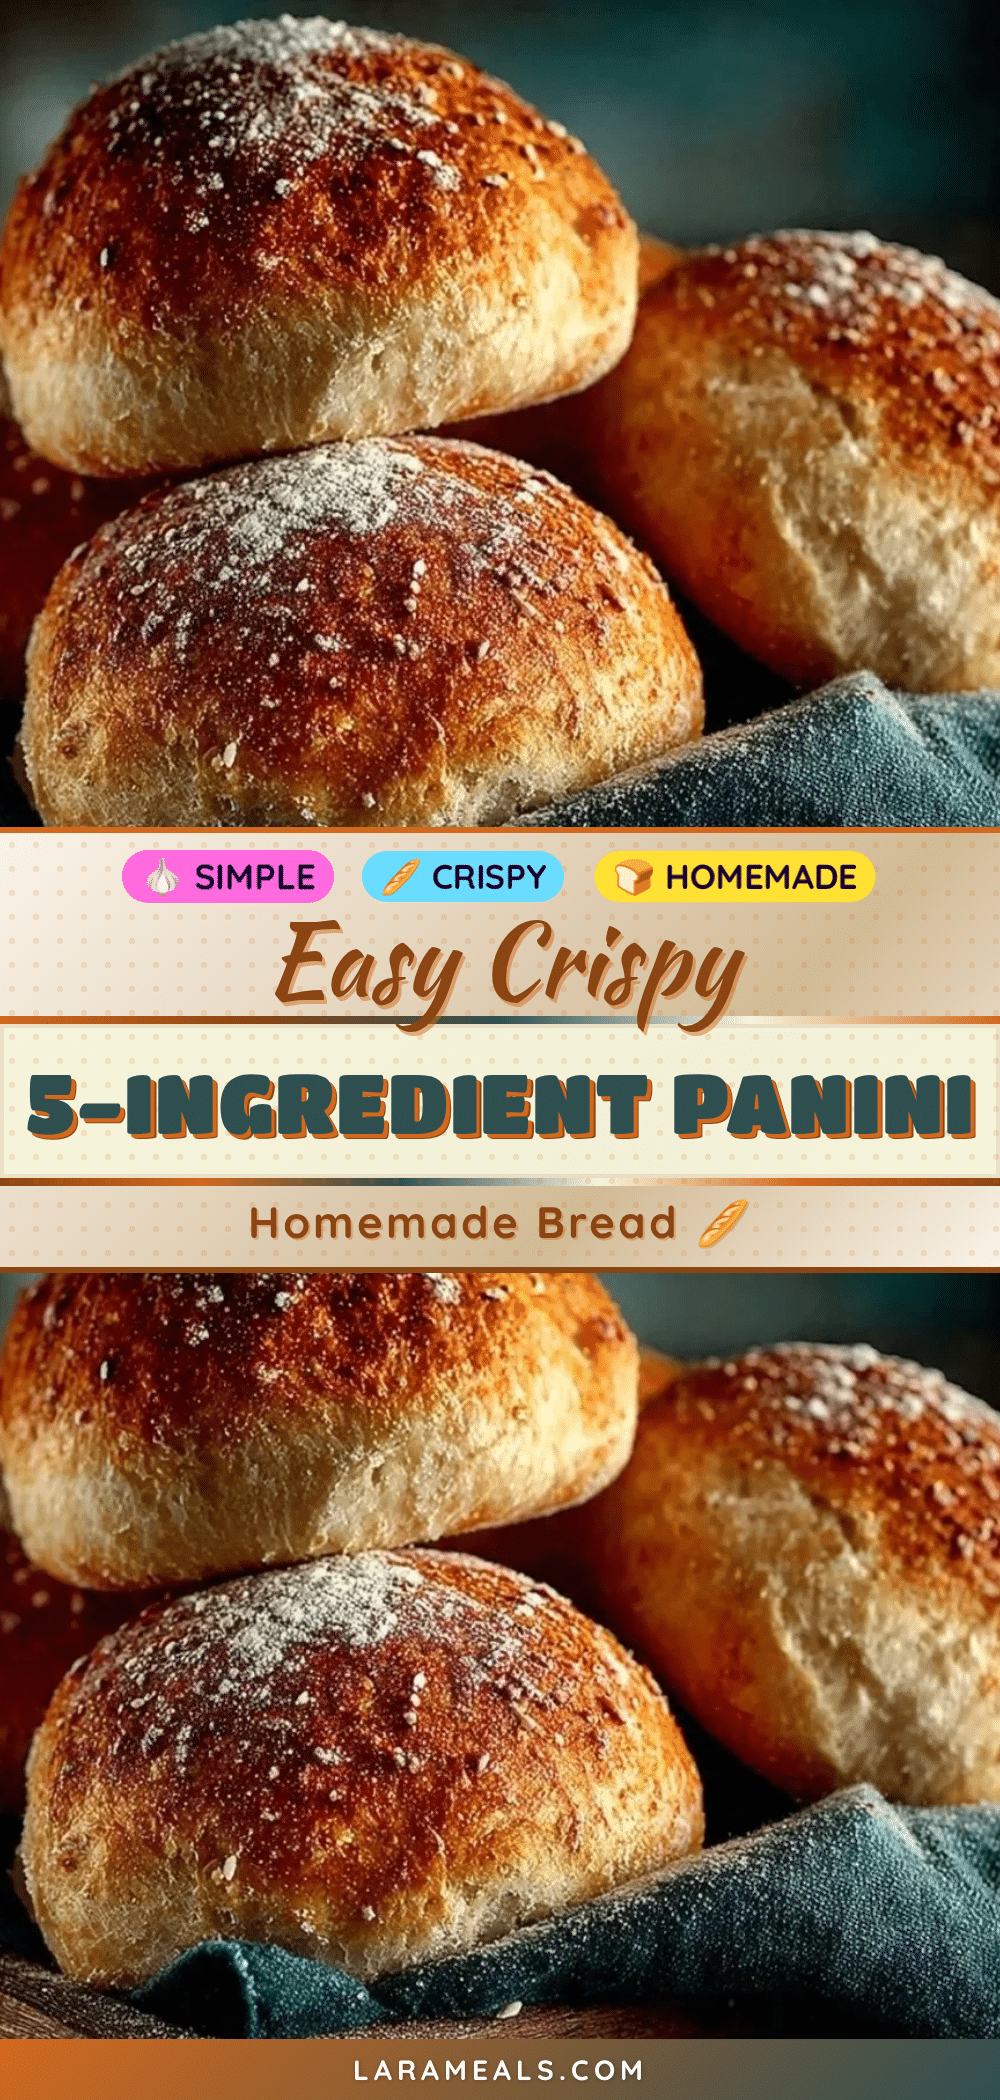
Easy Crispy Panini Bread Recipe 5 Ingredients Perfect Homemade Panini

A quick and easy panini bread recipe using just five basic ingredients that yields a crispy crust and soft, airy inside, perfect for homemade sandwiches.
- Prep Time: 15 minutes
- Cook Time: 15 minutes
- Total Time: 1 hour
- Yield: 6 servings 1x
- Category: Bread
- Cuisine: Italian-inspired
Ingredients
- 2 cups (240 grams) all-purpose flour
- 1 teaspoon active dry yeast
- 3/4 cup (180 ml) warm water (around 105°F / 40°C)
- 1 teaspoon salt
- 1 tablespoon olive oil
Instructions
- Activate the yeast: In a mixing bowl, combine 3/4 cup warm water with 1 teaspoon active dry yeast. Stir gently and let it sit until frothy and bubbly (5-10 minutes).
- Mix the dough: Add 2 cups all-purpose flour and 1 teaspoon salt to the yeast mixture. Pour in 1 tablespoon olive oil. Mix until a sticky dough forms (about 5 minutes).
- First rise: Cover the bowl with a kitchen towel or plastic wrap. Let the dough rise in a warm spot until roughly doubled in size (about 45 minutes).
- Shape the dough: Lightly flour your work surface. Turn the dough out and gently shape it into a rough oval or rectangle (about 5 minutes).
- Preheat the pan: Heat a cast iron skillet or heavy-bottomed pan over medium heat. Brush lightly with olive oil (about 5 minutes).
- Cook the bread: Place the shaped dough in the skillet. Press down gently with a spatula or heavy pan lid. Cook until golden brown and crispy on the bottom, about 6-8 minutes. Flip and cook the other side until golden and hollow sounding when tapped.
- Cool and serve: Transfer bread to a wire rack or plate. Let cool slightly before serving (about 10 minutes).
Notes
If the bread browns too quickly but is doughy inside, lower the heat and cover the pan for a few minutes to trap steam and cook through. Use warm water around 105°F to activate yeast properly. Avoid over-kneading; dough should be sticky and loose. Dough can be refrigerated overnight and brought to room temperature before cooking.
Nutrition
- Serving Size: 1 slice (1/6 of the
- Calories: 150
- Sodium: 200
- Fat: 4
- Saturated Fat: 0.5
- Carbohydrates: 26
- Fiber: 1
- Protein: 4
Keywords: panini bread, crispy bread, homemade bread, easy bread recipe, 5 ingredient bread, quick bread, sandwich bread


