Love this? Save it for later!
Share the inspiration with your friends
The fish was still sitting in my fridge, and it was already 5:45 PM. I had about twenty minutes before my husband walked through the door after a week of travel, and I knew he’d be starving. Not the “I’ll grab a snack” kind of hungry—the kind where you just want a real meal, fast, and preferably something that doesn’t taste like you rushed it. I’d picked up a beautiful halibut fillet at the market over the weekend with grand plans for a slow-roasted dinner with herbs and lemon. Yeah, that wasn’t happening.
I stood there staring into the open fridge, and my eyes landed on the block of Parmesan. Then the garlic on the counter. And I had this flash of a crispy, golden crust I’d done on chicken once—panko, garlic, cheese, a little butter. Why not fish? Honestly, I’d never tried a crust on halibut before. It felt risky. Halibut is expensive, and I didn’t want to ruin it. But desperation is a powerful motivator. I grabbed the panko, grated the Parmesan, minced three cloves of garlic, and decided to just go for it. Fifteen minutes later, that crispy garlic parmesan crusted halibut was sizzling in the pan, and the smell alone told me I’d stumbled onto something good.
He took one bite, closed his eyes, and said, “This is the best fish you’ve ever made.” I didn’t tell him it was a panic dinner. I let him think I’d planned it all along. But now I’m sharing it with you, because honestly, this is the kind of recipe that makes you look like a hero with zero effort. It’s fast, it’s ridiculously flavorful, and it turns a simple weeknight into something that feels a little special.
Why You’ll Love This Recipe
This isn’t just another fish recipe. It’s the one that will make you actually crave cooking fish at home. Here’s why I keep coming back to it:
- Blazing Fast: From fridge to plate in 15 minutes flat. No marinating, no complicated steps, no standing over the stove forever. It’s perfect for those nights when you need dinner on the table before you lose your mind.
- Pantry-Friendly Ingredients: You probably already have panko breadcrumbs, Parmesan, garlic, and butter in your kitchen. The halibut is the only thing you need to buy fresh, and it’s worth every penny.
- Restaurant-Quality Results at Home: That golden, crunchy crust with the tender, flaky fish underneath? It tastes like something you’d pay thirty dollars for at a nice seafood spot. But you made it in your own kitchen in a fraction of the time.
- Foolproof for Beginners: If you’re nervous about cooking fish, this is the recipe to start with. The crust acts like a protective layer, keeping the halibut moist and perfectly cooked even if you’re not a pro.
- Crowd-Pleasing Appeal: Even people who “don’t really like fish” have asked for seconds of this one. The garlic and Parmesan are familiar, comforting flavors that make the halibut approachable and delicious.
What sets this recipe apart from other fish dishes is the texture contrast. That shatteringly crisp crust gives way to buttery, delicate halibut that practically melts in your mouth. It’s not just a coating—it’s a flavor bomb that complements the mild sweetness of the fish without overpowering it. I’ve tested this with different fish, different breadcrumb ratios, and different cooking times, and this version is the sweet spot. It’s the kind of meal that makes you feel like you’ve got your life together, even if you’re just barely hanging on.
What Ingredients You Will Need
This recipe relies on simple, high-quality ingredients that work together to create something greater than the sum of their parts. Every component has a job to do, and none of them are fussy or hard to find.
- Halibut Fillets (1 to 1.5 lbs): Look for fresh fillets that are firm to the touch and have a mild, ocean-fresh smell. I prefer center-cut fillets because they’re evenly thick and cook more consistently. If you can’t find halibut, you can substitute cod, haddock, or even a thick white fish like sea bass. Just make sure the fillets are about 1 to 1.5 inches thick for the best results.
- Panko Breadcrumbs (1/2 cup): These are non-negotiable for that ultra-crispy texture. Regular breadcrumbs will give you a denser, less crunchy crust. Panko stays light and airy, which is exactly what you want here. I prefer the brand Kikkoman for consistent quality, but any brand works.
- Freshly Grated Parmesan Cheese (1/3 cup): Please, I’m begging you—grate it yourself. The pre-shredded stuff in the green can has anti-caking agents that prevent it from melting properly and blending into the crust. A block of good Parmesan grated on a microplane or box grater makes a huge difference in both flavor and texture.
- Garlic (3 cloves, minced): Fresh garlic is essential here. The jarred stuff has a different flavor that’s more pungent and less sweet. Take the extra 30 seconds to mince three fresh cloves. Your taste buds will thank you.
- Unsalted Butter (3 tablespoons, melted): Butter is the glue that holds the crust together and adds rich flavor. I use unsalted so I can control the salt level. If you only have salted butter, just reduce the added salt in the recipe slightly.
- Olive Oil (1 tablespoon): A little olive oil in the pan helps the butter brown without burning. It raises the smoke point and adds a subtle fruity note to the crust.
- Salt and Black Pepper: Simple seasoning is all you need. The Parmesan and garlic bring plenty of savory depth. I use about 1/2 teaspoon of salt and 1/4 teaspoon of pepper for the whole batch.
- Fresh Lemon (for serving): A squeeze of bright lemon juice right before serving cuts through the richness and makes everything pop. Don’t skip this—it’s a small step that makes a big difference.
- Fresh Parsley (optional, for garnish): A sprinkle of chopped parsley adds color and a fresh, herbaceous note. Totally optional, but it makes the dish look prettier.
One thing I’ve learned over the years: don’t overthink the ingredients. Keep them simple and let the quality shine. If you’re looking for a gluten-free option, you can use gluten-free panko—it works beautifully and still gets nice and crispy.
Equipment Needed
You don’t need a fancy kitchen to pull this off. Here’s what you’ll need:
- Large Non-Stick Skillet: A 10- or 12-inch non-stick skillet is ideal for getting that golden crust without the fish sticking to the pan. If you don’t have non-stick, a well-seasoned cast iron skillet works too—just make sure it’s hot and well-oiled.
- Fish Spatula: This thin, slotted spatula is perfect for flipping delicate fish fillets without breaking them. A regular spatula can work, but you’ll need to be extra gentle.
- Shallow Dish for Coating: A pie plate or a wide, shallow bowl works perfectly for mixing the crust ingredients and pressing the fillets into the mixture.
- Microplane or Box Grater: For grating that Parmesan into fine, fluffy shreds. A microplane is my go-to because it’s fast and easy to clean.
- Paper Towels: Patting the halibut dry before coating is crucial. Wet fish won’t hold the crust well, and it’ll steam instead of sear.
- Instant-Read Thermometer (optional but helpful): Halibut is perfectly cooked at 130-135°F. If you’re nervous about overcooking, a thermometer takes the guesswork out.
I’ve made this recipe with a cheap non-stick pan from the grocery store and a high-end All-Clad skillet, and honestly? It turned out great both times. Use what you have. The technique matters more than the tools.
Preparation Method
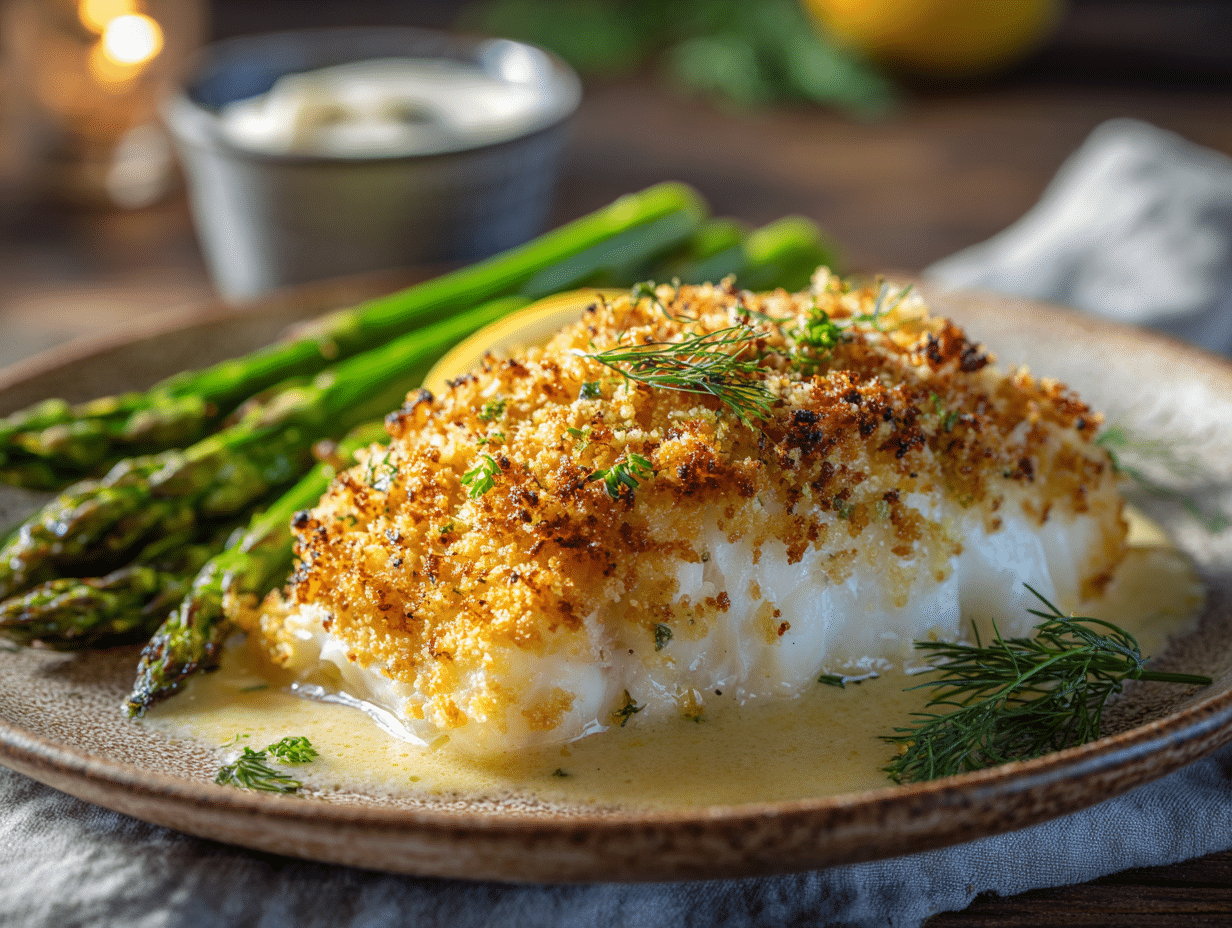
Let’s get cooking. This whole process takes about 15 minutes from start to finish, so I recommend reading through the steps once before you start. Trust me, it’s easy.
- Prep the Halibut: Start by patting your halibut fillets completely dry with paper towels. This is a critical step—moisture is the enemy of a crispy crust. If the fish is wet, the crust will slide right off. Season both sides generously with salt and black pepper. Set aside while you prepare the crust mixture.
- Make the Crust Mixture: In a shallow dish, combine the panko breadcrumbs, freshly grated Parmesan cheese, and minced garlic. Use a fork to mix everything together until the garlic is evenly distributed throughout the breadcrumbs. The mixture should look like coarse, crumbly sand. Drizzle the melted butter over the top and stir again until all the breadcrumbs are evenly moistened. The mixture should clump together slightly when pressed.
- Coat the Fillets: Take one seasoned halibut fillet and press it firmly into the crust mixture, coating one side generously. Flip it over and press the other side into the mixture. Use your fingers to pat any extra crust onto the sides of the fillet. Don’t be shy—you want a thick, even coating. Repeat with the remaining fillets. The crust should stick nicely to the fish; if it feels loose, press a little harder.
- Heat the Pan: Place your large non-stick skillet over medium-high heat and add the olive oil. Let the oil heat up for about 1 minute until it shimmers. You want the pan hot enough that the crust starts sizzling immediately when the fish hits the surface, but not so hot that the butter in the crust burns.
- Sear the First Side: Carefully place the coated fillets crust-side down into the hot pan. You should hear a satisfying sizzle. Let them cook undisturbed for 3-4 minutes. Do not move the fish around—let that crust develop and turn golden brown. You’ll know it’s ready to flip when the edges look golden and the crust releases easily from the pan.
- Flip and Finish Cooking: Using your fish spatula, gently flip each fillet. The crust should be beautifully golden and crispy. Cook for another 2-3 minutes on the second side. The total cook time depends on the thickness of your fillets. For 1-inch thick fillets, 6-7 minutes total is usually perfect. The fish is done when it flakes easily with a fork and the internal temperature reaches 130-135°F.
- Rest and Serve: Transfer the cooked fillets to a plate or serving platter. Let them rest for 1-2 minutes—this allows the juices to redistribute and keeps the fish moist. Squeeze fresh lemon juice over the top and sprinkle with chopped parsley if you’re using it. Serve immediately while the crust is still shatteringly crisp.
A quick note on timing: if your fillets are thicker than 1.5 inches, you might need an extra minute or two on the second side. Keep an eye on the crust—if it starts browning too quickly, reduce the heat slightly. I’ve definitely burned a batch by walking away for “just a second.” Stay close to the stove for these 15 minutes. It’s worth it.
Cooking Tips & Techniques
After making this recipe more times than I can count, I’ve picked up a few tricks that make a real difference. Here’s what I’ve learned the hard way so you don’t have to.
Don’t Skip the Drying Step: I cannot stress this enough. Wet fish is the number one reason the crust falls off. Take the extra 30 seconds to really pat those fillets dry with paper towels. If they still feel damp, grab another towel and keep going. A dry surface means the crust adheres properly and gets that beautiful golden color.
Fresh Garlic vs. Garlic Powder: I’ve tried this recipe with garlic powder several times, and it just doesn’t hit the same. Fresh garlic brings a pungent, aromatic quality that infuses the crust as it cooks. Garlic powder can taste a bit flat and dusty in comparison. If you’re in a pinch, use 1/2 teaspoon of garlic powder, but fresh is really the way to go.
Don’t Overcrowd the Pan: If you’re cooking more than two fillets, work in batches. Crowding the pan lowers the temperature and causes the fish to steam instead of sear. You want each fillet to have enough space for the heat to circulate and the crust to crisp up. Keep the first batch warm in a 200°F oven while you cook the rest.
The Butter Balance: I’ve made the mistake of adding too much butter to the crust mixture, and it turned into a greasy mess. The 3 tablespoons I recommend here is the sweet spot—enough to bind the breadcrumbs and add richness, but not so much that the crust becomes soggy. If your mixture looks overly wet, add an extra tablespoon of panko to balance it out.
Patience is a Virtue: When you flip the fish, resist the urge to check it every 30 seconds. Let it cook undisturbed for the full 2-3 minutes on the second side. Moving it around too early can cause the crust to break apart. Trust the process, and you’ll be rewarded with a perfectly intact, crispy coating.
I once tried to rush this recipe by using a hotter pan and cooking the fish faster. The crust burned on the outside while the inside was still raw. Lesson learned: medium-high heat is your friend. High heat is the enemy. Keep it moderate and let the crust develop slowly for the best results.
Variations & Adaptations
One of the best things about this recipe is how flexible it is. Here are some of my favorite ways to switch it up:
- Lemon-Herb Version: Add 1 tablespoon of finely chopped fresh herbs (parsley, dill, or chives work beautifully) and 1 teaspoon of lemon zest to the crust mixture. The herbs add freshness, and the lemon zest brightens the whole dish. This is my go-to for spring and summer dinners.
- Spicy Cajun Twist: Mix 1 teaspoon of Cajun seasoning or smoked paprika into the panko-Parmesan mixture. The smoky, spicy notes pair amazingly with the mild halibut. Serve it with a side of creamy coleslaw or a simple green salad to balance the heat.
- Gluten-Free Adaptation: Substitute the regular panko with gluten-free panko breadcrumbs. They crisp up just as nicely and have a very similar texture. I’ve tested this with several brands, and Ian’s and Aleia’s both work great. The rest of the ingredients are naturally gluten-free.
- Dairy-Free Option: Use nutritional yeast instead of Parmesan and a dairy-free butter alternative (like Miyoko’s or Earth Balance). The flavor will be slightly different—more nutty and savory—but still delicious. I’ve made this for friends with dairy sensitivities, and it was a hit.
- Different Fish: This crust works beautifully on other white fish like cod, haddock, tilapia, or even salmon fillets. For salmon, reduce the cooking time slightly since it’s a richer, fattier fish. The crust adds a lovely textural contrast to the silky salmon.
I personally love the lemon-herb variation during the warmer months. It feels lighter and more vibrant, and it pairs perfectly with a fresh side like a fresh light avocado caprese salad. The creamy avocado and tangy balsamic are a dream with the crispy fish.
Serving & Storage Suggestions
This crispy garlic parmesan crusted halibut is best served immediately while the crust is still crunchy. But here’s how to make the most of it from start to finish.
Serving Temperature and Presentation: Serve the fish hot off the skillet. Arrange the fillets on a warm platter and garnish with fresh lemon wedges and a sprinkle of chopped parsley. For a beautiful presentation, place the fish on a bed of sautéed spinach or a light arugula salad. The peppery greens contrast nicely with the rich, savory crust.
What to Serve With It: This fish is incredibly versatile. I love pairing it with creamy shrimp and grits with zesty corn salsa for a Southern-inspired feast. Or keep it simple with roasted asparagus, steamed green beans, or a light lemon orzo. A crusty baguette is perfect for soaking up any buttery pan juices.
Storage Instructions: If you have leftovers (which is rare in my house!), let the fish cool completely, then store it in an airtight container in the refrigerator for up to 2 days. The crust will soften over time, but the flavor will still be excellent.
Reheating Tips: The best way to revive the crust is in a hot oven or air fryer. Preheat your oven to 375°F and place the fish on a wire rack set over a baking sheet. Bake for 5-7 minutes until heated through and the crust crisps back up. Alternatively, use an air fryer at 375°F for 3-4 minutes. Avoid the microwave—it will turn the crust into a soggy mess.
How Flavors Develop: Interestingly, this fish tastes even better the next day when used in a salad or flaked over pasta. The garlic and Parmesan flavors mellow and meld together beautifully overnight. I’ve been known to make an extra fillet just for lunch the next day, crumbled over a bed of greens with a lemon vinaigrette.
Nutritional Information & Benefits
This recipe isn’t just delicious—it’s also packed with nutritional benefits that make you feel good about eating it.
- Estimated Nutritional Values (per serving, based on 4 servings): Approximately 350-400 calories, 22g fat, 8g saturated fat, 35g protein, 10g carbohydrates, 1g fiber, 2g sugar, 450mg sodium. These values will vary based on exact ingredient brands and portion sizes.
- High-Quality Protein: Halibut is an excellent source of lean protein, with about 35 grams per 6-ounce serving. Protein is essential for muscle repair, immune function, and keeping you feeling full and satisfied.
- Omega-3 Fatty Acids: Halibut is rich in heart-healthy omega-3s, which support brain health, reduce inflammation, and promote cardiovascular wellness. It’s a smart choice for a balanced diet.
- Vitamin and Mineral Rich: This fish provides significant amounts of selenium, vitamin B12, niacin, and phosphorus. Selenium is a powerful antioxidant that supports thyroid function, while B vitamins help convert food into energy.
- Dietary Considerations: This recipe is naturally low-carb and keto-friendly, with only about 10 grams of carbs per serving. It’s also gluten-free if you use gluten-free panko and dairy-free with the substitutions mentioned above. The main allergens are fish and dairy (Parmesan, butter).
I’m not a nutritionist, but I try to eat in a way that feels good and sustainable. This recipe fits into that philosophy perfectly—it’s indulgent enough to feel like a treat, but wholesome enough to eat regularly. If you’re looking for other healthy but satisfying meals, you might enjoy this wholesome marinated kale and chicken bowls recipe for another easy weeknight option.
Conclusion
This crispy garlic parmesan crusted halibut has become my secret weapon for busy weeknights, last-minute dinner guests, and those days when I just need a win in the kitchen. It’s proof that you don’t need hours of prep or a long list of complicated ingredients to create something truly special. Fifteen minutes, a handful of pantry staples, and one hot skillet—that’s all it takes.
What I love most about this recipe is how adaptable it is. You can keep it classic with the lemon and parsley, or play around with herbs, spices, and different fish. It’s a forgiving recipe that rewards a little creativity. And honestly, the confidence boost you get from pulling off a restaurant-quality fish dinner on a Tuesday night? Priceless.
I’d love to hear how this turns out for you. Did you try a variation? Serve it with something unexpected? Drop a comment below and let me know—I read every single one. And if you loved it, share this recipe with a friend who needs a quick, delicious dinner idea in their back pocket. Happy cooking!
Frequently Asked Questions
Can I use frozen halibut for this recipe?
Yes, you can. Just make sure to thaw the fillets completely in the refrigerator overnight, then pat them very dry with paper towels before coating. Frozen fish tends to hold more moisture, so the drying step is even more important.
What if my crust falls off while cooking?
This usually happens if the fish is too wet or the pan isn’t hot enough. Make sure your fillets are thoroughly dried, and let the pan heat up properly before adding the fish. Also, don’t move the fish around while the first side is cooking—let it sear undisturbed for a full 3-4 minutes.
Can I bake this instead of pan-frying?
Absolutely. Preheat your oven to 400°F, place the coated fillets on a parchment-lined baking sheet, and bake for 10-12 minutes, flipping halfway through. The crust won’t be quite as crispy as the stovetop version, but it’s still delicious and a great hands-off option.
How do I know when the halibut is fully cooked?
Halibut is done when it flakes easily with a fork and the internal temperature reaches 130-135°F. The flesh should be opaque and firm but still moist. Overcooked halibut becomes dry and mealy, so keep an eye on it.
Can I make the crust mixture ahead of time?
Yes, you can prepare the crust mixture up to a day in advance and store it in an airtight container in the refrigerator. Just bring it to room temperature before coating the fish. The garlic flavor will meld nicely overnight, making it even more flavorful.
Pin This Recipe!
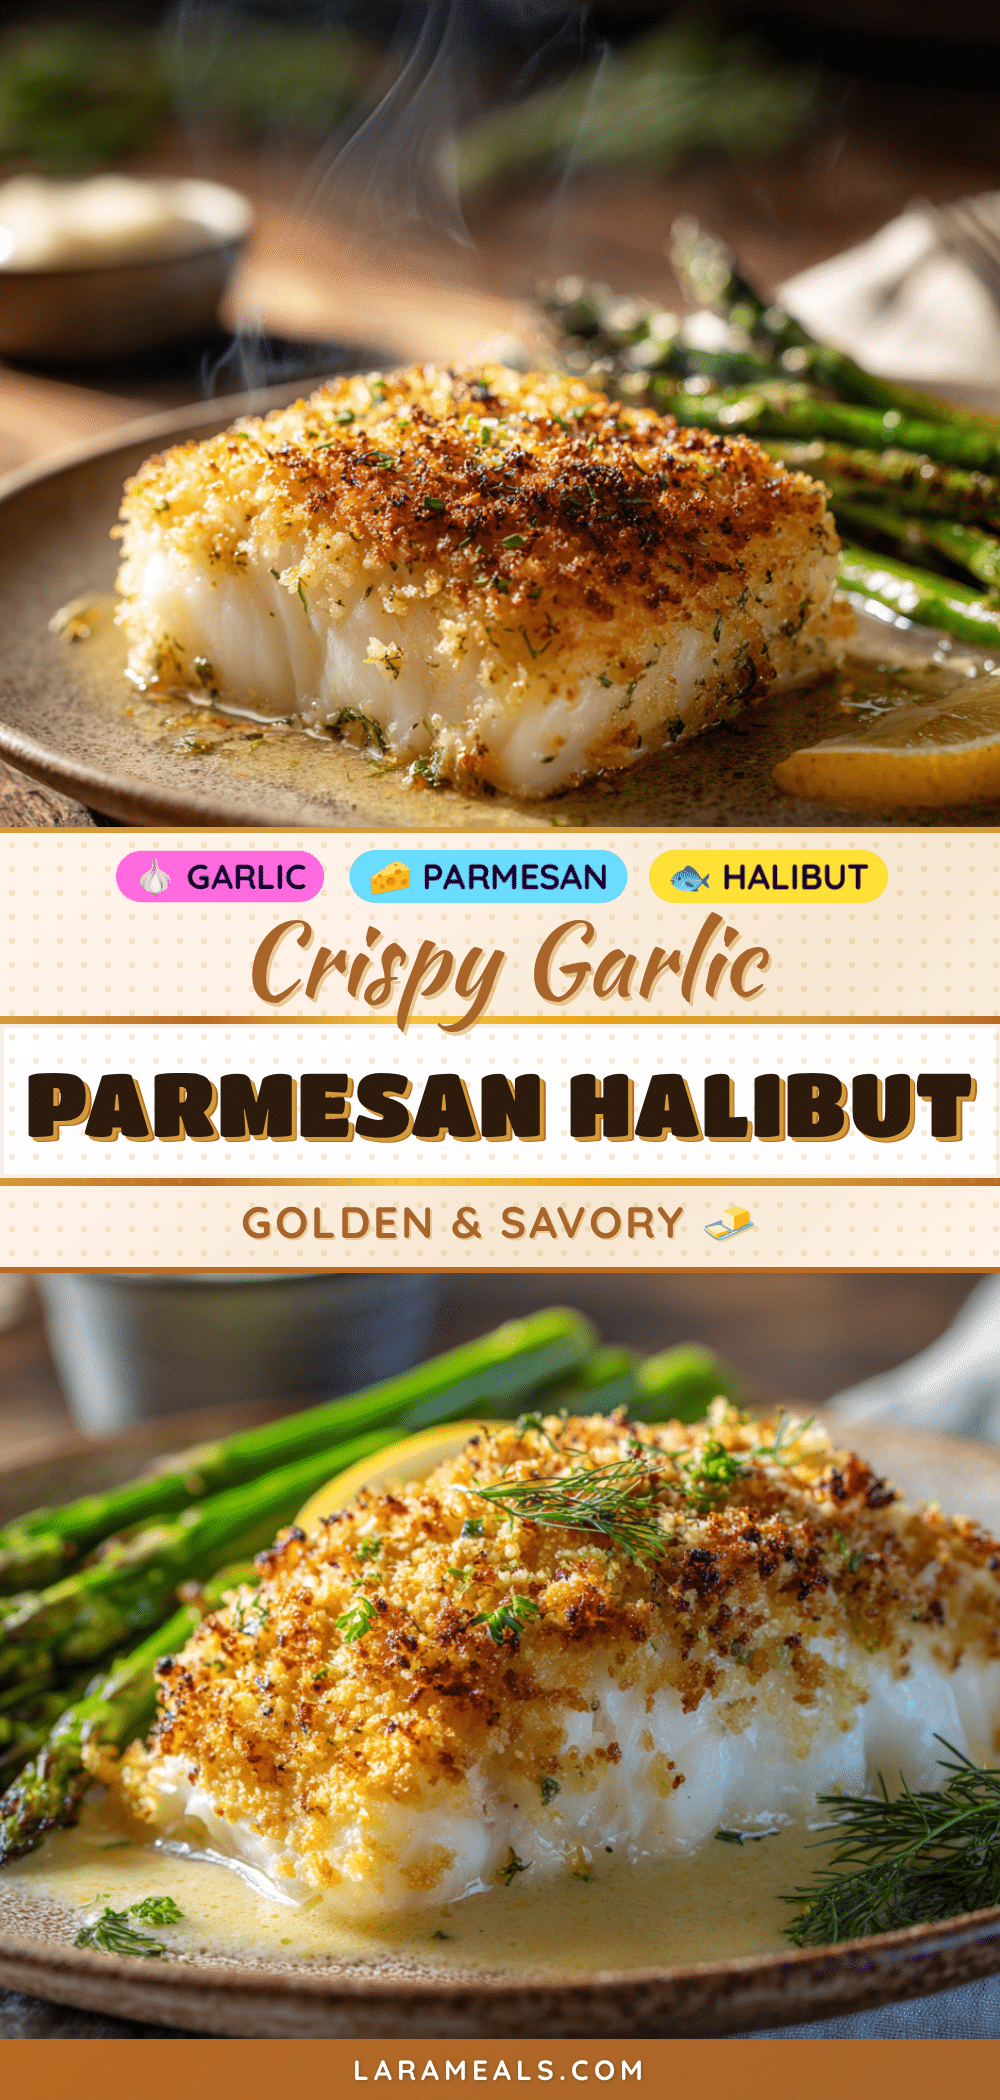
Crispy Garlic Parmesan Crusted Halibut in 15 Minutes
A quick and easy recipe for crispy garlic parmesan crusted halibut that goes from fridge to plate in just 15 minutes. Perfect for busy weeknights, this restaurant-quality dish features a golden, crunchy crust with tender, flaky fish underneath.
- Prep Time: 5 minutes
- Cook Time: 10 minutes
- Total Time: 15 minutes
- Yield: 4 servings 1x
- Category: Main Course
- Cuisine: American
Ingredients
- 1 to 1.5 lbs halibut fillets (about 1 to 1.5 inches thick)
- 1/2 cup panko breadcrumbs
- 1/3 cup freshly grated Parmesan cheese
- 3 cloves garlic, minced
- 3 tablespoons unsalted butter, melted
- 1 tablespoon olive oil
- 1/2 teaspoon salt
- 1/4 teaspoon black pepper
- Fresh lemon (for serving)
- Fresh parsley (optional, for garnish)
Instructions
- Pat the halibut fillets completely dry with paper towels. Season both sides generously with salt and black pepper. Set aside.
- In a shallow dish, combine panko breadcrumbs, freshly grated Parmesan cheese, and minced garlic. Mix with a fork until evenly distributed. Drizzle melted butter over the top and stir until all breadcrumbs are evenly moistened and the mixture clumps together slightly when pressed.
- Press each seasoned halibut fillet firmly into the crust mixture, coating one side generously. Flip and press the other side. Use fingers to pat extra crust onto the sides. Repeat with remaining fillets.
- Place a large non-stick skillet over medium-high heat and add olive oil. Heat for about 1 minute until the oil shimmers.
- Carefully place the coated fillets crust-side down into the hot pan. Cook undisturbed for 3-4 minutes until the crust is golden brown and releases easily from the pan.
- Using a fish spatula, gently flip each fillet. Cook for another 2-3 minutes on the second side. Total cook time for 1-inch thick fillets is 6-7 minutes. Fish is done when it flakes easily with a fork and internal temperature reaches 130-135°F.
- Transfer cooked fillets to a plate or serving platter. Let rest for 1-2 minutes. Squeeze fresh lemon juice over the top and sprinkle with chopped parsley if using. Serve immediately.
Notes
Don’t skip drying the halibut thoroughly—moisture prevents the crust from sticking. Use fresh garlic for best flavor. Avoid overcrowding the pan; cook in batches if needed. For thicker fillets (over 1.5 inches), add 1-2 minutes to the second side. The crust mixture can be made a day ahead and stored in the refrigerator.
Nutrition
- Serving Size: 1 fillet (based on 4
- Calories: 375
- Sugar: 2
- Sodium: 450
- Fat: 22
- Saturated Fat: 8
- Carbohydrates: 10
- Fiber: 1
- Protein: 35
Keywords: crispy garlic parmesan crusted halibut, quick fish recipe, 15 minute dinner, halibut recipe, easy seafood, weeknight dinner, garlic parmesan fish, crispy fish


