Love this? Save it for later!
Share the inspiration with your friends
“You have to be patient,” my neighbor said with a knowing smile, handing me a warm slice of her homemade sourdough. I remember thinking, “Patience? With bread? Seriously?” But then that crackling crust broke beneath my fingers, the crumb was airy yet chewy, and the tangy aroma filled the kitchen like a cozy hug. Honestly, that was the moment I stopped doubting the whole sourdough fuss.
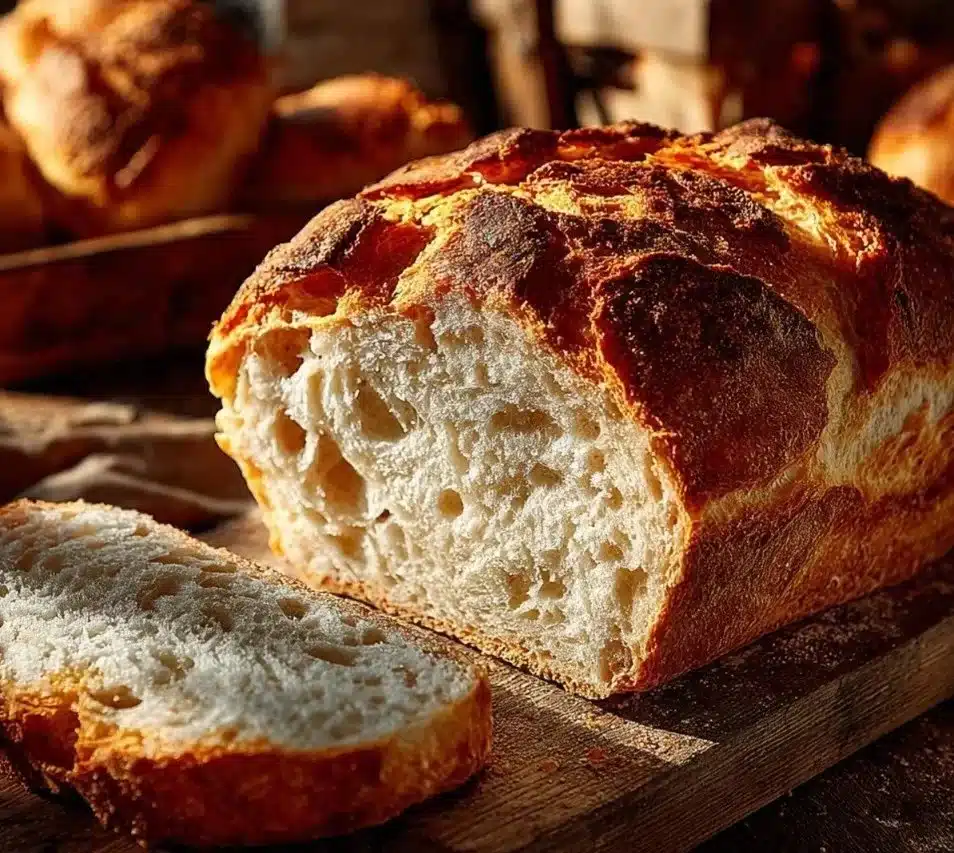
Getting the perfect crispy crust sourdough bread recipe wasn’t something I stumbled upon overnight. It started as a bit of an experiment on a quiet Sunday afternoon when I had a bag of active starter and zero plans. The first few loaves were a little dense, a little too sour, or just plain floppy. But I kept at it, tweaking hydration levels, proofing times, and baking temperatures. After a few tries, that beautiful golden crust finally appeared, crisp and crackly, with a soft, open crumb inside that made all the waiting worthwhile.
It’s funny how something as simple as bread can become a grounding ritual after a long day. The smell of it baking, the satisfying crunch with each bite — it’s a small, honest joy. Over time, this perfect crispy crust sourdough bread recipe became my go-to for everything from quick sandwiches to a companion for hearty stews. There’s a quiet confidence in knowing you can make your own loaf at home, no fancy bakery runs needed.
So here I am, sharing that exact recipe and the little moments it’s brought to my kitchen. If you’ve ever been skeptical about sourdough or worried it’s too complicated, this one’s for you. It’s approachable, forgiving, and honestly, a bit addictive once you get that crust just right.
Why You’ll Love This Recipe
This perfect crispy crust sourdough bread recipe is something I’ve tested over and over, and I’m confident you’ll find it both satisfying and reliable. Here’s why it’s worth your time:
- Quick & Easy: While sourdough takes time to ferment, the hands-on work is minimal—mostly just mixing and shaping. The entire process fits neatly around your schedule.
- Simple Ingredients: No fancy flours or additives needed. Basic bread flour, water, salt, and a lively starter are all you need. I prefer King Arthur Bread Flour for consistent results.
- Perfect for Any Occasion: Whether it’s a cozy weekend brunch or an impressive addition to a dinner party, this loaf fits right in.
- Crowd-Pleaser: Trust me, once friends taste this, they’ll be asking for the recipe—and maybe a second loaf!
- Unbelievably Delicious: The crust has that satisfying crackle while the crumb stays moist and airy. You’ll close your eyes at the first bite, promise.
- Unique Technique: The secret lies in the baking method: using a Dutch oven traps steam, mimicking professional bakery ovens for that perfect crust every time.
This isn’t just any sourdough bread recipe—it’s the one I turn to when I want that bakery-quality loaf without the fuss. It’s a recipe that respects tradition but fits a busy lifestyle. Plus, it pairs wonderfully with rich sandwiches, soups, or even a simple swipe of butter and jam.
What Ingredients You Will Need
This recipe relies on a handful of straightforward ingredients that come together to create that classic sourdough flavor and texture. The best part? Most are pantry staples, and you might already have a sourdough starter bubbling away in your fridge.
- Bread Flour (500g / 4 cups): High-protein flour gives your loaf structure and chewiness. King Arthur Bread Flour is my go-to for consistent results.
- Water (350g / 1.5 cups, lukewarm): Hydrates the dough and activates the starter. Lukewarm helps kickstart fermentation.
- Active Sourdough Starter (100g / ½ cup): Your homemade or store-bought starter, bubbly and refreshed within the last 6-8 hours. (If you’re curious about starting your own, it’s easier than you think!)
- Salt (10g / 2 tsp): Enhances flavor and strengthens the gluten network.
Optional additions:
- For a rustic touch, sprinkle a little cornmeal or rice flour on your proofing basket; it helps prevent sticking.
- Want to add a nutty flavor? Toasted seeds or cracked grains can be kneaded in during the last stretch and fold.
If you need a gluten-free option, almond or oat flour won’t give you the same crust, but you can try a mix with gluten-free blends and xanthan gum. For dairy-free baking, this recipe is naturally free of dairy, so no worries there.
Equipment Needed
While sourdough might sound fancy, you don’t need a ton of special gear to make this perfect crispy crust sourdough bread recipe. Here’s what I find essential:
- Mixing Bowl: A large, sturdy bowl for combining your ingredients.
- Dutch Oven or Heavy Oven-Safe Pot with Lid: This is the magic tool for that crispy crust. It traps steam, which helps the crust crisp up beautifully. If you don’t have one, a cast-iron skillet with a metal bowl as a cover can work in a pinch.
- Bench Scraper: Very handy for shaping dough and cleaning surfaces.
- Proofing Basket (Banneton) or Bowl lined with a Clean Kitchen Towel: Helps the dough hold its shape while rising. If you don’t have a banneton, a bowl with a floured towel works fine.
- Kitchen Scale: For accurate measurements, scales are a game changer in bread baking.
- Oven Mitts: Because handling a hot Dutch oven is no joke!
I started baking sourdough with just a bowl and a baking sheet, but once I got a Dutch oven, it was a game changer. The crust on this recipe thanks to that tool is hard to beat. Plus, maintaining your equipment—like keeping your Dutch oven clean and dry—makes the process smoother every time.
Preparation Method
- Mix the Dough (10 minutes): In a large bowl, combine 500g (4 cups) bread flour and 350g (1.5 cups) lukewarm water. Stir until no dry flour remains. Cover with a towel and let it rest (autolyse) for 30 minutes. This step hydrates the flour and starts gluten development.
- Add Starter and Salt (5 minutes): Add 100g (½ cup) active sourdough starter and 10g (2 tsp) salt to the dough. Mix thoroughly by hand or with a dough hook until the salt and starter are evenly distributed. The dough will be sticky but cohesive.
- Bulk Fermentation (4-5 hours): Cover the bowl with a damp towel or plastic wrap. Every 30 minutes for the first 2 hours, perform a series of stretch and folds: wet your hands, gently pull one side of the dough up, and fold it over the rest. Rotate and repeat 4 times. This strengthens gluten and traps air. After 4-5 hours at room temperature (70-75°F / 21-24°C), the dough should have risen about 50% and look bubbly.
- Shape the Dough (10 minutes): Lightly flour your work surface. Turn the dough out gently and shape it into a tight round loaf by folding edges under and rotating it. Place it seam side up in a floured banneton or towel-lined bowl.
- Proof Overnight (8-12 hours): Cover the dough and refrigerate overnight. This slow proof deepens flavor and improves crust texture.
- Preheat Oven and Dutch Oven (45 minutes): About 30 minutes before baking, place your Dutch oven with the lid in the oven and preheat to 500°F (260°C). The pot needs to be hot to create steam.
- Bake the Bread (45 minutes): Carefully remove the Dutch oven. Turn the dough out seam side down onto parchment paper. Score the top with a sharp knife or razor blade to control expansion. Using the parchment, place the dough into the Dutch oven. Cover and bake for 20 minutes. Then, remove the lid, reduce heat to 450°F (232°C), and bake for another 25 minutes until deeply golden and crusty.
- Cool Completely (1 hour): Transfer the loaf to a wire rack and let cool fully before slicing. This final step lets the crumb set and prevents gummy texture.
Pro tip: If your dough feels too sticky during shaping, lightly flour your hands but avoid adding too much flour to the dough itself—it can toughen the crumb. Also, scoring the loaf just before baking is key to letting it expand without bursting unpredictably.
Cooking Tips & Techniques
Getting that perfect crispy crust sourdough bread recipe takes a few tried-and-true techniques I’ve picked up over many loaves.
- Use a Hot Dutch Oven: The preheated pot traps steam, which keeps the crust moist initially, allowing the bread to expand fully. When the lid comes off, the dry heat crisps the crust. Trust me, baking this way beats a regular baking sheet every time.
- Don’t Skip the Overnight Proof: Refrigeration slows fermentation and enhances flavor complexity. It also firms up the dough, making scoring easier.
- Stretch and Fold: Instead of kneading, this method gently develops gluten without overworking the dough. It’s easier on your arms and yields a light crumb.
- Score with Confidence: Use a sharp blade and make quick, decisive cuts. This controls how the loaf expands and creates that signature sourdough look.
- Hydration Matters: This recipe uses about 70% hydration (water to flour ratio), which balances chewiness and ease of handling. Higher hydration can create bigger holes but is trickier for beginners.
One mistake I made early on was baking right out of the fridge without letting the dough warm a bit. It slows the oven spring and can leave a dense crumb. Letting the dough rest 30 minutes before baking makes a difference. Also, I’ve learned that using filtered water helps keep the starter happy and consistent.
Variations & Adaptations
This perfect crispy crust sourdough bread recipe is a great base to customize according to your taste or dietary needs.
- Whole Wheat Sourdough: Replace up to 50% of the bread flour with whole wheat flour for a nuttier flavor and denser crumb. You might need to add a little extra water as whole wheat absorbs more.
- Seeded Loaf: Add a mix of toasted sunflower seeds, flaxseeds, or pumpkin seeds during the last stretch and fold. It adds texture and a delicious earthy crunch.
- Herb-Infused: Fold in fresh rosemary, thyme, or garlic powder to the dough for a savory twist. Perfect when served with soups or alongside dishes like the smoky charred shrimp with corn salsa.
For a gluten-free approach, this method won’t translate well, but you can try recipes dedicated to gluten-free sourdough starters and flours. Personally, I’ve tried substituting up to 25% spelt flour for a softer texture, which worked well but slightly reduced crust crispness.
Serving & Storage Suggestions
This sourdough loaf shines best fresh but also keeps well if stored right. Serve it at room temperature to enjoy the full flavor and texture.
- Serving: Slice it thick for sandwiches or tear it up for dipping in olive oil and balsamic vinegar. It pairs wonderfully with creamy dishes like creamy shrimp and grits or a simple spread of butter and jam.
- Storage: Wrap the loaf loosely in a clean kitchen towel or paper bag and keep it at room temperature for up to 3 days. For longer storage, slice and freeze in airtight bags.
- Reheating: To refresh the crust, sprinkle a little water on the loaf and warm it in a 350°F (175°C) oven for 10 minutes. This brings back that crispy texture and warms the crumb.
Flavors actually mellow and develop after a day, making this bread even more enjoyable when paired with savory meals or a hearty stew. I often toast leftover slices and serve with avocado or a fried egg for a quick breakfast.
Nutritional Information & Benefits
One slice (about 70g) of this sourdough bread contains approximately:
| Nutrient | Amount |
|---|---|
| Calories | 180 |
| Carbohydrates | 37g |
| Protein | 6g |
| Fat | 1g |
| Fiber | 2g |
Sourdough fermentation breaks down gluten and phytic acid, making it easier to digest than typical bread. The natural fermentation also develops beneficial acids and bacteria that may support gut health. Plus, using simple ingredients means no preservatives or additives.
This recipe is naturally dairy-free and vegan, and gluten content is lower than usual bread, though not gluten-free. If you’re health-conscious but love your carbs, this loaf is a satisfying choice that balances nutrition with flavor.
Conclusion
This perfect crispy crust sourdough bread recipe is more than just a loaf; it’s a small celebration of patience, practice, and the simple joy of baking. Whether you’re new to sourdough or someone who’s tried and had mixed results, this method offers a clear path to success.
Feel free to tweak hydration, add seeds, or experiment with whole grains to make it your own. I love this recipe because it fits into busy days without demanding all my time, yet rewards me with that bakery-quality crust and crumb that’s just so satisfying.
If you try it out, I’d love to hear how it turns out or any little tweaks you make. Baking bread at home is one of those quiet pleasures that, honestly, just feels like a win every single time.
FAQs
How do I know if my sourdough starter is active enough?
It should double in size within 4-6 hours of feeding and be bubbly with a slightly tangy smell. A simple float test—dropping a spoonful in water to see if it floats—is a good indicator of readiness.
Can I use all-purpose flour instead of bread flour?
Yes, but bread flour’s higher protein content helps create a better structure and crust. All-purpose will work but may produce a softer crumb and less chewy texture.
Why is my sourdough bread crust not crispy?
Make sure you bake in a covered Dutch oven to trap steam and remove the lid midway to crisp the crust. Also, avoid wrapping the bread tightly when cooling, as trapped moisture can soften the crust.
Can I speed up the sourdough fermentation process?
You can proof in a warmer spot (75-80°F / 24-27°C), but rushing fermentation may sacrifice flavor and texture. Slower fermentation yields better complexity.
How do I store leftover sourdough bread?
Keep it loosely wrapped in a paper bag or towel at room temperature for up to 3 days. For longer storage, slice and freeze, then toast or warm slices as needed.
Pin This Recipe!
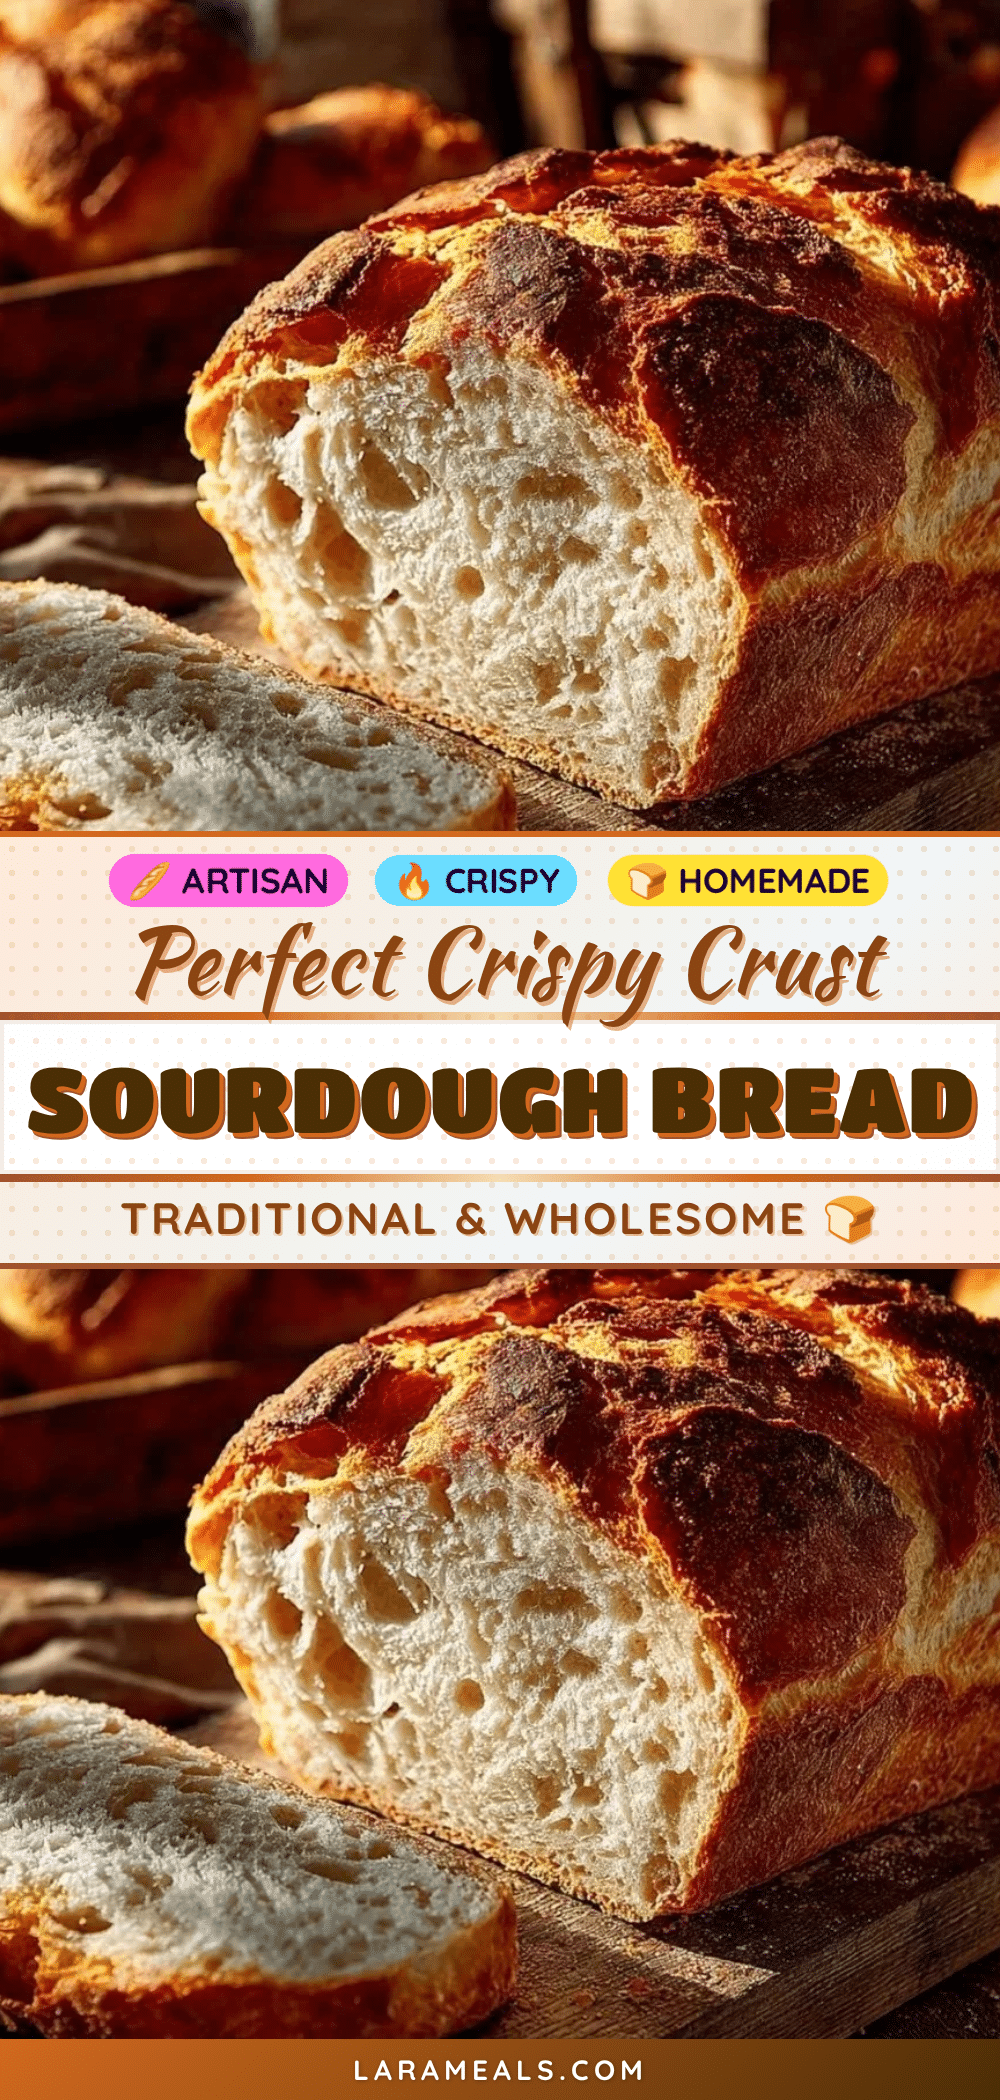
Perfect Crispy Crust Sourdough Bread Recipe Easy Homemade Loaf Tutorial
This sourdough bread recipe yields a perfect crispy crust with a soft, airy crumb. It’s approachable, forgiving, and uses simple ingredients for a bakery-quality loaf at home.
- Prep Time: 15 minutes
- Cook Time: 45 minutes
- Total Time: 13 hours (including fermentation and proofing)
- Yield: 1 loaf (about 1.5 lbs) 1x
- Category: Bread
- Cuisine: American
Ingredients
- 500g (4 cups) bread flour
- 350g (1.5 cups) lukewarm water
- 100g (½ cup) active sourdough starter
- 10g (2 tsp) salt
- Optional: cornmeal or rice flour for proofing basket
- Optional: toasted seeds or cracked grains for kneading in
Instructions
- Mix the dough: In a large bowl, combine 500g (4 cups) bread flour and 350g (1.5 cups) lukewarm water. Stir until no dry flour remains. Cover with a towel and let it rest (autolyse) for 30 minutes.
- Add starter and salt: Add 100g (½ cup) active sourdough starter and 10g (2 tsp) salt to the dough. Mix thoroughly by hand or with a dough hook until evenly distributed.
- Bulk fermentation: Cover the bowl with a damp towel or plastic wrap. Every 30 minutes for the first 2 hours, perform stretch and folds 4 times. After 4-5 hours at room temperature (70-75°F), dough should rise about 50% and look bubbly.
- Shape the dough: Lightly flour your work surface. Turn dough out gently and shape into a tight round loaf. Place seam side up in a floured banneton or towel-lined bowl.
- Proof overnight: Cover and refrigerate the dough for 8-12 hours to deepen flavor and improve crust texture.
- Preheat oven and Dutch oven: About 30 minutes before baking, preheat Dutch oven with lid inside oven to 500°F (260°C).
- Bake the bread: Remove Dutch oven carefully. Turn dough out seam side down onto parchment paper. Score the top. Place dough into Dutch oven using parchment. Cover and bake 20 minutes. Remove lid, reduce heat to 450°F (232°C), bake another 25 minutes until golden and crusty.
- Cool completely: Transfer loaf to wire rack and cool fully for about 1 hour before slicing.
Notes
Use a hot Dutch oven to trap steam for a crispy crust. Do not skip the overnight proof for better flavor and crust texture. Score the loaf just before baking to control expansion. Let dough rest 30 minutes after refrigeration before baking to improve oven spring. Use filtered water for consistent starter activity.
Nutrition
- Serving Size: 1 slice (about 70g)
- Calories: 180
- Sodium: 400
- Fat: 1
- Carbohydrates: 37
- Fiber: 2
- Protein: 6
Keywords: sourdough bread, crispy crust, homemade bread, easy sourdough, artisan bread, Dutch oven bread, bread baking


