Love this? Save it for later!
Share the inspiration with your friends
The thing about summer fruit is that it waits for no one. One minute you’ve got a beautiful basket of apricots sitting on the counter, all blushing orange and smelling like sunshine. The next, you’re staring at a pile of fruit that’s about two hours from turning into a science experiment. That’s exactly how this easy 3-ingredient apricot jam happened in my kitchen. No pectin packets, no candy thermometer, no special skills—just me, a pot, and a desperate need to not waste those gorgeous apricots my neighbor had dropped off.
I remember standing there, stirring, thinking “this is never going to work.” I mean, three ingredients? Fruit, sugar, lemon juice. That’s it. I was convinced I’d end up with either a sticky mess or something that tasted vaguely like sweet nothing. But about forty-five minutes later, I was dipping a spoon into the most beautiful golden jam I’d ever seen. It set perfectly, it tasted like pure summer, and I hadn’t broken a sweat.
That first batch didn’t last a week. I put it on toast, stirred it into yogurt, spooned it over ice cream, and yes—ate a few spoonfuls straight from the jar when nobody was looking. The best part? I’ve made it at least a dozen times since, and it works every single time. No stress, no complicated steps, just honest-to-goodness homemade jam that tastes like you spent hours fussing over it.
Why You’ll Love This Recipe
This easy 3-ingredient apricot jam has become my secret weapon for looking like I have my life together. Honestly, it’s the kind of recipe that makes people think you’re some kind of kitchen wizard when really, you just know a good shortcut.
- Only 3 Ingredients : Apricots, sugar, and lemon juice. That’s your entire shopping list. No pectin, no preservatives, no weird additives you can’t pronounce.
- No Special Equipment : You don’t need a canning setup or a fancy thermometer. Just a pot and a spoon—things you already own.
- Beginner-Friendly : If you can stir, you can make this jam. I promise. I’ve taught my thirteen-year-old nephew to make it.
- Perfect for Gifting : A jar of homemade jam tied with a ribbon looks fancy and thoughtful. People lose their minds over it.
- Customizable : Once you nail the basic recipe, you can play with flavors—add vanilla, rosemary, or even a splash of bourbon.
- Way Better Than Store-Bought : The flavor is brighter, fresher, and honestly, more apricot-y than anything you’ll find on a shelf.
What makes this recipe different from all the complicated jam recipes out there? It’s the simplicity. I’ve tested this with different ratios, different cooking times, and different fruit ripeness levels. This version works because it trusts the fruit to do the heavy lifting. The sugar preserves and thickens, the lemon juice brightens and helps the set, and the apricots? They just shine.
This isn’t just jam—it’s the kind of thing that makes you feel accomplished after a rough day. There’s something deeply satisfying about watching fruit transform into something shelf-stable and delicious. Plus, it makes your kitchen smell incredible.
What Ingredients You Will Need
Let’s talk about the three simple ingredients that make this easy 3-ingredient apricot jam so special. Each one plays a crucial role, and understanding them will help you get perfect results every time.
- Fresh Apricots (2 pounds / about 900 grams) : The star of the show. Look for apricots that are ripe but still firm—they should give slightly when you squeeze them but not feel mushy. Underripe apricots work too, but you’ll need a bit more sugar. Overripe ones can make the jam taste a bit flat. I like to use organic apricots when I can find them since you’re using the skins. If fresh apricots aren’t in season, frozen unsweetened apricots work surprisingly well—just thaw them first and drain off any excess liquid.
- Granulated Sugar (1 ½ cups / 300 grams) : This isn’t just for sweetness. Sugar acts as a preservative and helps the jam set by bonding with the natural pectin in the fruit. Don’t be tempted to reduce the sugar too much—it’s essential for texture and shelf stability. That said, you can use organic cane sugar or even a mix of white and brown sugar for a deeper flavor. I’ve tried coconut sugar once, and while it worked, the color turned darker and the flavor was noticeably different.
- Fresh Lemon Juice (2 tablespoons / 30 ml) : Lemon juice does three things here. First, it adds acidity, which balances the sweetness and brightens the apricot flavor. Second, it helps the jam set by reacting with the natural pectin. Third, it prevents the jam from turning brown as it cooks. Always use fresh lemon juice—the bottled stuff has a flat taste that you’ll notice in the final product. One medium lemon usually gives you about 2 tablespoons.
That’s it. Three ingredients, zero fuss. The beauty of this recipe is that the quality of your ingredients directly affects the final result. Good apricots make great jam. Great apricots make incredible jam.
A quick note about sugar: some people worry about using this much sugar, but remember that a serving of jam is usually just a tablespoon or two. Plus, the sugar is what allows you to keep the jam at room temperature without it spoiling. If you’re looking for a lower-sugar option, you can reduce it to 1 cup, but you’ll need to store the jam in the fridge and use it within two weeks.
Equipment Needed
You don’t need a fancy kitchen to make this easy 3-ingredient apricot jam. Here’s what you’ll actually use:
- Large Heavy-Bottomed Pot or Dutch Oven : A wide pot is better than a tall one—more surface area means faster evaporation, which means quicker cooking time. I use my trusty 5-quart Dutch oven, but any heavy pot will work. Avoid thin pots that can scorch the jam.
- Wooden Spoon or Silicone Spatula : You’ll be stirring pretty constantly toward the end, so use something comfortable to hold. I prefer a flat-edged wooden spoon that can scrape the bottom of the pot.
- Sharp Knife and Cutting Board : For halving and pitting the apricots. Nothing fancy needed.
- Measuring Cups and Spoons : For the sugar and lemon juice. I like to measure everything before I start cooking.
- Small Plate (Optional but Helpful) : Pop this in the freezer before you start. You’ll use it to test if your jam is set.
- Glass Jars with Lids : For storing your finished jam. Mason jars work great, but you can reuse any glass jar with a tight-fitting lid. Just make sure they’re thoroughly cleaned and sterilized.
If you don’t have a Dutch oven, a stainless steel stockpot works fine. Just keep an eye on it—thinner pots can heat unevenly. I’ve even made this in a nonstick skillet when my good pots were in the dishwasher. It worked, but I had to stir more carefully to avoid splattering.
Preparation Method
Making this easy 3-ingredient apricot jam is straightforward, but a few details make the difference between good jam and great jam. Let me walk you through it step by step.
- Prepare Your Apricots : Start by washing your apricots under cool water. Cut each one in half along the natural seam, then twist to separate. Remove the pit and discard it. Don’t bother peeling the apricots—the skins contain natural pectin that helps your jam set, plus they break down during cooking. If you have any bruised spots, just cut them off. Leave the apricot halves as they are—no need to chop them further.
- Macerate the Fruit : Place your halved apricots in your cooking pot. Add the sugar and lemon juice. Stir everything together gently until the sugar starts to dissolve and the apricots look glossy. Let this sit for about 15-20 minutes. This step is important—it draws out the fruit’s natural juices and starts breaking down the fruit before you even turn on the heat. You’ll notice liquid pooling at the bottom of the pot.
- Start Cooking : Place the pot over medium heat. Stir occasionally as the mixture warms up. After about 5-7 minutes, you’ll see the sugar fully dissolve and the mixture start to bubble. Once it reaches a gentle boil, reduce the heat to medium-low. You want a steady simmer, not a violent boil.
- Mash and Stir : After about 15 minutes of simmering, the apricots will be soft enough to mash. Use your wooden spoon or a potato masher to break them down to your desired consistency. I like mine a little chunky—some visible pieces of fruit give the jam a homemade feel. If you prefer smooth jam, keep mashing until it’s uniform.
- Cook to Setting Point : Continue simmering, stirring frequently, for another 15-20 minutes. The jam will darken in color and thicken noticeably. You’ll know it’s getting close when the bubbles become larger and slower, and the jam starts to look glossy instead of watery. This is the stage where you need to watch it carefully—jam can go from perfect to burnt in minutes.
- Test for Doneness : Grab that small plate from the freezer. Drop a small spoonful of jam onto the cold plate. Let it sit for 30 seconds, then push it with your finger. If it wrinkles and doesn’t run back together, it’s done. If it’s still runny, cook for another 2-3 minutes and test again. Don’t skip this test—it’s more reliable than timing.
- Remove from Heat : Once your jam passes the wrinkle test, remove the pot from the heat immediately. Let it sit for about 5 minutes. This brief rest allows the foam to settle and makes it easier to jar.
- Skim Off Foam (Optional) : You might notice a layer of foam on top of your jam. This is just air bubbles and impurities. You can skim it off with a spoon for a clearer jam, or you can stir it back in—it won’t affect the flavor. I usually skim it because I like my jam looking pretty in the jar.
- Jar Your Jam : Carefully ladle the hot jam into your clean glass jars, leaving about ¼ inch of headspace at the top. Wipe the rims clean with a damp paper towel, then screw on the lids. The jam will continue to set as it cools.
- Cool and Store : Let the jars cool completely at room temperature. You’ll hear a satisfying “pop” as the lids seal—that’s the sound of success! Once cool, store in the refrigerator for up to 3 months, or process in a water bath for shelf-stable storage.
A few sensory cues to watch for: The jam should look deep golden-orange, almost amber. It should smell intensely fruity and sweet. The texture should be thick but spreadable—think somewhere between honey and applesauce. If it looks too thin, give it more time. If it’s getting dark and sticky, you’ve gone too far.
Cooking Tips & Techniques
After making this easy 3-ingredient apricot jam more times than I can count, I’ve picked up a few tricks that make the process smoother and the results more consistent.
Don’t Walk Away During the Final Stage : The last 10 minutes of cooking are where things happen fast. I learned this the hard way when I stepped away to answer a text and came back to jam that smelled like burnt sugar. Set a timer, stay nearby, and stir frequently. The jam can go from perfect to scorched in under two minutes.
Use a Wide Pot : More surface area means faster evaporation, which means shorter cooking time. A wide, shallow pot also makes it easier to stir and monitor the consistency. If your pot is too narrow and deep, the jam will take longer to thicken and might cook unevenly.
Trust the Wrinkle Test : I know it’s tempting to rely on timing alone, but don’t. Different apricots have different water content, and your stove might run hotter or cooler than mine. The wrinkle test is foolproof. Keep that plate in the freezer from the start, and test every few minutes once the jam looks close.
Don’t Overcook : If your jam gets too thick, it will set into something more like fruit leather than spreadable jam. It’s still edible—just not ideal. If you accidentally overcook it, you can thin it with a tablespoon of hot water and stir vigorously. It won’t be perfect, but it’ll be better.
Sterilize Your Jars Properly : Wash jars and lids in hot, soapy water, then rinse well. Place them in a 250°F oven for 10 minutes to dry and sterilize. Or run them through a dishwasher cycle. Hot jam going into cold jars can cause breakage, so keep your jars warm until you’re ready to fill them.
Work in Batches : This recipe makes about 3-4 half-pint jars. If you have a mountain of apricots, don’t try to double the recipe in one pot. The jam won’t cook evenly, and you’ll be stirring forever. Make multiple batches instead—it’s faster in the long run.
Label Your Jars : I always write the date on my jars with a permanent marker. Homemade jam doesn’t last forever, and it’s easy to forget when you made it. Plus, it looks nice when you give it as gifts.
Variations & Adaptations
Once you’ve mastered the basic easy 3-ingredient apricot jam, the possibilities are endless. Here are some variations I’ve tried and loved.
Vanilla Bean Apricot Jam : Split one vanilla bean lengthwise and scrape the seeds into the pot with the apricots. Add the pod too—it’ll infuse the jam with warm, floral vanilla flavor. Remove the pod before jarring. This version is absolutely stunning on buttermilk biscuits or stirred into yogurt.
Spiced Apricot Jam : Add one cinnamon stick, three whole cloves, and a star anise to the pot while the jam cooks. Fish them out before jarring. The warm spices complement the apricot’s natural sweetness beautifully. This is my favorite version for fall, especially spread on toast with butter.
Rosemary Apricot Jam : Add two sprigs of fresh rosemary to the pot during the last 10 minutes of cooking. Remove before jarring. The herbaceous, slightly piney flavor is unexpected and delicious with cheese. Try it on a cheese board with some fresh avocado caprese salad for a sweet-savory combination that’ll impress your guests.
Low-Sugar Version : Reduce the sugar to 1 cup and add 1 tablespoon of calcium water and 1 teaspoon of Pomona’s pectin (following the package directions). This version will be less shelf-stable, so store it in the fridge and use within 3 weeks. The flavor is more tart and fruit-forward, which some people prefer.
Mixed Stone Fruit Jam : Swap half the apricots for peaches, nectarines, or plums. The combination creates a complex, layered flavor. I made a batch last summer with apricots and yellow peaches, and it was gone in a week. This would pair perfectly with a creamy classic cheesecake for a showstopping dessert.
Alcohol-Infused Jam : Add 2 tablespoons of bourbon, rum, or Grand Marnier during the last 5 minutes of cooking. The alcohol mostly cooks off, leaving behind a warm, sophisticated flavor. This version makes an excellent glaze for grilled meats or roasted vegetables.
Spicy Apricot Jam : Add a finely chopped jalapeño (seeds removed for less heat) or a teaspoon of red pepper flakes to the pot. The sweet-heat combination is addictive. This is incredible on a crispy BBQ chicken grilled cheese sandwich for a flavor explosion.
Serving & Storage Suggestions
This easy 3-ingredient apricot jam is versatile enough to use in countless ways. Here’s how I like to serve and store it.
Classic Toast or Biscuits : The most obvious use, and honestly, the best. Spread a generous layer on warm, buttered toast or fresh-baked biscuits. The heat from the bread melts the jam slightly, making it even more luscious. Pair it with a cozy slow cooker chicken and dumplings for a comforting meal that feels like a hug.
Yogurt and Oatmeal : Swirl a spoonful into plain Greek yogurt or a bowl of warm oatmeal. It adds sweetness without being cloying, and the fruit chunks provide nice texture. This is my go-to breakfast on busy mornings.
Cheese Board Essential : Set a small bowl of this jam next to a wedge of brie, manchego, or aged cheddar. The sweet fruitiness cuts through the richness of the cheese beautifully. Add some crackers and nuts, and you’ve got an instant appetizer.
Glaze for Meats : Brush this jam over chicken, pork, or salmon during the last few minutes of grilling or roasting. It creates a gorgeous, sticky glaze that caramelizes beautifully. I’ve used it on crispy pan-seared salmon with amazing results.
Ice Cream Topping : Warm a spoonful of jam in the microwave for 10 seconds, then drizzle over vanilla ice cream. Add some chopped nuts or a sprinkle of sea salt for extra indulgence.
Baking Ingredient : Use this jam as a filling for thumbprint cookies, as a layer in cakes, or swirled into muffin batter. It adds moisture and concentrated fruit flavor to baked goods.
Storage Instructions : Store unopened jars in a cool, dark place for up to 6 months if processed properly. Once opened, keep in the refrigerator and use within 3 months. The jam will thicken slightly as it chills, so let it sit at room temperature for 10 minutes before using if it seems too stiff.
Freezing Option : You can freeze this jam in freezer-safe containers for up to a year. Leave about ½ inch of headspace to allow for expansion. Thaw in the refrigerator overnight before using. The texture might be slightly softer after freezing, but the flavor remains bright.
How to Tell If Jam Has Gone Bad : If you see mold, smell something off, or notice the jam has fermented (bubbles, fizzy texture), toss it. Homemade jam doesn’t last forever, so trust your senses.
Nutritional Information & Benefits
While jam isn’t exactly health food, this easy 3-ingredient apricot jam has some redeeming qualities. Here’s the breakdown for a 1-tablespoon serving:
- Calories : Approximately 40-50 calories per serving
- Carbohydrates : 10-12 grams (mostly from natural and added sugar)
- Fiber : Less than 1 gram
- Vitamin A : 4-6% of the daily value (from apricots)
- Vitamin C : 2-3% of the daily value
- Potassium : Small amount
Health Benefits of Apricots : Fresh apricots are rich in beta-carotene, which your body converts to vitamin A for healthy vision and immune function. They also contain antioxidants like flavonoids that help fight inflammation. While cooking reduces some of these nutrients, the jam still retains a good amount.
Dietary Considerations : This jam is naturally vegan, gluten-free, dairy-free, and nut-free. It contains no artificial colors, flavors, or preservatives. The main concern is sugar content, so enjoy it in moderation as part of a balanced diet.
Allergen Information : Apricots are not common allergens, but some people with birch pollen allergies may experience mild oral allergy symptoms. The jam is free from the top eight allergens.
My Personal Perspective : I see this jam as a way to enjoy fruit in a concentrated, shelf-stable form. It’s a treat, not a staple. A little goes a long way, and the satisfaction of making it yourself makes it feel even more special. Plus, you know exactly what’s in it—no high-fructose corn syrup or mystery thickeners.
Conclusion
This easy 3-ingredient apricot jam has become a summer tradition in my kitchen. Every year, when apricots hit the market, I buy a big box and spend an afternoon turning them into jars of golden goodness. It’s simple, satisfying, and the results are genuinely impressive.
The beauty of this recipe is that it meets you where you are. If you’re a beginner, it’s forgiving and foolproof. If you’re experienced, it’s a canvas for creativity. You can keep it classic or experiment with spices, herbs, and spirits. Either way, you end up with something delicious that you made with your own hands.
I’d love to hear how your jam turns out! Did you try any variations? Did you give it as a gift? Did you eat it straight from the jar with a spoon? (No judgment here.) Drop a comment below and let me know—I read every single one. And if you share a photo on social media, tag me so I can see your beautiful jars of homemade jam.
Happy cooking, friends. Here’s to simple things done well.
Frequently Asked Questions
Can I use frozen apricots instead of fresh?
Absolutely! Frozen unsweetened apricots work great. Thaw them first, drain off any excess liquid, and proceed with the recipe as written. You might need to cook the jam for an extra 5-10 minutes to evaporate the extra moisture.
How do I know when the jam is done without a thermometer?
Use the freezer plate test! Place a small plate in the freezer before you start. Drop a spoonful of jam onto the cold plate, wait 30 seconds, then push it with your finger. If it wrinkles and doesn’t run back together, it’s done. This method is more reliable than any thermometer.
Why didn’t my jam set properly?
Several things could cause this: underripe apricots (less natural pectin), too much water in the fruit, or not cooking long enough. Try cooking it for another 5-10 minutes and testing again. If it still won’t set, you can add a tablespoon of lemon juice or use it as a syrup instead of jam.
How long does homemade apricot jam last?
Unopened jars stored in a cool, dark place last up to 6 months. Once opened, keep in the refrigerator and use within 3 months. For longer storage, freeze the jam for up to a year.
Can I reduce the sugar in this recipe?
You can reduce it to 1 cup, but the jam will be less shelf-stable and more tart. Store it in the fridge and use within 2-3 weeks. For a lower-sugar version that still sets well, use Pomona’s pectin according to the package directions.
Pin This Recipe!
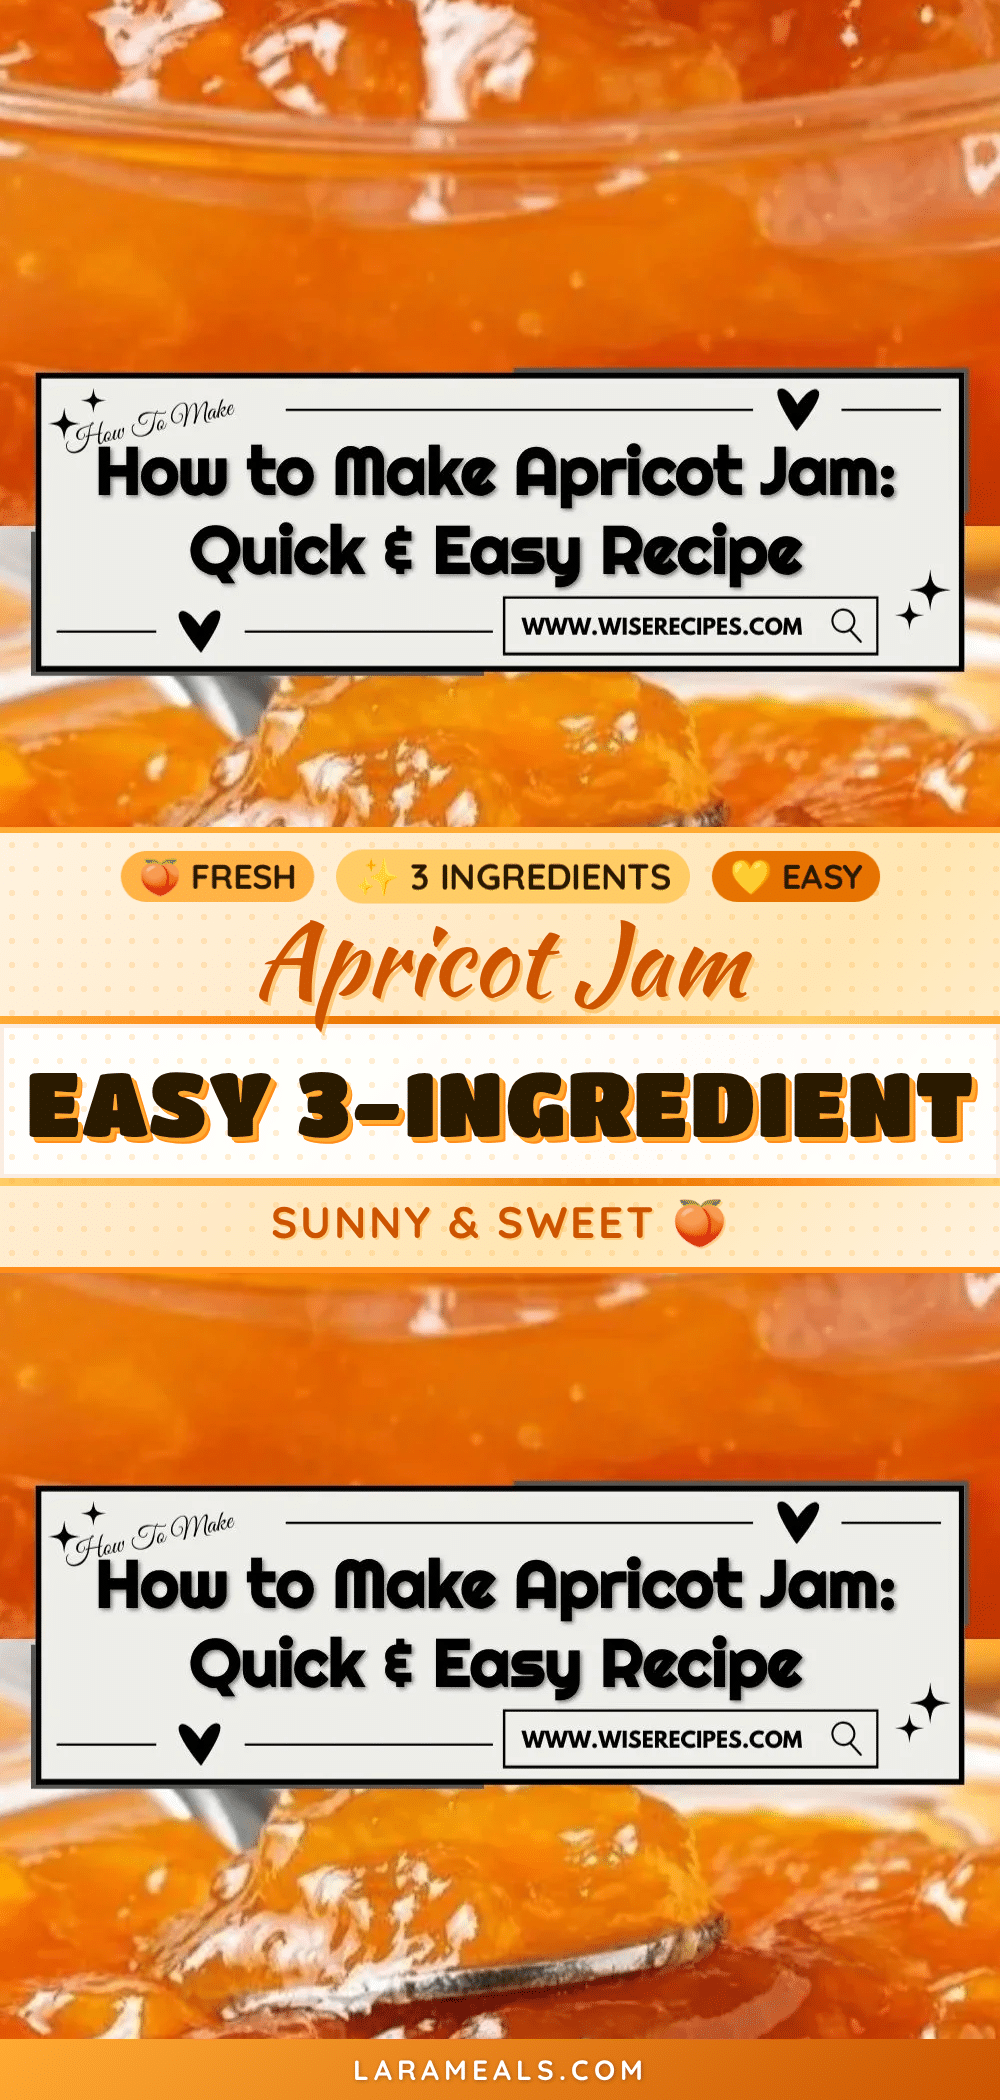
Easy 3-Ingredient Apricot Jam Recipe for Beginners

This easy 3-ingredient apricot jam requires no pectin, no candy thermometer, and no special skills. Just fresh apricots, sugar, and lemon juice come together in about 45 minutes for a perfectly set, golden jam that tastes like pure summer.
- Prep Time: 20 minutes
- Cook Time: 35-40 minutes
- Total Time: 55-60 minutes
- Yield: 3-4 half-pint jars (about 3 cups) 1x
- Category: Preserves
- Cuisine: American
Ingredients
- 2 pounds (about 900 grams) fresh apricots, ripe but firm
- 1 ½ cups (300 grams) granulated sugar
- 2 tablespoons (30 ml) fresh lemon juice
Instructions
- Prepare your apricots: Wash apricots under cool water. Cut each in half along the natural seam, twist to separate, and remove the pit. Do not peel. Cut off any bruised spots. Leave halves as is.
- Macerate the fruit: Place halved apricots in a large heavy-bottomed pot or Dutch oven. Add sugar and lemon juice. Stir gently until sugar starts to dissolve and apricots look glossy. Let sit for 15-20 minutes until liquid pools at the bottom.
- Start cooking: Place pot over medium heat. Stir occasionally as mixture warms up. After 5-7 minutes, sugar will fully dissolve and mixture will start to bubble. Once at a gentle boil, reduce heat to medium-low for a steady simmer.
- Mash and stir: After about 15 minutes of simmering, apricots will be soft enough to mash. Use a wooden spoon or potato masher to break them down to desired consistency (chunky or smooth).
- Cook to setting point: Continue simmering, stirring frequently, for another 15-20 minutes. Jam will darken and thicken. Bubbles become larger and slower, and jam looks glossy instead of watery. Watch carefully during this stage.
- Test for doneness: Place a small plate in the freezer before starting. Drop a small spoonful of jam onto the cold plate. Let sit for 30 seconds, then push with your finger. If it wrinkles and doesn’t run back together, it’s done. If still runny, cook 2-3 more minutes and test again.
- Remove from heat: Once jam passes the wrinkle test, remove pot from heat immediately. Let sit for about 5 minutes to allow foam to settle.
- Skim off foam (optional): Skim off any foam layer with a spoon for clearer jam, or stir it back in.
- Jar your jam: Carefully ladle hot jam into clean, warm glass jars, leaving about ¼ inch headspace. Wipe rims clean with a damp paper towel, then screw on lids.
- Cool and store: Let jars cool completely at room temperature. You’ll hear a ‘pop’ as lids seal. Once cool, store in refrigerator for up to 3 months, or process in a water bath for shelf-stable storage.
Notes
Don’t walk away during the final cooking stage—jam can go from perfect to burnt in under two minutes. Use a wide pot for faster evaporation. Trust the wrinkle test over timing. If jam gets too thick, thin with a tablespoon of hot water. Sterilize jars properly by washing in hot soapy water and placing in a 250°F oven for 10 minutes. Label jars with the date. For best results, work in batches if you have a large quantity of apricots.
Nutrition
- Serving Size: 1 tablespoon
- Calories: 4050
- Sugar: 911
- Carbohydrates: 1012
- Fiber: 1
Keywords: apricot jam, easy jam recipe, 3-ingredient jam, homemade jam, no pectin jam, beginner jam recipe, summer fruit preserves


