Love this? Save it for later!
Share the inspiration with your friends
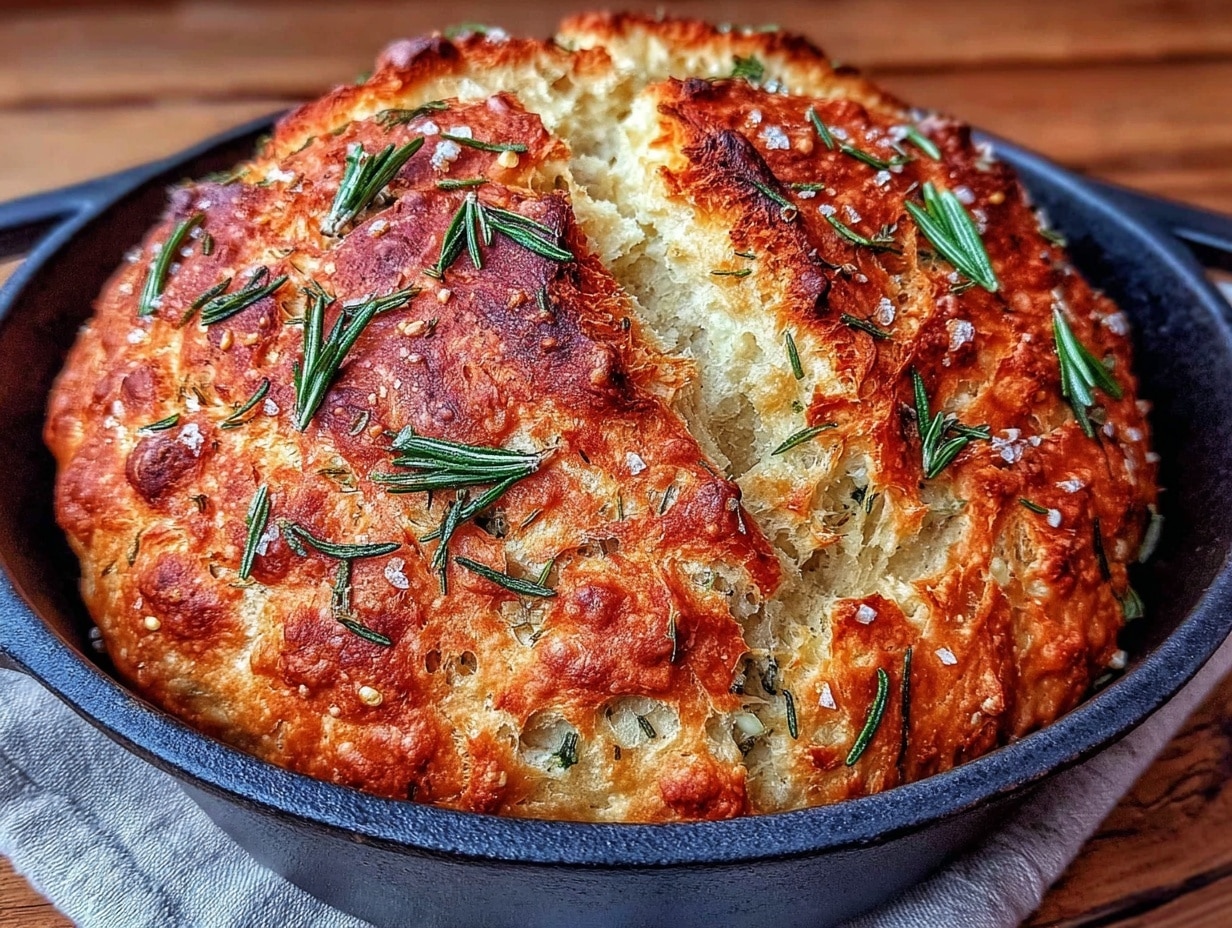
“You sure you don’t want to just order pizza?” my partner asked as I peered into the fridge, the clock ticking past 10 PM. Honestly, I was tired and not in the mood for the usual takeout, but a craving for fresh bread had taken hold. That’s when the idea of this Crispy Dutch Oven Garlic Rosemary Bread popped into my head — a recipe born from a quiet kitchen moment, half-improvised and totally satisfying.
The smell of garlic sizzling in olive oil filled the air as the dough rose quietly on the counter. I wasn’t expecting much, really. Just a simple loaf to hush the hunger and calm the restless night. But when that crust crackled under the knife and the warm rosemary aroma curled through the room, I realized this bread was going to be a keeper.
Making bread in a Dutch oven sounds fancy, but actually, it’s a bit like magic — trapping steam to create a crust so crispy it almost sings with every bite. This loaf has become my go-to for those evenings when I want something homemade without fuss, and it’s the kind of bread that pairs perfectly with pretty much anything — from a quick slather of butter to a full meal like the creamy shrimp and grits with zesty corn salsa I whipped up last week.
There’s something quietly satisfying about this bread, the way rosemary and garlic thread through each bite, making you pause and appreciate simple flavors done right. It’s not just bread; it’s a little moment of calm, a crispy comfort that reminds me that sometimes the best meals come from the quietest nights.
Why You’ll Love This Crispy Dutch Oven Garlic Rosemary Bread Recipe
This recipe isn’t just another bread — it’s been tried, tested, and tweaked until it reliably delivers that perfect crust and soft, flavorful crumb every time. I’ve baked this loaf multiple times in a week (yes, an obsession phase you could say), and it never fails to impress.
- Quick & Easy: Ready in about 3 hours total, including rising — no fancy kneading needed, perfect for busy weeknights or spontaneous baking urges.
- Simple Ingredients: Uses pantry staples like flour, yeast, garlic, and rosemary — no last-minute grocery runs.
- Perfect for Any Occasion: Whether it’s a casual family dinner or a cozy weekend brunch, this bread fits right in.
- Crowd-Pleaser: The crispy crust and fragrant herbs always get compliments from kids and adults alike.
- Unbelievably Delicious: The garlic-infused olive oil and fresh rosemary make this loaf stand out from your everyday bread.
What makes this recipe different? The Dutch oven method creates that bakery-style crust without fancy equipment. Plus, rubbing garlic and rosemary into the dough adds a fragrant, savory twist that feels both rustic and refined. It’s not just bread — it’s the kind of loaf you close your eyes for after the first bite, the kind that turns a simple meal into something memorable.
What Ingredients You Will Need
This recipe uses simple, wholesome ingredients that come together to deliver bold flavor and a satisfying texture without fuss. Most are pantry staples, and substitutions are easy if needed.
- All-purpose flour – 3 ½ cups (420g), the base for a chewy, sturdy crumb (King Arthur brand works great for consistent results)
- Active dry yeast – 2 ¼ teaspoons (one packet), the magic behind the rise
- Warm water – 1 ¾ cups (420ml), about 110°F (43°C), to activate the yeast
- Salt – 2 teaspoons, balances flavor and strengthens gluten
- Fresh rosemary – 2 tablespoons, finely chopped, for that piney, aromatic punch
- Garlic cloves – 3 large, minced or pressed, infuses the dough with savory depth
- Olive oil – 3 tablespoons, plus extra for rubbing the dough and greasing the Dutch oven (extra virgin preferred for flavor)
- Optional: Coarse sea salt – for sprinkling on top to add crunch and a salty finish
For a gluten-free twist, you can swap the all-purpose flour with a blend like Bob’s Red Mill 1-to-1 Gluten-Free Baking Flour, but expect a slightly different texture. If you want to keep it dairy-free and vegan, this recipe already fits the bill perfectly.
Equipment Needed
- Dutch oven (6 to 7-quart size) – Essential for trapping steam and creating that crispy crust. A heavy cast iron version works best. If you don’t have one, a large oven-safe pot with a lid can work, but the crust might be a bit less crisp.
- Mixing bowl – For combining ingredients and letting the dough rise.
- Wooden spoon or dough whisk – For mixing the dough without too much fuss.
- Kitchen towel or plastic wrap – To cover the dough during rising.
- Measuring cups and spoons – For accurate ingredient amounts.
- Sharp knife or bread lame – For scoring the dough before baking.
Personally, I like to use a silicone spatula for folding the dough gently, which helps keep the air bubbles intact. If you’re new to Dutch oven bread baking, seasoning your cast iron regularly keeps that non-stick magic going.
Preparation Method
- Activate the yeast: In a large mixing bowl, combine 1 ¾ cups (420ml) warm water and 2 ¼ teaspoons active dry yeast. Stir gently and let sit for 5-10 minutes until foamy. This step tells you the yeast is alive and ready.
- Mix dry ingredients: Add 3 ½ cups (420g) all-purpose flour and 2 teaspoons salt to the yeast mixture. Stir with a wooden spoon or dough whisk until combined. The dough will be sticky — that’s exactly right. No kneading needed here.
- Incorporate garlic and rosemary: Mix in the 3 minced garlic cloves, 2 tablespoons chopped fresh rosemary, and 3 tablespoons olive oil. Stir until the herbs and garlic are evenly distributed.
- First rise: Cover the bowl loosely with a kitchen towel or plastic wrap. Let the dough rise at room temperature for 1 to 1 ½ hours, until doubled in size and bubbly. This is when the aroma starts to fill your kitchen, trust me.
- Shape the dough: Lightly flour a clean surface and gently turn the dough out. Use floured hands to shape it into a tight ball, folding edges underneath to create surface tension. Don’t press too hard — you want to keep those air pockets intact.
- Second rise: Place the dough seam-side down on a parchment paper square. Cover with a towel and let rest for 30-45 minutes. Meanwhile, preheat your oven to 450°F (230°C) with the Dutch oven inside to get it scorching hot.
- Score and bake: Carefully remove the hot Dutch oven from the oven. Lift the dough by the parchment paper and place it inside. Use a sharp knife to score a shallow “X” on top — this lets steam escape and creates that signature bread look. Drizzle a little olive oil over the top and sprinkle coarse sea salt if you like.
- Bake covered: Put the lid on and bake for 30 minutes. The covered bake traps steam, which crisps the crust beautifully.
- Finish uncovered: Remove the lid and bake another 10-15 minutes until the crust is deep golden and crackly.
- Cool before slicing: Let the bread cool on a wire rack for at least 30 minutes. This step is tough because the smell is irresistible, but it helps the crumb set properly.
Pro tip: If your bread feels too dense, try letting the dough rise a bit longer next time or use slightly warmer water to activate the yeast. The crust should be crisp enough to shatter but not burn, so keep an eye in the last 10 minutes.
Cooking Tips & Techniques
Getting that perfect crust and tender crumb can feel tricky, but a few tricks have saved me more times than I can count. First, don’t skip the Dutch oven preheating — that heat blast is what makes the crust sing.
Another tip: Use fresh yeast if you can, and always check the expiration date. Old yeast can kill your rise and leave you with a heavy loaf. Also, don’t panic if the dough looks sticky — it’s supposed to be! Resist the urge to add too much flour; the stickiness means your bread will be light and airy.
Scoring the dough might seem intimidating, but a quick, confident slash is all you need. Slow or hesitant cuts can deflate the dough. I learned this the hard way after my first cracked loaf.
Timing-wise, you can multitask: while the bread rises, prep a simple side or set your table. I often pair this bread with a warm bowl of soup or alongside the crispy pan-seared salmon with garlic butter I made recently — the garlic flavors marry beautifully.
Last but not least, cooling is non-negotiable. Cutting too soon leads to gummy bread, and honestly, nothing ruins a good loaf faster.
Variations & Adaptations
- Cheesy Herb Bread: Add ½ cup shredded Parmesan or sharp cheddar into the dough along with the garlic and rosemary for a rich, savory twist.
- Whole Wheat Version: Replace half of the all-purpose flour with whole wheat flour to add nuttiness and fiber. You may need to add a little extra water for hydration.
- Spicy Garlic Rosemary Bread: Toss in a pinch of crushed red pepper flakes with the rosemary for a subtle heat kick that pairs well with hearty stews.
- Gluten-Free Option: Use a gluten-free flour blend that’s designed for bread baking and add a teaspoon of xanthan gum if needed. The texture will be softer but still delicious.
- Oven-Free Method: If you don’t have a Dutch oven, bake on a preheated pizza stone and mist the oven with water to create steam, though crust crispness may vary.
I once tried folding in caramelized onions for a sweeter, deeper flavor — that was a hit at a casual dinner party, proving how easy it is to customize this bread to your taste.
Serving & Storage Suggestions
This bread is best enjoyed warm, just out of the oven, slathered with butter or dipped in olive oil and balsamic vinegar. It also makes an incredible base for paninis or alongside a bowl of hearty soup or stew.
For storage, wrap the cooled loaf in a clean kitchen towel or place it in a paper bag to keep the crust crisp for up to two days. If you want to store longer, slice and freeze the bread in an airtight bag — then toast slices directly from frozen to revive that crispness.
Reheating in a 350°F (175°C) oven for 5-7 minutes works wonders, bringing back the fresh-baked aroma and crunch. Over time, the garlic and rosemary flavor deepens, making leftovers even more interesting.
This loaf also pairs surprisingly well with a fresh salad or a simple cheese board when hosting friends, much like the fresh avocado caprese salad I sometimes serve alongside it for a light, balanced meal.
Nutritional Information & Benefits
Each slice of this Crispy Dutch Oven Garlic Rosemary Bread (about 1/12th of the loaf) contains roughly 150 calories, 3 grams of protein, and 30 grams of carbs. It’s a satisfying energy source without being overly dense.
Garlic and rosemary aren’t just flavor stars — they bring antioxidant and anti-inflammatory properties, supporting heart health and digestion. Using olive oil adds healthy fats, making this bread a better choice than many store-bought options loaded with preservatives.
For those watching gluten intake, the recipe can be adapted with gluten-free flours, and it contains no dairy or eggs, making it suitable for vegans and those with lactose intolerance.
Conclusion
This Crispy Dutch Oven Garlic Rosemary Bread is the kind of recipe that surprises you — simple ingredients, straightforward method, but wow, that crispy crust and fragrant crumb make it feel special every time. I love how easy it is to tweak and how it pairs with so many dishes, turning everyday meals into moments worth savoring.
Give it a try and play around with the herbs or add-ins to make it your own. Honestly, once you smell that garlic-rosemary aroma filling your kitchen, you’ll understand why this loaf has quietly become a favorite in my home.
Don’t be shy about sharing your variations or questions below — I’m always curious how others make this bread their own. Happy baking!
Frequently Asked Questions About Crispy Dutch Oven Garlic Rosemary Bread
Can I make this bread without a Dutch oven?
Yes, you can bake it on a preheated pizza stone or baking sheet. To mimic steam, place a pan of hot water in the oven, but the crust might be less crispy.
How long does the dough need to rise?
The first rise takes about 1 to 1 ½ hours until doubled, and the second rise about 30-45 minutes. Times can vary depending on room temperature.
Can I use dried rosemary instead of fresh?
Fresh is best for flavor and aroma, but if you only have dried, use about 1 tablespoon and crush it lightly before adding.
Is this bread suitable for freezing?
Absolutely! Slice and store in an airtight bag in the freezer. Toast slices straight from frozen for best results.
What’s the best way to store leftover bread?
Wrap in a kitchen towel or paper bag at room temperature for up to two days. For longer storage, freeze as mentioned above to keep the crust crisp.
Pin This Recipe!
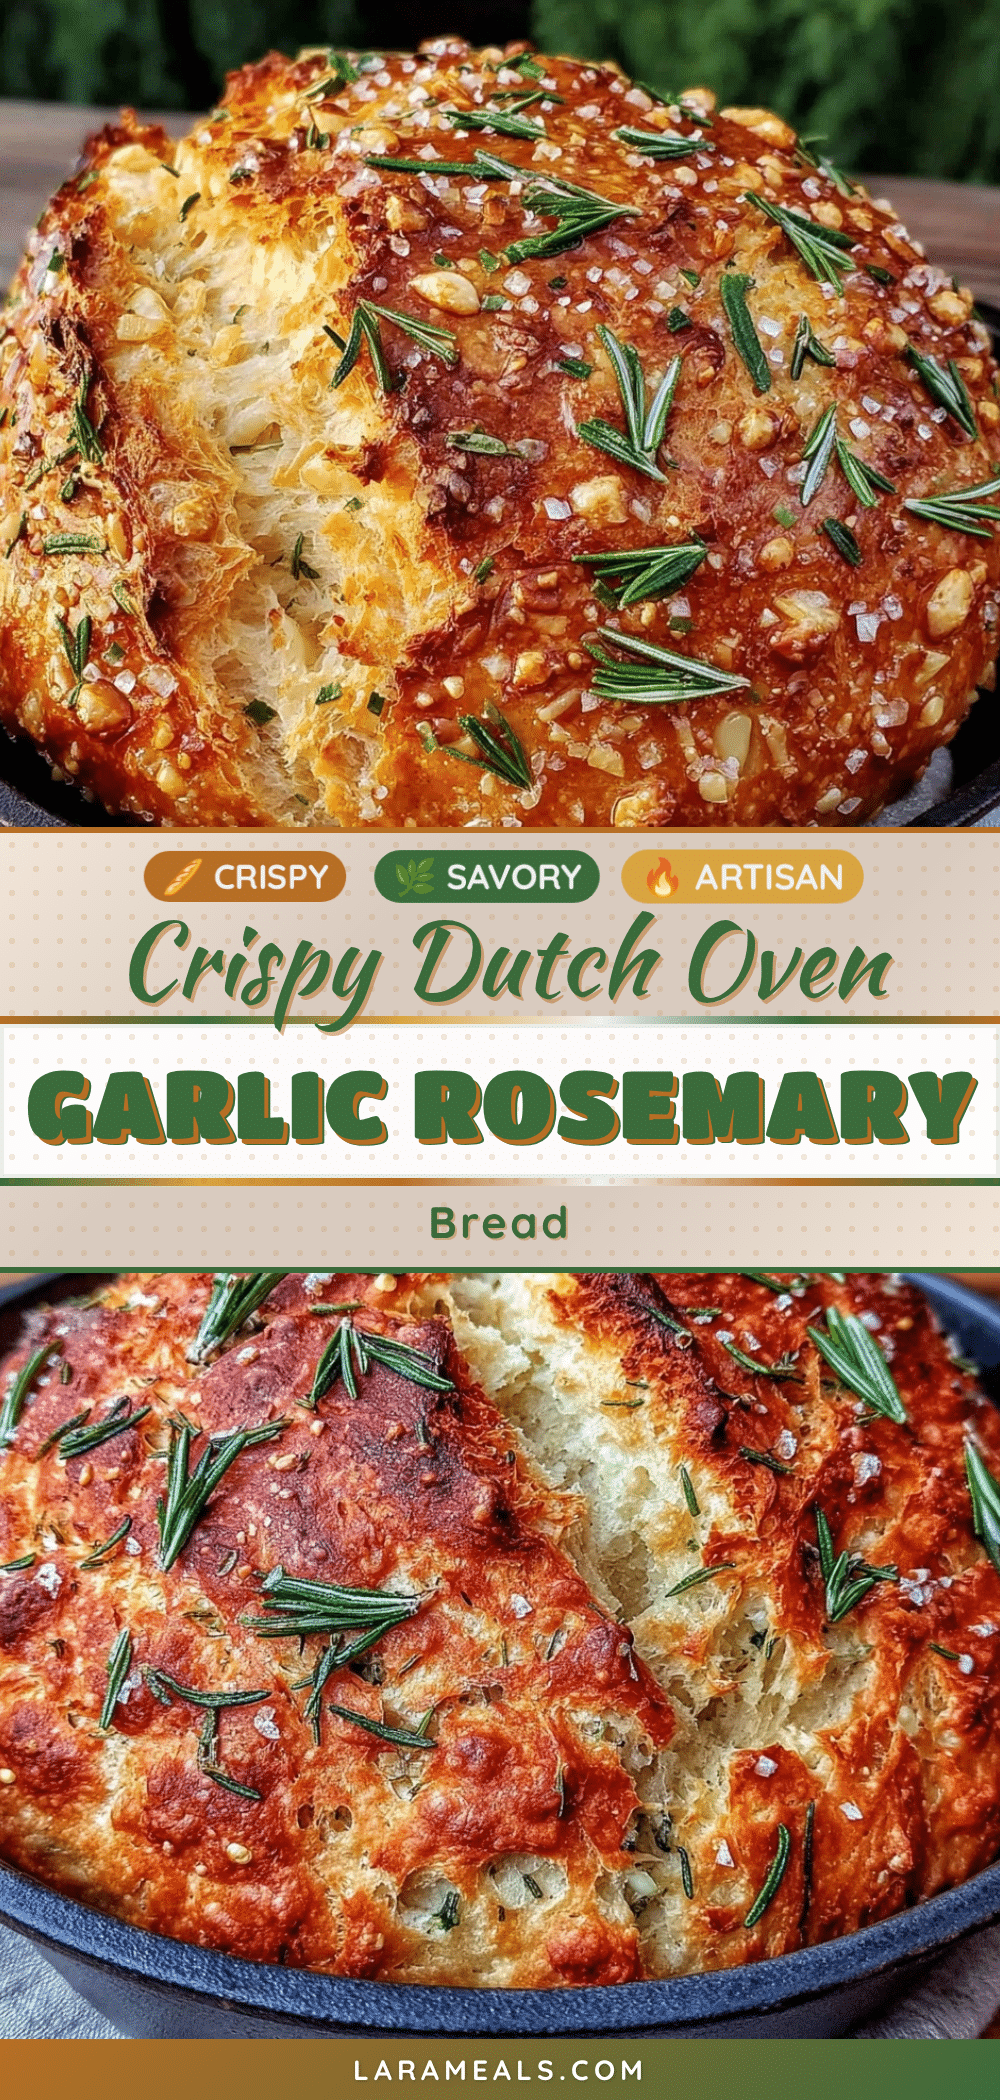
Crispy Dutch Oven Garlic Rosemary Bread

A simple, easy homemade loaf with a crispy crust and fragrant garlic-rosemary flavor, baked in a Dutch oven for bakery-style results.
- Prep Time: 15 minutes
- Cook Time: 45 minutes
- Total Time: 3 hours
- Yield: 12 servings (slices) 1x
- Category: Bread
- Cuisine: American
Ingredients
- 3 ½ cups (420g) all-purpose flour
- 2 ¼ teaspoons active dry yeast (one packet)
- 1 ¾ cups (420ml) warm water (about 110°F / 43°C)
- 2 teaspoons salt
- 2 tablespoons fresh rosemary, finely chopped
- 3 large garlic cloves, minced or pressed
- 3 tablespoons olive oil, plus extra for rubbing dough and greasing Dutch oven
- Optional: coarse sea salt for sprinkling on top
Instructions
- Activate the yeast: In a large mixing bowl, combine warm water and active dry yeast. Stir gently and let sit for 5-10 minutes until foamy.
- Mix dry ingredients: Add all-purpose flour and salt to the yeast mixture. Stir with a wooden spoon or dough whisk until combined. The dough will be sticky.
- Incorporate garlic and rosemary: Mix in minced garlic, chopped rosemary, and olive oil until evenly distributed.
- First rise: Cover the bowl loosely with a kitchen towel or plastic wrap. Let the dough rise at room temperature for 1 to 1 ½ hours until doubled in size and bubbly.
- Shape the dough: Lightly flour a clean surface and gently turn the dough out. Shape into a tight ball, folding edges underneath to create surface tension.
- Second rise: Place dough seam-side down on parchment paper. Cover with a towel and let rest for 30-45 minutes. Preheat oven to 450°F (230°C) with Dutch oven inside.
- Score and bake: Remove hot Dutch oven from oven. Lift dough by parchment paper and place inside. Score a shallow ‘X’ on top. Drizzle olive oil and sprinkle coarse sea salt if desired.
- Bake covered: Put lid on and bake for 30 minutes to trap steam and crisp crust.
- Finish uncovered: Remove lid and bake another 10-15 minutes until crust is deep golden and crackly.
- Cool before slicing: Let bread cool on a wire rack for at least 30 minutes before slicing.
Notes
Preheat the Dutch oven to trap steam for a crispy crust. Do not add extra flour to sticky dough. Let bread cool completely before slicing to avoid gummy texture. Use fresh yeast for best rise. Optional coarse sea salt on top adds crunch and flavor.
Nutrition
- Serving Size: 1 slice (1/12th of l
- Calories: 150
- Sugar: 0.5
- Sodium: 350
- Fat: 5
- Saturated Fat: 0.7
- Carbohydrates: 30
- Fiber: 1.5
- Protein: 3
Keywords: Dutch oven bread, garlic rosemary bread, homemade bread, crispy crust bread, easy bread recipe, no-knead bread


