Love this? Save it for later!
Share the inspiration with your friends
“You’re gonna burn the marshmallows again,” my niece teased, peering over the fire pit as I fumbled with the skewers. Honestly, the whole outdoor s’mores mission was turning into a bit of a disaster—sticky fingers, uneven toasting, and a sudden drizzle sending us scrambling. That’s when I decided something had to change. Instead of risking another charred marshmallow episode, I threw together this easy gooey s’mores bars recipe right in my kitchen. No flames, no fuss, just that perfect combination of melty chocolate, pillowy marshmallows, and crunchy graham cracker crust.
What surprised me most was how quickly these bars became the go-to comfort snack on chilly evenings. I found myself baking them multiple times a week—sometimes with a cup of tea, sometimes just because I needed a little sweet fix after a long day. The bars are ridiculously gooey, but hold together nicely, so you can grab a square without the sticky mess (though, honestly, a little stickiness is part of the charm!). These s’mores bars have that nostalgic campfire vibe without leaving the cozy kitchen behind. They’re perfect when you want a treat that feels like a warm hug in dessert form.
It’s funny how a messy night outside led to this simple recipe that’s now a staple for unwinding. The balance between crunchy crust, melted chocolate, and soft marshmallows is just right—not too sweet, not too plain. I guess sometimes the best recipes come from those “let’s just try this and see” moments, and this one stuck around for good reason.
Why You’ll Love This Recipe
This easy gooey s’mores bars recipe has been tested over and over, and here’s why it shines:
- Quick & Easy: From mixing to baking, these bars come together in under 30 minutes—ideal for last-minute cravings or a cozy weekend treat.
- Simple Ingredients: You probably have everything on hand—graham crackers, chocolate, marshmallows, butter—no need to hunt down anything fancy.
- Perfect for Casual Gatherings: Whether it’s a low-key movie night or a casual potluck, these bars always disappear fast.
- Crowd-Pleaser: Kids adore the gooey marshmallow center, and adults appreciate the nostalgic yet refined flavor combo.
- Unbelievably Delicious: The trick is layering the ingredients just right to get that perfect gooey texture that melts in your mouth.
What sets this recipe apart? Instead of chopping chocolate bars, I use high-quality chocolate chips for even melting, and the marshmallows are gently pressed into the top so they puff up beautifully without burning. Plus, the buttery graham cracker crust has just the right crunch and a hint of cinnamon for a subtle warmth. It’s not just a s’mores bar—it’s the version that makes you pause, smile, and maybe even sneak a second piece (or third).
This recipe isn’t just dessert—it’s that cozy, comforting moment you didn’t know you needed. If you’ve ever loved the classic campfire s’mores but wished they were a little less messy or more convenient, these bars deliver exactly that feeling.
What Ingredients You Will Need
This recipe uses simple, wholesome ingredients to deliver the iconic s’mores flavor with zero hassle. Most of these are pantry staples, and if you want to swap a few things here and there, I’ve got you covered below.
- Graham Cracker Crust:
- 1 ½ cups graham cracker crumbs (about 10 full sheets, finely crushed)
- 6 tablespoons unsalted butter, melted (adds richness and binds the crust)
- 2 tablespoons granulated sugar (balances the buttery crust)
- ½ teaspoon ground cinnamon (optional, but adds warmth)
- Chocolate Layer:
- 1 ½ cups semisweet chocolate chips (I like Ghirardelli for smooth melting)
- Marshmallow Topping:
- 2 cups mini marshmallows (for that gooey, pillowy top)
- Optional Enhancements:
- 1 teaspoon vanilla extract (mixed into crust for subtle depth)
- A pinch of sea salt sprinkled on top (balances sweetness)
Ingredient tips: For gluten-free options, swap graham cracker crumbs with gluten-free graham-style crumbs or crushed gluten-free cookies. If you want a dairy-free version, use vegan butter and dairy-free chocolate chips—though the texture will be slightly different. During summer, I sometimes add fresh berries on top before baking for a tart contrast that’s surprisingly good.
Equipment Needed
- Baking pan (an 8×8-inch or 9×9-inch square pan works best for even bars)
- Mixing bowls (one large for crust, one for layering)
- Measuring cups and spoons (accuracy matters for the crust)
- Spatula or wooden spoon (for mixing and pressing the crust)
- Microwave-safe bowl or double boiler (to gently melt chocolate chips if needed)
- Aluminum foil or parchment paper (optional, for easy removal and cleanup)
If you don’t have a food processor to crush graham crackers, just pop them in a sealed plastic bag and bash with a rolling pin or heavy pan—classic and effective. I usually line my pan with parchment paper; it makes lifting the bars out a breeze. For melting chocolate, a double boiler is ideal, but a microwave works fine if you heat in short bursts and stir often to avoid burning.
Preparation Method
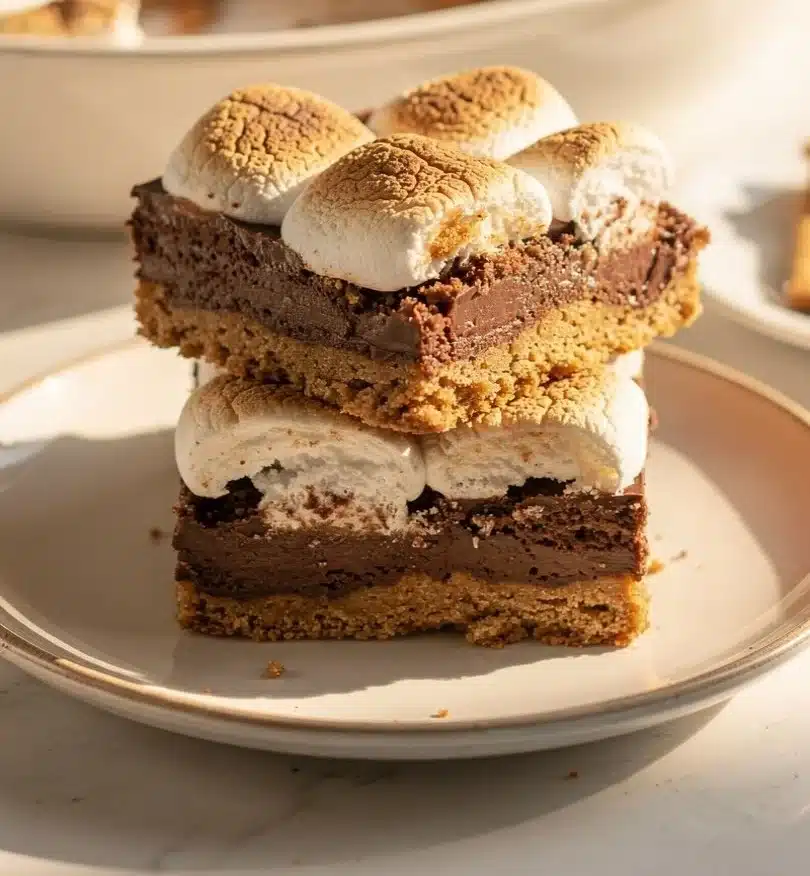
- Prep the crust: Preheat your oven to 350°F (175°C). In a large bowl, combine 1 ½ cups graham cracker crumbs, 6 tablespoons melted butter, 2 tablespoons sugar, and ½ teaspoon cinnamon. Stir until everything is evenly moistened and crumbly.
- Press crust into pan: Line your 8×8-inch pan with parchment paper or lightly grease it. Press the graham cracker mixture firmly and evenly into the bottom. Use the back of a spoon or a flat-bottomed glass to compact it well. Bake for 8-10 minutes until set and slightly golden around the edges.
- Prepare chocolate layer: While the crust bakes, measure out 1 ½ cups chocolate chips. You can either spread them directly on the hot crust to melt gently, or microwave 30 seconds at a time, stirring in between, until smooth but not overheated.
- Assemble the bars: Once the crust is out of the oven, immediately sprinkle the chocolate chips evenly over the warm crust. Let them sit for a minute to soften, then spread into an even layer using a spatula.
- Add the marshmallows: Top the melted chocolate with 2 cups mini marshmallows, pressing them lightly so they stick but still puff up during baking.
- Bake to gooey perfection: Return the pan to the oven and bake for another 5-7 minutes, or until marshmallows are golden and puffed. Watch closely because marshmallows can go from golden to burnt quickly!
- Cool and cut: Remove from oven and let cool completely on a wire rack—this helps the bars set without losing gooeyness. Once cool, lift out the whole slab using parchment paper and cut into squares (about 9-12 pieces).
Pro tip: If your marshmallows brown too fast, tent the pan loosely with foil halfway through baking. And if the chocolate layer seems too thick, just spread it thinner next time; it’s all about balance here. When cutting, a sharp serrated knife works best to avoid squishing the bars.
Cooking Tips & Techniques
So, you’d think s’mores bars are foolproof, but a few lessons popped up through trial and error. First, don’t skip pressing the crust firmly—that’s key to a sturdy base. I once baked bars with a loose crust and ended up with a crumbly mess that didn’t hold up at all.
Melting the chocolate directly on the hot crust is a neat trick that saves time and dishes. Just sprinkle and let residual heat do its job while you prep marshmallows. Also, the marshmallows should be mini-sized for even melting and that signature gooey top. Regular-sized ones tend to burn or not melt uniformly.
Timing is everything—bake the marshmallows just until golden. Too long, and they go from perfect gooey to burnt out of nowhere. If you’re multitasking, setting a timer helps because it’s easy to get distracted.
If you want even gooier bars, try adding a layer of chocolate chips under the crust or mixing a few chopped Hershey bars in. For a little crunch, a sprinkle of chopped nuts or toffee bits on top before baking works wonders. Don’t be afraid to experiment a little; this recipe handles tweaks well.
Variations & Adaptations
- Peanut Butter S’mores Bars: Add ½ cup creamy peanut butter swirled into the chocolate layer before adding marshmallows for a nutty twist.
- Salted Caramel S’mores Bars: Drizzle store-bought or homemade caramel sauce over the marshmallows before baking, then sprinkle with flaky sea salt after baking.
- Vegan/Dairy-Free Version: Use dairy-free butter and vegan chocolate chips. Swap marshmallows with vegan marshmallows (look for brands like Dandies). The texture shifts slightly but still satisfies.
- Seasonal Fruit Add-In: For summer, toss in fresh raspberries or sliced strawberries between the crust and chocolate to add a tart pop.
- Crunchy Nut Topping: Sprinkle chopped toasted almonds, pecans, or walnuts on top of marshmallows before baking for extra texture and flavor.
Once, I tried swapping graham cracker crumbs for crushed chocolate cookies—basically a brownie base—and it was a game changer for chocolate lovers. Also, baking the bars in muffin tins makes perfect individual portions for parties.
Serving & Storage Suggestions
These s’mores bars are best served at room temperature or slightly warm for that melty marshmallow effect. I like to cut them into bite-sized squares for sharing or larger pieces for a satisfying snack. They pair perfectly with a cup of hot cocoa or a creamy latte, making them a cozy indulgence on chilly nights.
Store bars in an airtight container at room temperature for up to 2 days. They’ll soften a bit as the marshmallows settle, which is lovely. For longer storage, keep them refrigerated for up to a week, but bring to room temperature before serving to regain gooeyness. You can also freeze them for up to 2 months; just thaw overnight in the fridge.
Reheat briefly in the microwave (about 10 seconds) if you want that fresh-from-the-oven feel again. Overheating can make marshmallows tough, so watch closely. Interestingly, I find the flavors deepen a bit after a day or two, so leftovers are often even better.
Nutritional Information & Benefits
Each bar roughly contains about 250-300 calories, depending on size. They’re a treat best enjoyed in moderation, but here’s the bright side: using quality dark chocolate chips adds antioxidants, and the graham cracker crust provides some whole grain if you choose whole wheat crumbs.
This recipe is free from artificial preservatives and uses simple ingredients, so you know exactly what you’re eating. For those with dietary restrictions, gluten-free and vegan versions are easy to make with simple substitutions. Just be mindful of marshmallow ingredients, as traditional ones contain gelatin.
From a wellness perspective, these bars satisfy sweet cravings without overloading on processed sugars, especially if you use bittersweet chocolate and reduce added sugar in the crust. It’s a cozy, feel-good treat that’s as honest as dessert gets.
Conclusion
Easy gooey s’mores bars are a perfect way to capture that campfire magic without the hassle or mess. They’re quick, simple, and just the right mix of crunchy and melty—with a cozy vibe that makes you want to linger over dessert. I love how this recipe lets me whip up a comforting treat on a whim, whether it’s for a quiet night in or a casual get-together.
Feel free to play around with flavors and textures—these bars are forgiving and fun to customize. And if you’re into easy, comforting recipes, you might enjoy the creamy layers in my Neapolitan cake recipe or the cozy vibes from the slow cooker chicken and dumplings.
Try making these s’mores bars your own, and savor every gooey bite—because sometimes, comfort food really is the best company.
FAQs
Can I use jumbo marshmallows instead of mini ones?
Jumbo marshmallows don’t melt as evenly and can burn easily. Mini marshmallows are better for that gooey, uniform topping.
How do I prevent the marshmallows from burning?
Bake just until the marshmallows turn golden brown, about 5-7 minutes. You can tent the bars with foil halfway to slow browning if needed.
Can I make these bars ahead of time?
Yes! They store well in an airtight container for a few days. Reheat briefly for that fresh gooey texture.
What’s the best way to crush graham crackers if I don’t have a food processor?
Place graham crackers in a sealed plastic bag and crush with a rolling pin or heavy pan until fine crumbs form.
Are these bars suitable for gluten-free diets?
They can be! Use gluten-free graham cracker crumbs or alternative gluten-free cookies for the crust, and double-check marshmallow ingredients for any gluten.
Pin This Recipe!
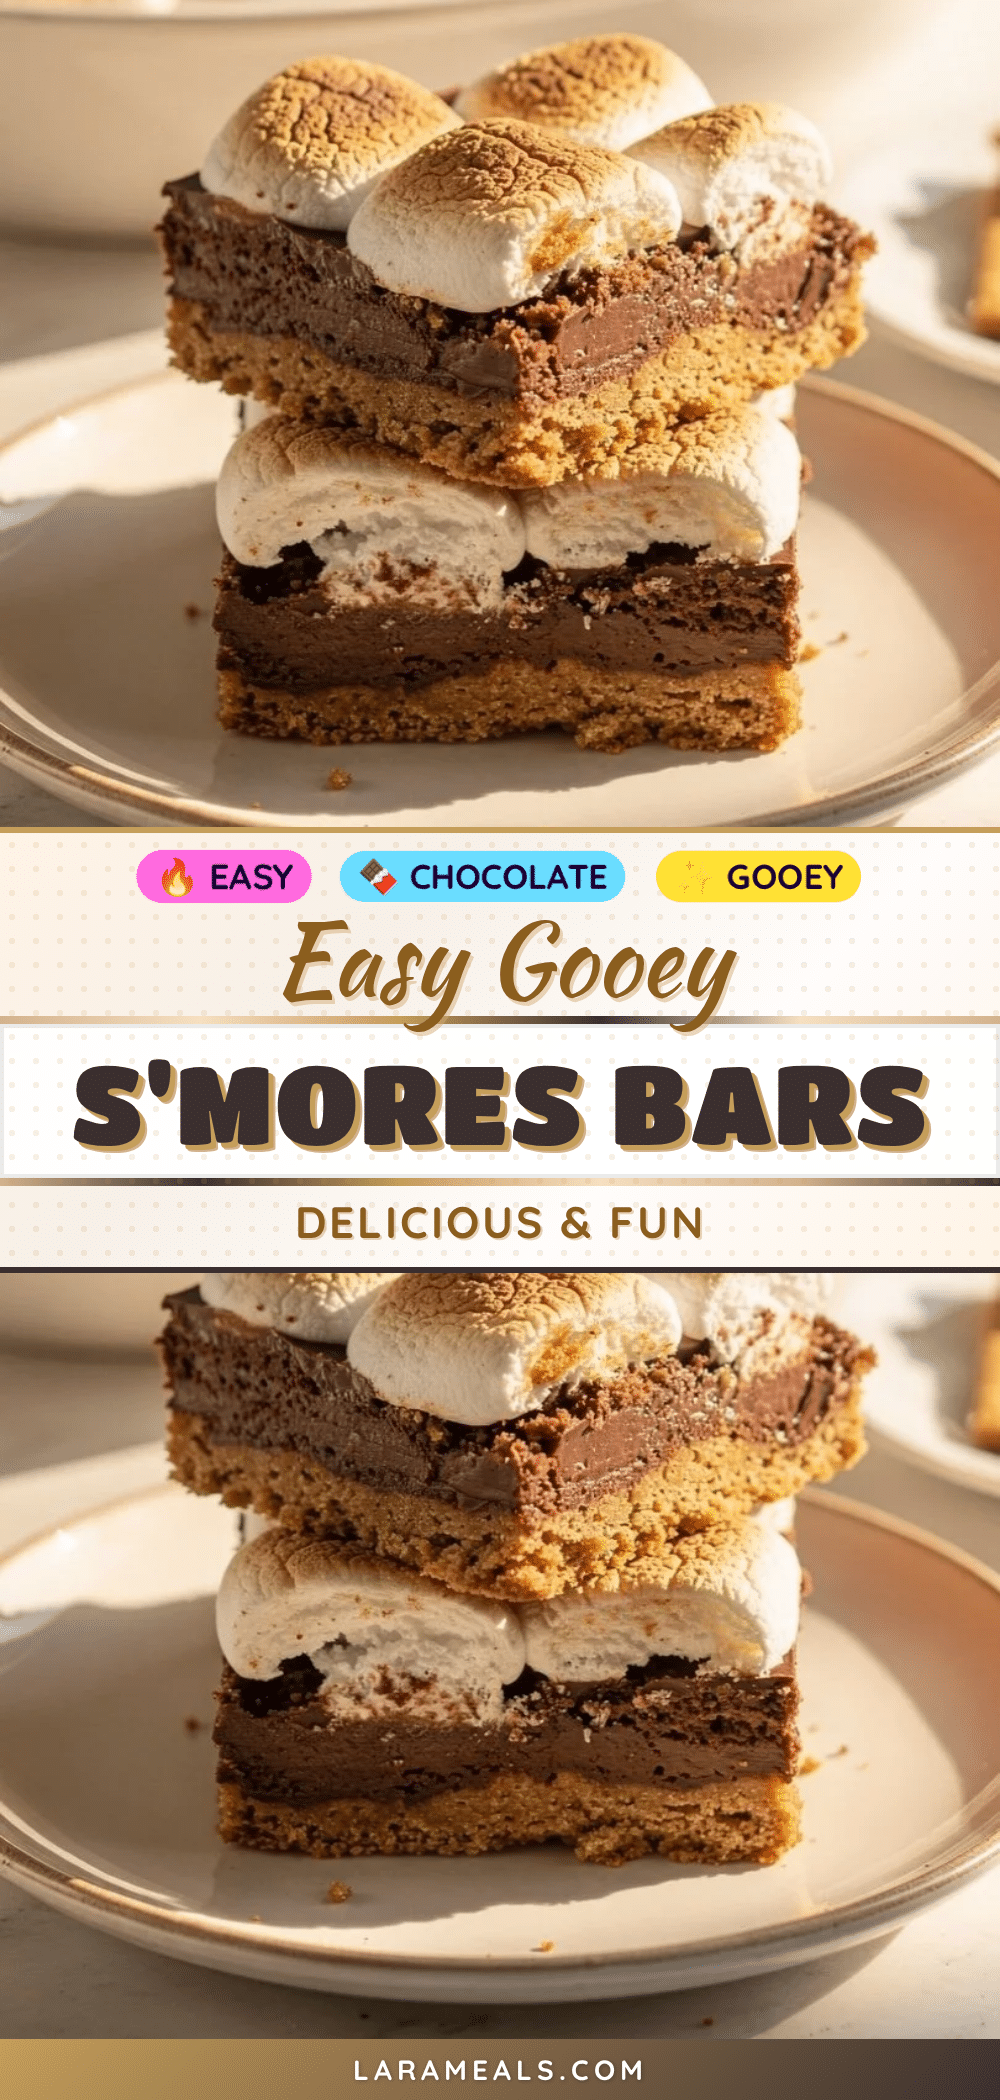
Easy Gooey S’mores Bars Recipe for the Perfect Cozy Treat
These easy gooey s’mores bars combine a crunchy graham cracker crust, melted chocolate, and pillowy marshmallows for a nostalgic campfire treat made conveniently in your kitchen.
- Prep Time: 10 minutes
- Cook Time: 15 minutes
- Total Time: 25 minutes
- Yield: 9-12 bars 1x
- Category: Dessert
- Cuisine: American
Ingredients
- 1 ½ cups graham cracker crumbs (about 10 full sheets, finely crushed)
- 6 tablespoons unsalted butter, melted
- 2 tablespoons granulated sugar
- ½ teaspoon ground cinnamon (optional)
- 1 ½ cups semisweet chocolate chips
- 2 cups mini marshmallows
- 1 teaspoon vanilla extract (optional)
- A pinch of sea salt (optional)
Instructions
- Preheat your oven to 350°F (175°C). In a large bowl, combine graham cracker crumbs, melted butter, sugar, and cinnamon. Stir until evenly moistened and crumbly.
- Line an 8×8-inch pan with parchment paper or lightly grease it. Press the graham cracker mixture firmly and evenly into the bottom. Bake for 8-10 minutes until set and slightly golden around the edges.
- While the crust bakes, measure out the chocolate chips. Spread them directly on the hot crust to melt gently, or microwave in 30-second bursts, stirring until smooth.
- Once the crust is out of the oven, immediately sprinkle the chocolate chips evenly over the warm crust. Let sit for a minute, then spread into an even layer using a spatula.
- Top the melted chocolate with mini marshmallows, pressing them lightly so they stick but still puff up during baking.
- Return the pan to the oven and bake for another 5-7 minutes, or until marshmallows are golden and puffed. Watch closely to avoid burning.
- Remove from oven and let cool completely on a wire rack. Once cool, lift out the slab using parchment paper and cut into 9-12 squares.
Notes
If marshmallows brown too fast, tent the pan loosely with foil halfway through baking. Use mini marshmallows for even melting and gooey texture. Press crust firmly to avoid crumbly bars. A sharp serrated knife works best for cutting bars without squishing.
Nutrition
- Serving Size: 1 bar (if cut into 9
- Calories: 275
- Sugar: 22
- Sodium: 120
- Fat: 15
- Saturated Fat: 9
- Carbohydrates: 34
- Fiber: 2
- Protein: 3
Keywords: s’mores bars, gooey dessert, easy s’mores recipe, chocolate marshmallow bars, graham cracker crust, cozy treat


