Love this? Save it for later!
Share the inspiration with your friends
“Hey, what’s that smell?” my partner asked, poking their head into the kitchen while I was juggling dinner prep and a mountain of work emails. Honestly, I wasn’t expecting much when I tossed together this garlic parmesan chicken cutlet recipe on a whim—just a quick fix on a night that felt like it would never end. But as those golden, crispy cutlets sizzled in the pan, filling the air with that irresistible aroma of garlic and melted cheese, skepticism turned into curiosity. I remember thinking, “Could something this simple actually taste that good?”
The first bite confirmed it: crispy on the outside, bursting with garlicky, cheesy flavor, and unbelievably juicy inside. It was one of those rare moments when you realize a last-minute dinner can actually feel special without the stress. Since then, this recipe has quietly become a staple in my kitchen — perfect for those evenings when you want comfort without a ton of fuss. There’s just something about that crunchy crust paired with the tender chicken that keeps pulling me back in.
Honestly, it’s the kind of recipe that doesn’t need a fancy occasion to shine. Whether it’s a quick solo dinner or a casual meal for friends, it delivers every time. And the best part? It’s straightforward enough to make without breaking a sweat, which is a total win in my book. If you’re looking for that ideal balance between crispy texture and juicy, flavorful meat, I think you’ll appreciate why this chicken cutlet recipe stuck around in my rotation.
Why You’ll Love This Recipe
I’ve made crispy garlic parmesan chicken cutlets more times than I can count, and this version keeps winning — not just with me but with everyone I serve it to. It’s the kind of dish that’s easy to trust when you need a reliable dinner option that tastes like you put in way more effort than you actually did.
- Quick & Easy: Ready in about 30 minutes, perfect for those busy weeknights when time is tight but you still want something satisfying.
- Simple Ingredients: No fancy or hard-to-find items here — just pantry staples and fresh basics you probably have on hand.
- Perfect for Casual Dinners: Whether it’s a laid-back family meal or a last-minute invite, these cutlets fit the bill beautifully.
- Crowd-Pleaser: Kids, adults, even picky eaters usually can’t resist that crispy garlic parmesan crust.
- Unbelievably Delicious: The crispy exterior contrasts perfectly with a tender, juicy center — a combo that hits all the right comfort food notes.
What makes this recipe stand out is the balance. The garlic and parmesan flavors are bold but not overpowering, and the breading technique keeps the crust crunchy without drying out the chicken. I like to say it’s my version of comfort food that doesn’t feel heavy or greasy, which honestly makes all the difference after a long day. Plus, it’s a great candidate for pairing with easy sides — if you’re in the mood for something different, try it alongside a fresh salad or buttery mashed potatoes.
If you enjoy recipes like the crispy ultimate BBQ chicken grilled cheese sandwich, you’ll find this cutlet recipe just as satisfying, with its own crispy, savory charm that’s perfect for dinner or even sandwich-making the next day.
What Ingredients You Will Need
This recipe uses simple, wholesome ingredients to deliver bold flavor and satisfying texture without the fuss. Most of these are pantry staples, so you won’t need a special trip to the store unless you’re running low on basics like garlic or parmesan.
- Chicken Cutlets: 4 boneless, skinless chicken breasts, pounded thin (about 1/2 inch thick) — this helps them cook evenly and stay juicy.
- Garlic: 3 cloves, minced fresh garlic (adds that punch of aromatic flavor, fresh garlic is key here).
- Parmesan Cheese: 1/2 cup freshly grated parmesan (grating it yourself really makes a difference in flavor and texture).
- Bread Crumbs: 1 cup panko bread crumbs (for maximum crunch; you can swap for gluten-free panko if needed).
- Flour: 1/2 cup all-purpose flour (helps the breading stick perfectly).
- Eggs: 2 large eggs, beaten (room temperature for better coating).
- Seasonings: 1 tsp salt, 1/2 tsp black pepper, 1/2 tsp dried Italian herbs (or a mix of oregano and basil).
- Olive Oil: 3-4 tbsp for frying (I prefer extra virgin for flavor, but regular olive oil works fine).
- Butter: 1 tbsp unsalted butter (optional, for extra richness in the pan).
For a fresh twist, sometimes I add a pinch of smoked paprika or swap half the parmesan for Pecorino Romano for a sharper bite. If you want a dairy-free option, you can replace parmesan with nutritional yeast, which adds a cheesy note without the dairy.
Equipment Needed
- Meat Mallet or Rolling Pin: To pound the chicken breasts evenly. If you don’t have one, a heavy skillet works too, just be gentle.
- Three Shallow Bowls: For the flour, egg wash, and bread crumb mixtures — makes the dredging process simple and organized.
- Nonstick Skillet or Cast Iron Pan: A sturdy pan is best for even heat and a great sear. I use my cast iron for the perfect crust every time.
- Tongs: For flipping the cutlets without disturbing the crust.
- Wire Rack or Paper Towels: To drain the cutlets after frying, keeping them crispy.
If you’re on a budget, a heavy-bottomed nonstick pan is a great alternative to cast iron and easier to clean. Just make sure the pan is hot enough before adding the cutlets to avoid sticking. And a simple kitchen timer helps keep track of frying time so you don’t overcook.
Preparation Method
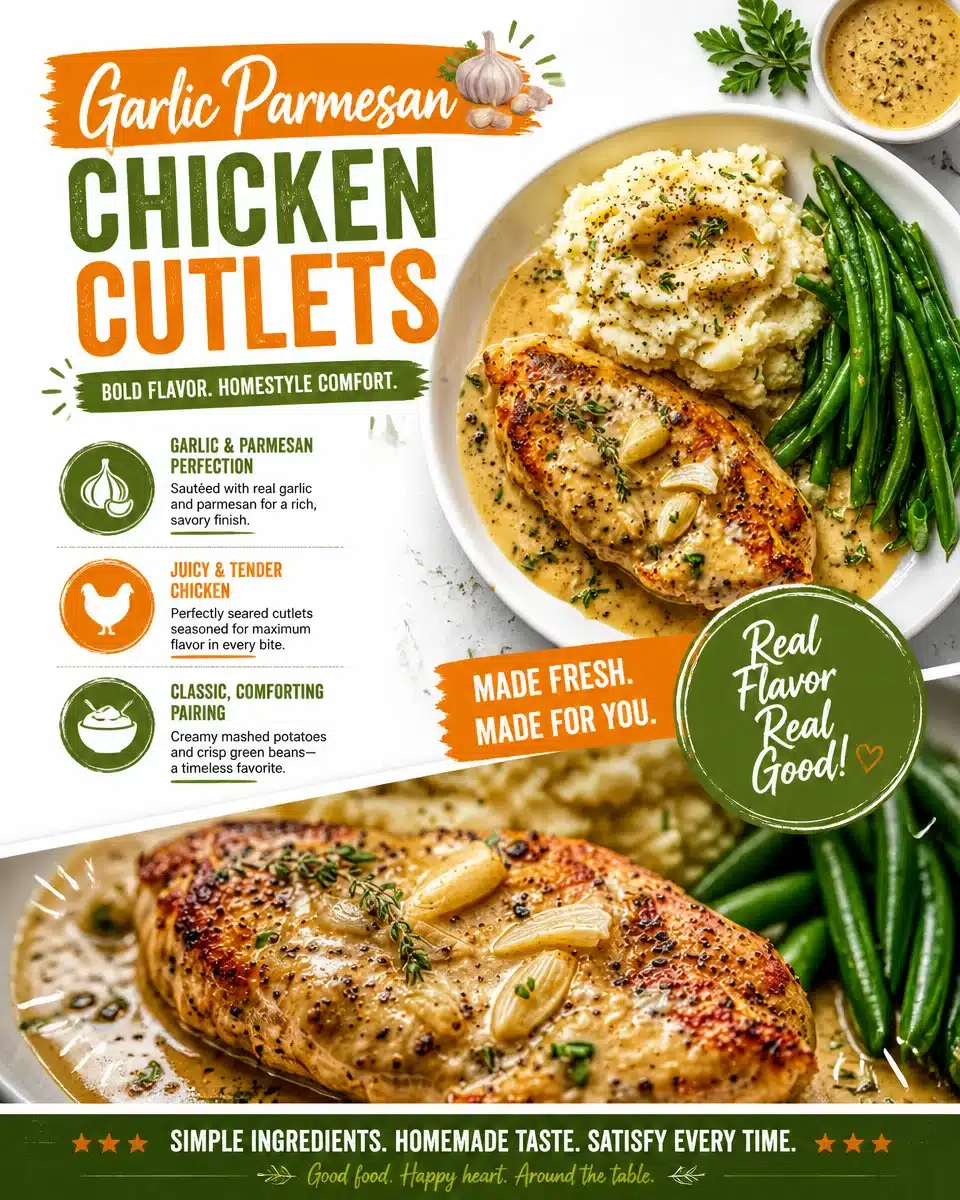
- Prepare the chicken: Place each chicken breast between two sheets of plastic wrap or parchment paper. Gently pound with a meat mallet or rolling pin until about 1/2 inch (1.3 cm) thick. This keeps them tender and ensures even cooking. It usually takes around 3-4 minutes for all four.
- Season and set up dredging stations: In one shallow bowl, mix the flour with salt, pepper, and Italian herbs. In the second bowl, beat the eggs with the minced garlic. In the third, combine the panko bread crumbs and grated parmesan cheese. This layering of flavor is what gives the crust its signature taste.
- Dredge the chicken: Coat each cutlet first in the flour mixture, shaking off excess. Then dip into the egg and garlic mixture, making sure it’s evenly coated. Finally, press into the parmesan-panko mixture, covering all sides. This step usually takes about 10 minutes and is where the magic starts.
- Heat the pan: Place olive oil and butter in your skillet over medium heat. Let the butter melt and the oil shimmer but not smoke. This usually takes about 3-4 minutes.
- Cook the cutlets: Place cutlets gently in the hot pan. Don’t overcrowd — cook in batches if needed. Fry for 3-4 minutes per side, until golden brown and crispy. You can tell they’re ready to flip when the edges turn a deep golden color and release easily from the pan.
- Drain and rest: Transfer cooked cutlets to a wire rack or paper towel-lined plate to drain any excess oil. Let them rest for 2-3 minutes before serving to lock in juices.
Beware of turning the heat too high — burnt garlic can become bitter, and the crust might brown too fast before the inside cooks. If you notice the crust frying unevenly, lower the heat a bit and give the pan a gentle shake now and then.
Cooking Tips & Techniques
One trick I learned the hard way is never to skip pounding the chicken breasts evenly. I thought skipping that step would save time, but it ended up with dry edges and undercooked centers — no fun. Pounding ensures the cutlets cook through quickly and stay juicy.
Also, be patient with the breading. Press the parmesan and panko mixture firmly onto the chicken so it sticks well during frying. If your mixture is too loose, the crust falls off or gets soggy.
Using a combo of olive oil and butter is my favorite for frying. The butter adds richness and helps brown the crust, while the olive oil raises the smoke point so things don’t burn as easily. If you want extra crispiness, try flipping the cutlets only once — multiple flips can break the crust.
Timing is everything here. Keep your pan hot but not scorching. If it’s too cool, the crust soaks up oil and gets greasy; too hot and you risk burning the garlic and parmesan. I usually keep the heat medium to medium-low and adjust as I go.
For a hands-off side with this, I often multitask by prepping a quick salad or roasting veggies while the cutlets cook. It keeps the whole meal moving smoothly without stress.
Variations & Adaptations
Feel free to make this recipe your own! Here are a few ways I’ve mixed things up:
- Low-Carb Version: Swap panko for crushed pork rinds or almond flour to keep it gluten-free and lower in carbs without losing the crunch.
- Spicy Kick: Add a pinch of cayenne pepper or smoked paprika into the breading mix for a subtle heat that balances the richness.
- Herbaceous Twist: Mix fresh chopped parsley or thyme into the parmesan-panko coating for a fresh burst of flavor. I once threw in some fresh rosemary one evening — it was surprisingly good!
- Oven-Baked Option: For a lighter take, bake the breaded cutlets at 425°F (220°C) on a wire rack for 20 minutes, flipping halfway. You won’t get the same deep crunch but still a tasty alternative.
- Dairy-Free: Use nutritional yeast instead of parmesan and a flax egg or aquafaba for the egg wash. The texture changes slightly, but it’s still delicious.
I’ve also tried adding a lemon zest to the breading once, which gave a nice brightness to the savory flavors — something I might do again when lemons are in season.
Serving & Storage Suggestions
These chicken cutlets are best served hot and fresh out of the pan, when the crust is at its crispiest. I like to garnish with a sprinkle of extra parmesan and a squeeze of fresh lemon juice to brighten things up. They pair beautifully with simple sides like garlic mashed potatoes, steamed green beans, or a light arugula salad dressed with lemon vinaigrette.
If you want to keep things casual, sandwiching the cutlets in a crusty roll with some mayo and fresh greens makes for a killer lunch or dinner — kind of like a riff on the Mediterranean chicken tacos, but with that crispy crust front and center.
To store leftovers, place cooled cutlets in an airtight container and refrigerate for up to 3 days. For best results when reheating, warm them in a 375°F (190°C) oven for about 10 minutes on a wire rack — this helps keep the crust crisp. Avoid microwaving if you want to preserve the texture, as it tends to make the breading soggy.
Interestingly, the flavors deepen a bit after resting, so if you make these a day ahead, they develop a richer garlic and parmesan profile, which some nights I actually prefer.
Nutritional Information & Benefits
Each crispy garlic parmesan chicken cutlet (assuming 4 servings) contains approximately:
| Calories | Protein | Fat | Carbohydrates |
|---|---|---|---|
| 350 kcal | 38g | 18g | 12g |
Chicken breast provides a lean, high-quality protein source, essential for muscle repair and satiety. Parmesan cheese adds calcium and a boost of umami flavor, while garlic contributes antioxidants and immune-supportive compounds. Using panko breadcrumbs keeps the crust lighter and crispier compared to traditional fine breadcrumbs.
This recipe is naturally gluten-containing due to flour and bread crumbs but can be adapted to gluten-free diets by swapping to almond flour and gluten-free panko. It’s moderately low in carbs and rich in protein, making it a balanced option for many eating styles.
Conclusion
These crispy garlic parmesan chicken cutlets have earned a permanent spot in my cooking routine because they hit that perfect note of crunchy, flavorful crust paired with a tender, juicy center. They’re straightforward enough to whip up on hectic days but special enough to make any meal feel a bit more indulgent. Plus, the ingredients are simple, and the technique is forgiving—meaning you can tweak it to your taste and still come away with a delicious dinner.
Don’t hesitate to play around with herbs, spices, or even cooking methods to find your favorite spin on this classic. I personally love how it pairs with easy sides or even as a filling for sandwiches, making it versatile across meals. If you try it out, I’d love to hear what you think — or how you made it your own! Sharing those little twists always keeps cooking fun and fresh.
FAQs About Crispy Garlic Parmesan Chicken Cutlets
How do I keep the chicken cutlets juicy and not dry?
Evenly pounding the chicken breasts to about 1/2 inch thickness ensures they cook quickly and uniformly, locking in moisture. Also, avoid overcooking—fry just until golden and cooked through, about 3-4 minutes per side.
Can I bake these instead of frying?
Yes! Baking at 425°F (220°C) on a wire rack for around 20 minutes, flipping halfway, works well for a lighter version, though the crust won’t be quite as crispy as frying.
What can I use if I don’t have panko breadcrumbs?
Regular breadcrumbs work, but panko gives a lighter, crunchier texture. For gluten-free options, crushed cornflakes or almond flour can be good substitutes.
Is it okay to use pre-minced garlic?
Fresh garlic really makes a difference in flavor and aroma here, but in a pinch, pre-minced garlic can be used—just reduce the amount slightly to avoid overpowering the dish.
How do I reheat leftovers without losing crispiness?
Reheat in a preheated 375°F (190°C) oven on a wire rack for about 10 minutes. This keeps the crust crisp. Avoid microwaving if possible as it softens the crust.
Pin This Recipe!
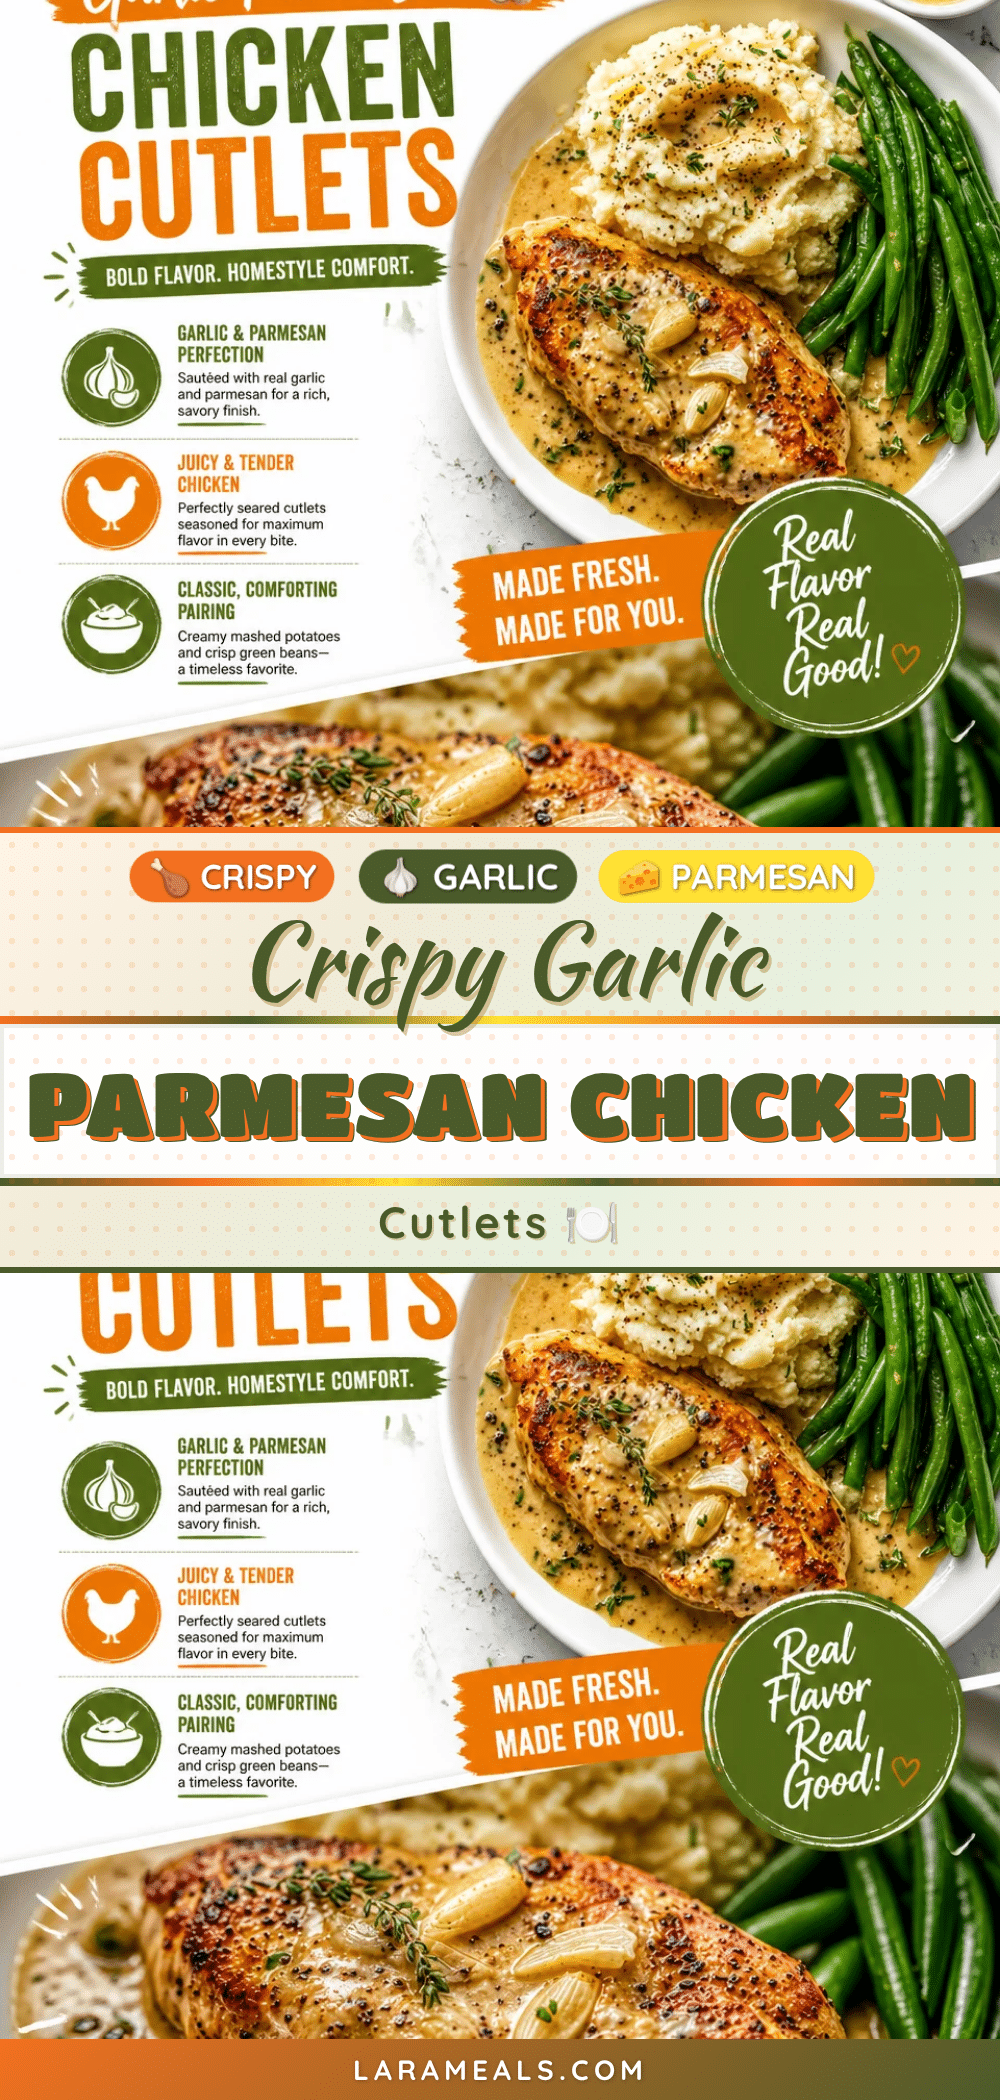
Crispy Garlic Parmesan Chicken Cutlets
A quick and easy recipe for crispy, garlicky, and cheesy chicken cutlets that are tender and juicy inside with a crunchy parmesan-panko crust.
- Prep Time: 10 minutes
- Cook Time: 15 minutes
- Total Time: 25 minutes
- Yield: 4 servings 1x
- Category: Main Course
- Cuisine: American
Ingredients
- 4 boneless, skinless chicken breasts, pounded thin (about 1/2 inch thick)
- 3 cloves fresh garlic, minced
- 1/2 cup freshly grated parmesan cheese
- 1 cup panko bread crumbs (can substitute gluten-free panko if needed)
- 1/2 cup all-purpose flour
- 2 large eggs, beaten
- 1 tsp salt
- 1/2 tsp black pepper
- 1/2 tsp dried Italian herbs (or oregano and basil mix)
- 3–4 tbsp olive oil
- 1 tbsp unsalted butter (optional)
Instructions
- Place each chicken breast between two sheets of plastic wrap or parchment paper. Gently pound with a meat mallet or rolling pin until about 1/2 inch thick.
- In one shallow bowl, mix flour with salt, pepper, and Italian herbs.
- In a second bowl, beat eggs with minced garlic.
- In a third bowl, combine panko bread crumbs and grated parmesan cheese.
- Coat each cutlet first in the flour mixture, shaking off excess.
- Dip into the egg and garlic mixture, ensuring even coating.
- Press into the parmesan-panko mixture, covering all sides.
- Heat olive oil and butter in a skillet over medium heat until butter melts and oil shimmers.
- Place cutlets gently in the hot pan without overcrowding. Fry 3-4 minutes per side until golden brown and crispy.
- Transfer cooked cutlets to a wire rack or paper towel-lined plate to drain excess oil.
- Let rest for 2-3 minutes before serving.
Notes
Pound chicken evenly to ensure juicy, even cooking. Press parmesan-panko mixture firmly to the chicken for a crunchy crust. Use a combo of olive oil and butter for frying to enhance flavor and prevent burning. Avoid overheating the pan to prevent bitter garlic and burnt crust. For a lighter option, bake at 425°F for 20 minutes on a wire rack, flipping halfway. Reheat leftovers in a 375°F oven on a wire rack to keep crust crispy; avoid microwaving.
Nutrition
- Serving Size: 1 chicken cutlet
- Calories: 350
- Fat: 18
- Carbohydrates: 12
- Protein: 38
Keywords: chicken cutlets, garlic parmesan chicken, crispy chicken, easy chicken recipe, weeknight dinner, comfort food


