Love this? Save it for later!
Share the inspiration with your friends
I was staring into the fridge at 9 p.m. on a Tuesday, that dangerous hour when a craving for cake hits but logic says it’s way too late to bake a whole one. You know the feeling. My eyes landed on a half-empty tub of sour cream, a lonely egg, and I thought—what if I just made a single one? Not a whole layer cake, not even cupcakes. Just one little cake, baked in a mug, for me. That first attempt was messy, a little sunken, but honestly? It was perfect. I ate it straight from the cup with a spoon, and I didn’t have to share a single crumb.
That night sparked a little obsession. Over the next week, I made them three more times, tweaking the flour ratio, swapping in yogurt, testing different baking times. I wanted a mini cake that felt like a real cake—fluffy, moist, with a proper crumb—not a dense, rubbery mug cake. This Easy Mini Cake Cups Recipe – Perfect Single-Serve Dessert is the result of those late-night experiments. It’s the dessert you make when you want something special, but you don’t want a whole cake sitting on your counter calling your name for the next three days.
These little cake cups are my favorite kind of recipe. They’re forgiving, they’re fast, and they feel like a little secret. That first bite, warm and tender, is just for you. No judgment, no sharing, just a moment of pure, quiet satisfaction.
Why You’ll Love This Recipe
I’ve tested this mini cake cup recipe more times than I care to admit, and here’s why it keeps winning me over:
- Quick & Easy: From start to finish, you’re looking at about 15 minutes. Mix the batter in one bowl, pop it in the microwave or oven, and you’re done. Perfect for those sudden, urgent cake cravings.
- Simple Ingredients: You probably have everything in your pantry right now. Flour, sugar, butter, an egg, a little milk or sour cream. No special trips to the store required.
- Perfect for One: This is the ultimate single-serve dessert. No leftovers to tempt you, no half-eaten cake drying out in the fridge. It’s just the right amount for one person.
- Crowd-Pleaser: I’ve made these for friends who claimed they weren’t “cake people,” and they always ask for the recipe. The personal size feels special, and the flavor is genuinely rich and satisfying.
- Unbelievably Delicious: The texture is the real star here. It’s light and fluffy with a tender crumb, almost like a perfectly baked cupcake top in every bite. The flavor is pure, buttery vanilla comfort.
What makes this recipe different from all the other single-serve cakes out there? It’s the technique. Instead of a dense, egg-heavy batter that turns rubbery in the microwave, this one uses a careful balance of fat and liquid to create steam and lift. The result is a cake that’s actually cake-like, not a sad, gummy puck. It’s comfort food, reimagined for one person, in under twenty minutes.
What Ingredients You Will Need
This recipe uses simple, wholesome ingredients to deliver a surprisingly rich and fluffy cake. Here’s what you’ll need and a few notes from my testing trials.
- All-Purpose Flour (4 tablespoons / 32g): The base of our cake. I’ve tested this with gluten-free 1:1 baking flour, and it works beautifully. Just make sure it’s a blend that includes xanthan gum for structure.
- Granulated Sugar (3 tablespoons / 38g): Adds sweetness and helps create a tender crumb. You can reduce this to 2 tablespoons for a less sweet cake, or swap in coconut sugar for a deeper flavor.
- Unsalted Butter, melted (2 tablespoons / 28g): This is key for richness and moisture. I prefer using salted butter and just skipping the added salt in the recipe—it adds a nice little balance. If you only have salted, just omit the pinch of salt listed below.
- Milk (3 tablespoons / 45ml): Whole milk gives the best texture, but 2% or even oat milk works in a pinch. I’ve used buttermilk here too, and it makes the cake incredibly tender.
- Large Egg Yolk (1): This is the secret to a rich, moist cake without making it too dense. The yolk adds fat and emulsifiers that create a soft crumb. Save the egg white for an omelet the next morning.
- Vanilla Extract (1/2 teaspoon): Pure vanilla extract is worth it here. The flavor really shines in a small cake. If you’re out, a pinch of vanilla bean paste or even almond extract (use half the amount) works.
- Baking Powder (1/4 teaspoon): Our leavening agent. Make sure it’s fresh—old baking powder won’t give you that nice rise.
- Pinch of Salt: Balances the sweetness and enhances the vanilla flavor. Don’t skip it!
For the topping, you can go simple with a dusting of powdered sugar, or make a quick glaze with 2 tablespoons of powdered sugar and a splash of milk. I personally love a dollop of whipped cream and a few fresh berries—it makes it feel like a real bakery treat.
Equipment Needed
You don’t need much for this recipe, which is part of the beauty. Here’s the short list:
- One Microwave-Safe Mug or Small Ramekin (8-10 ounce capacity): This is your baking vessel. A standard coffee mug works perfectly. Just make sure it’s microwave-safe. For oven baking, use an oven-safe ramekin or small ceramic dish.
- Small Mixing Bowl: I use a cereal bowl. You just need enough room to whisk the ingredients together without making a mess.
- Whisk or Fork: A fork works completely fine for this small batch of batter. No need to dirty a hand mixer.
- Measuring Spoons and Cups: For accuracy, especially with the baking powder and vanilla.
- Butter Knife or Small Spatula: To check for doneness and to help loosen the cake from the cup if you want to plate it.
If you don’t have a microwave, you can absolutely bake this in a conventional oven. Preheat to 350°F (175°C) and bake the ramekin on a small baking sheet for 14-18 minutes, or until a toothpick inserted in the center comes out clean. The texture will be slightly more even and cake-like, which some people prefer.
Preparation Method
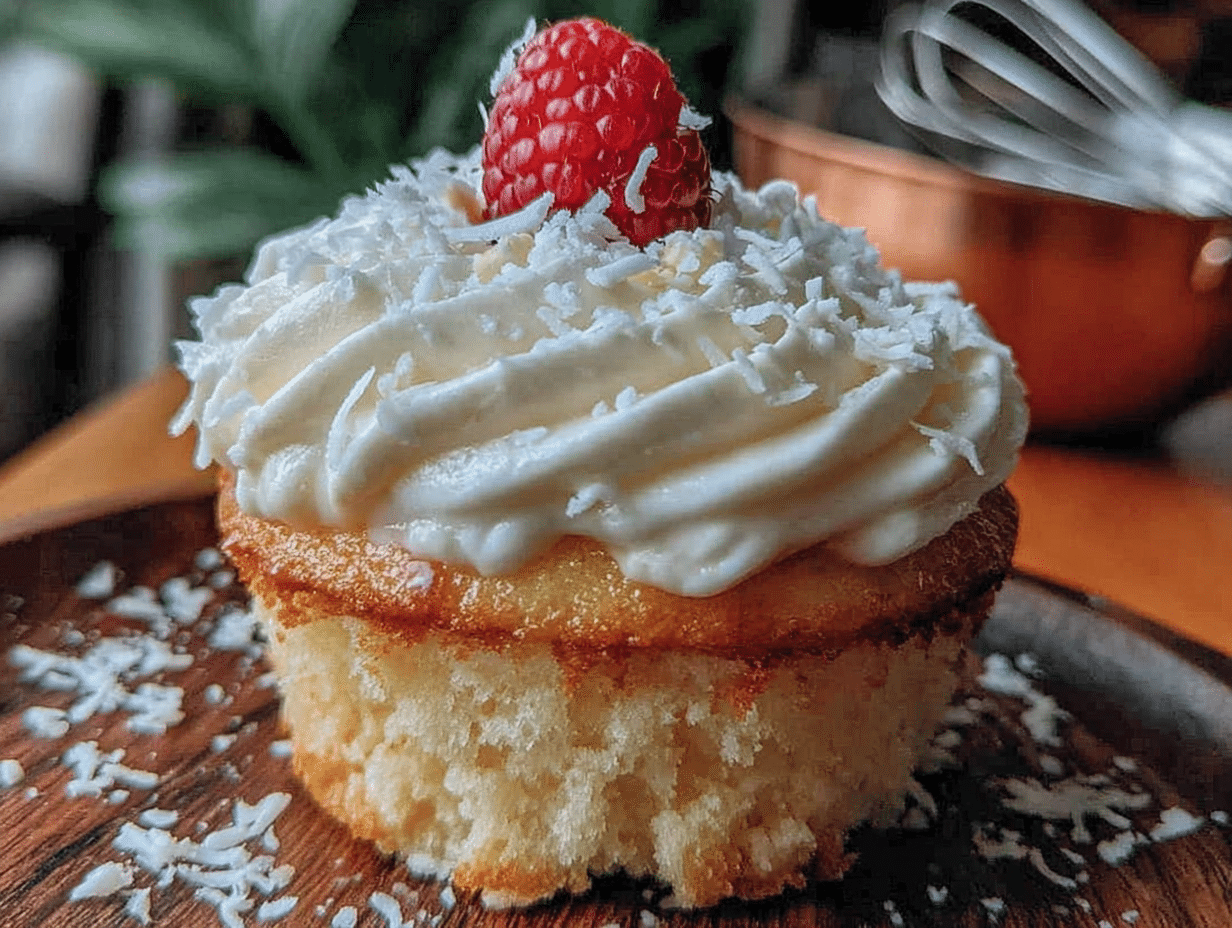
This comes together faster than you can decide what to watch on Netflix. Follow these steps, and you’ll be eating cake in under 15 minutes.
-
Melt the butter. Place 2 tablespoons of unsalted butter in your small mixing bowl and microwave for about 20-30 seconds, until fully melted. Let it cool for a minute—you don’t want it to cook the egg yolk later.
-
Add the sugar and vanilla. To the melted butter, whisk in 3 tablespoons of granulated sugar and 1/2 teaspoon of vanilla extract. Whisk until the sugar is mostly dissolved and the mixture looks smooth. It should smell amazing already.
-
Mix in the egg yolk. Separate your egg and add just the yolk to the bowl. Whisk vigorously for about 30 seconds until the batter is thick, pale, and slightly fluffy. This step adds air and gives the cake a lighter texture. Don’t rush it.
-
Add the milk. Pour in 3 tablespoons of milk and whisk until combined. The batter will look a little thin at this point—that’s normal.
-
Add the dry ingredients. Sprinkle 4 tablespoons of all-purpose flour, 1/4 teaspoon of baking powder, and a pinch of salt over the wet mixture. Stir gently with your whisk or fork until just combined. A few small lumps are okay; overmixing will make the cake tough. The batter should be smooth and slightly thick, like a typical cake batter.
-
Grease your mug or ramekin. Lightly spray the inside of your mug with non-stick cooking spray or wipe it with a little butter. This ensures your cake slides out easily if you want to plate it.
-
Pour the batter. Scrape the batter into your prepared mug. It should fill it about halfway—this gives the cake room to rise without spilling over.
-
Microwave (or bake). Microwave on high for 60-90 seconds. Start checking at 60 seconds. The cake should be set on top, slightly springy to the touch, and a toothpick inserted in the center should come out clean or with a few moist crumbs. Every microwave is different, so watch it closely. Overcooking will make it dry. If baking in the oven, follow the instructions in the Equipment section above.
-
Cool slightly. Let the cake rest in the mug for 1-2 minutes. It will continue to cook from the residual heat. This also makes it easier to handle.
-
Serve. You can eat it straight from the mug with a spoon, or run a knife around the edge and invert it onto a small plate. Top with powdered sugar, whipped cream, ice cream, or fresh berries. Dig in while it’s still warm.
Cooking Tips & Techniques
I’ve made a lot of these little cakes, and I’ve learned a few things the hard way. Here’s what I wish I knew from the start.
Don’t overmix the batter. This is the number one mistake. The first time I made this, I whisked it like I was making a meringue, and the cake came out tough and chewy. Stir just until the flour disappears. A few lumps are your friend.
Watch the microwave time closely. Microwaves vary wildly in power. A 700-watt microwave might need the full 90 seconds, while a 1200-watt one could be done in 45 seconds. I once zapped a cake for a full two minutes and ended up with a dry, rubbery disc. Start checking at 50 seconds and go from there. The cake should look set and slightly puffed.
Let it rest. That minute or two of resting after cooking is crucial. The cake finishes setting up, and the texture becomes much more tender. I know it’s hard to wait, but trust me on this one.
Grease the mug well. Even if you plan to eat it straight from the cup, a little grease helps the cake release from the sides and makes for a cleaner, more satisfying eating experience. Plus, cleanup is easier.
For a more even texture in the microwave, try this trick: after pouring the batter, tap the mug on the counter a few times to release any air bubbles. Then, microwave it on 70% power for a slightly longer time. This prevents the center from overcooking before the edges are done.
If you’re doubling the recipe, don’t try to cook two mugs at once in the microwave. They’ll cook unevenly. Make one, enjoy it, then make the second. It only takes a couple of extra minutes.
Variations & Adaptations
This base recipe is a blank canvas, and I’ve had a lot of fun playing with it. Here are a few of my favorite twists.
Chocolate Lover’s Cake: Replace 1 tablespoon of the flour with 1 tablespoon of unsweetened cocoa powder. Add a handful of chocolate chips to the batter. It’s rich, fudgy, and dangerously good. Top with a scoop of vanilla ice cream.
Lemon Blueberry Cake: Add 1/2 teaspoon of lemon zest and 1 teaspoon of lemon juice to the wet ingredients. Gently fold in 2 tablespoons of fresh or frozen blueberries (don’t thaw them first). The lemon and blueberry combo is bright and perfect for spring.
Vegan Version: Use melted coconut oil or vegan butter instead of dairy butter. Replace the milk with almond or oat milk. For the egg yolk, use 1 tablespoon of unsweetened applesauce or a flax egg (1 tablespoon ground flaxseed mixed with 3 tablespoons water, let sit for 5 minutes). The texture will be slightly denser but still delicious.
Gluten-Free Version: Swap the all-purpose flour with a good 1:1 gluten-free baking flour blend. I’ve had great results with Bob’s Red Mill. The cake might be a touch more crumbly, but the flavor is spot on.
Spiced Apple Cake: Add 1/4 teaspoon of cinnamon and a pinch of nutmeg to the dry ingredients. Fold in 2 tablespoons of finely diced apple. Top with a drizzle of caramel sauce. It tastes like fall in a cup.
My personal favorite variation? I made a salted caramel version once by stirring a tablespoon of store-bought caramel sauce into the batter and sprinkling a little flaky sea salt on top before microwaving. The caramel gets all melty and gooey in the center. Honestly, it was life-changing.
Serving & Storage Suggestions
These mini cake cups are best enjoyed warm, straight from the mug. That’s the whole point. But here are a few ways to make them feel extra special.
Serving Temperature: Serve the cake warm, but not piping hot. Let it rest for a minute or two after cooking. The texture is most tender at this temperature.
Presentation Ideas: If you’re feeling fancy, invert the cake onto a small plate. Dust with powdered sugar through a fine-mesh sieve. Add a dollop of freshly whipped cream, a scoop of vanilla ice cream, or a drizzle of chocolate or caramel sauce. A few fresh raspberries or strawberries on the side make it look like it came from a bakery.
Complementary Dishes: This little cake is perfect on its own, but it pairs wonderfully with a cup of strong coffee or a glass of cold milk. For a dessert spread, serve it alongside a creamy classic cheesecake or a creamy berry vanilla trifle for a fun dessert sampler.
Storage: These cakes are truly best fresh. If you have leftovers (unlikely!), you can cover the mug with plastic wrap and store it at room temperature for up to 24 hours. The texture will become slightly denser. To reheat, microwave for 15-20 seconds until just warmed through.
Freezing: I don’t recommend freezing these. The texture changes too much upon thawing. Just make a fresh one when the craving hits—it’s so quick, it’s hardly any more effort.
Flavor Development: Unlike some desserts that taste better the next day, these cake cups are at their peak right after they’re made. The warmth brings out the vanilla and butter flavors, and the texture is at its softest and fluffiest.
Nutritional Information & Benefits
This is a single-serving dessert, so the nutritional numbers are for one full cake cup (without any toppings).
- Calories: Approximately 320-350 calories
- Fat: 18g
- Carbohydrates: 38g
- Protein: 6g
- Sugar: 22g
These values will vary depending on the exact ingredients and any substitutions you make. Using a sugar substitute like monk fruit or stevia can reduce the sugar and calories significantly.
Health Benefits of Key Ingredients: While this is a treat, it’s not without some redeeming qualities. The egg yolk provides choline, which is important for brain health. The butter contains fat-soluble vitamins like A and D. And if you use whole milk, you’re getting a little calcium and protein.
Dietary Considerations: This recipe is naturally vegetarian. With the substitutions I’ve listed above (gluten-free flour, vegan butter, flax egg), you can make it gluten-free and vegan. It is not low-carb or keto-friendly in its standard form, but you could experiment with almond flour and a sugar substitute for a lower-carb version.
Potential Allergens: This recipe contains wheat (gluten), dairy (butter, milk), and eggs. Please adjust accordingly for any allergies.
My personal perspective? I believe in balance. Life is too short to skip cake, but I also don’t need a whole cake sitting around tempting me. This mini version gives me the joy of a homemade dessert without the commitment. It’s a small indulgence that feels perfectly portioned.
Conclusion
This Easy Mini Cake Cups Recipe – Perfect Single-Serve Dessert has become my go-to for so many reasons. It’s fast, it’s forgiving, and it delivers that warm, comforting feeling of fresh-baked cake without any of the fuss. Whether you’re a seasoned baker or someone who’s never made a cake from scratch in your life, you can pull this off. That’s the beauty of it.
I love that this recipe is a starting point, not a rigid rule. Add chocolate chips, swirl in some jam, top it with ice cream—make it your own. The best recipes are the ones you can adapt to whatever you have on hand and whatever you’re craving in the moment.
If you give these mini cake cups a try, I’d love to hear about it. Leave a comment below and tell me what variation you made, or tag me in your photos. Did you go classic vanilla? Did you try the lemon blueberry? Did you eat it straight from the mug at 10 p.m. like I do? No judgment here. Happy baking!
Frequently Asked Questions
Can I make this mini cake cup without an egg?
Yes! You can replace the egg yolk with 1 tablespoon of unsweetened applesauce or a flax egg (1 tablespoon ground flaxseed mixed with 3 tablespoons water, let sit for 5 minutes). The texture will be a bit denser, but it will still be delicious.
Why did my cake turn out rubbery?
This usually happens from overmixing the batter or overcooking it in the microwave. Stir just until the flour disappears, and start checking for doneness at 50 seconds. A rubbery texture can also mean the microwave power was too high.
Can I use a regular oven instead of a microwave?
Absolutely. Preheat your oven to 350°F (175°C). Pour the batter into an oven-safe ramekin and bake for 14-18 minutes, or until a toothpick inserted in the center comes out clean. The texture will be slightly more even and cake-like.
Can I double the recipe to make two cake cups?
You can double the ingredients easily, but do not try to cook two mugs at the same time in the microwave. They will cook unevenly. Make one, enjoy it, then make the second one. It only takes a few extra minutes.
What can I use instead of a mug?
Any microwave-safe vessel that holds about 8-10 ounces will work. Small ramekins, oven-safe teacups, or even a small glass bowl are all good options. Just make sure it’s not too wide, or the cake will be too shallow and cook too quickly.
Pin This Recipe!
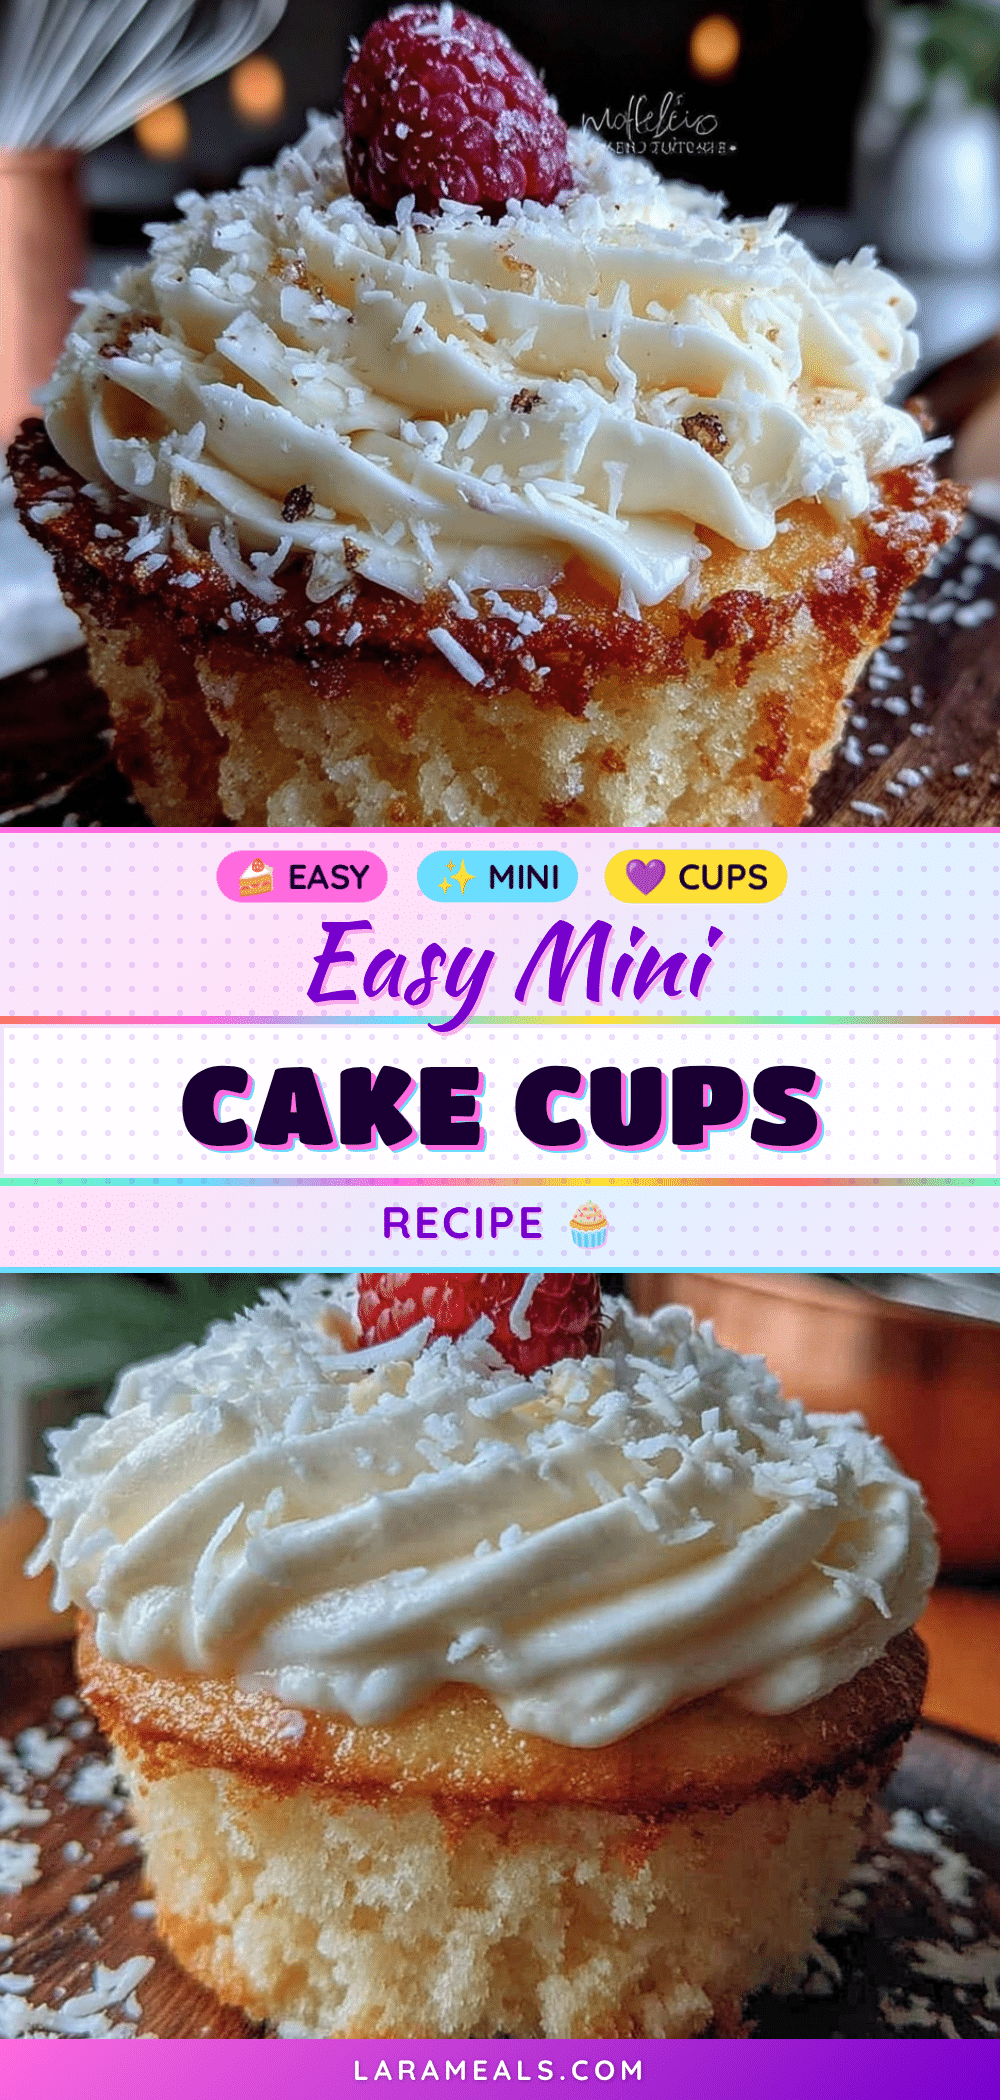
Easy Mini Cake Cups: Best Single-Serve Dessert Recipe
A quick and easy single-serve cake recipe that delivers a fluffy, moist, and tender cake in under 15 minutes. Perfect for satisfying sudden cake cravings without leftovers.
- Prep Time: 5 minutes
- Cook Time: 1-2 minutes (microwave) or 14-18 minutes (oven)
- Total Time: 15 minutes
- Yield: 1 serving 1x
- Category: Dessert
- Cuisine: American
Ingredients
- 4 tablespoons (32g) all-purpose flour
- 3 tablespoons (38g) granulated sugar
- 2 tablespoons (28g) unsalted butter, melted
- 3 tablespoons (45ml) milk
- 1 large egg yolk
- 1/2 teaspoon vanilla extract
- 1/4 teaspoon baking powder
- Pinch of salt
Instructions
- Melt the butter in a small mixing bowl (microwave 20-30 seconds). Let cool for a minute.
- Whisk in the sugar and vanilla extract until smooth.
- Add the egg yolk and whisk vigorously for about 30 seconds until thick, pale, and slightly fluffy.
- Pour in the milk and whisk until combined.
- Sprinkle the flour, baking powder, and salt over the wet mixture. Stir gently until just combined (a few lumps are okay).
- Grease a microwave-safe mug or small ramekin (8-10 ounce capacity) with non-stick spray or butter.
- Pour the batter into the prepared mug (fill about halfway).
- Microwave on high for 60-90 seconds, starting to check at 60 seconds. The cake should be set, springy, and a toothpick inserted in the center should come out clean or with a few moist crumbs.
- Let the cake rest in the mug for 1-2 minutes.
- Serve warm straight from the mug or invert onto a plate. Top with powdered sugar, whipped cream, ice cream, or fresh berries.
Notes
Do not overmix the batter. Microwave times vary; start checking at 50 seconds. Let the cake rest after cooking for best texture. Grease the mug well for easy release. For oven baking, preheat to 350°F (175°C) and bake for 14-18 minutes.
Nutrition
- Serving Size: 1 cake cup
- Calories: 320350
- Sugar: 22
- Sodium: 150
- Fat: 18
- Saturated Fat: 10
- Carbohydrates: 38
- Fiber: 1
- Protein: 6
Keywords: mini cake, single-serve dessert, mug cake, easy dessert, quick cake, vanilla cake, small batch cake


