Love this? Save it for later!
Share the inspiration with your friends
The first batch came out of the oven looking a little too perfect. Golden edges, shiny crinkled tops, pools of dark chocolate peeking through. I almost didn’t want to sprinkle the salt. But I did. And then I took a bite, and that first crunch of flaky salt hitting warm, buttery caramel sent me right over the edge.
I had been trying to nail a salted caramel chocolate chip cookie for weeks. Not a cookie that just has caramel chips in it, but one where the caramel flavor is woven into the very fabric of the dough. One where a gooey, buttery pocket of caramel surprises you in the middle, and a final hit of salt makes everything sing. Honestly, I ruined a lot of perfectly good butter along the way. Some batches spread into thin, greasy puddles. Others were too cakey. One batch tasted more like burnt sugar than caramel.
Then, late one Tuesday night, I had a quiet moment in the kitchen. I was just staring at a bowl of melted butter and brown sugar, thinking about texture. That is when it clicked. The secret wasn’t just the caramel filling, but how you treat the dough around it. A slightly higher flour ratio, a chill that actually matters, and a specific folding technique that keeps the caramel from sinking into a sticky mess on the baking sheet.
These perfect salted caramel chocolate chip cookies are the result of all that trial and error. They are thick, chewy in the center, and crisp at the edges. Each bite delivers a little pocket of homemade caramel, and the flaky sea salt on top cuts through the sweetness in the best way. They are the kind of cookie that makes people close their eyes and go quiet for a second. And honestly, that is the best compliment a cookie can get.
Why You’ll Love This Recipe
These aren’t just another chocolate chip cookie. They are a carefully crafted experience. I have tested this recipe more times than I care to count, tweaking the caramel temperature, the butter-to-sugar ratio, and the resting time until everything clicked.
- Gooey Caramel Center: Each cookie hides a soft, buttery pocket of homemade caramel that stays chewy even after cooling. No hard, crunchy bits here.
- Perfect Texture: The edges are crisp and golden, the center is soft and slightly underbaked. That perfect contrast happens because the dough is chilled and the caramel is folded in just right.
- Simple Ingredients: No weird additives or hard-to-find stuff. You probably have everything except maybe the caramel candies and flaky salt in your pantry right now.
- Make-Ahead Friendly: The dough actually tastes better after a 24-hour rest in the fridge. You can prep it days ahead and bake when the craving hits.
- Always a Crowd-Pleaser: I brought a batch to a friend’s barbecue last summer, and people kept coming back to the cookie tray. One guest asked for the recipe three times. That never gets old.
- Foolproof Method: I have included every trick I learned the hard way. If you follow the chill time and the folding technique, these cookies turn out perfect every single time.
These cookies feel like a hug. They are the kind of treat you bring to a holiday party, pack in a lunchbox for a surprise, or bake just because you had a rough day. And they deliver every single time.
What Ingredients You Will Need
This recipe uses simple, everyday ingredients to create something that tastes anything but ordinary. The magic is in how they work together, from the browned butter to the soft caramel pieces.
- Unsalted butter (1 cup, 2 sticks): We use unsalted so we can control the salt level. You will brown this butter for a deeper, nuttier flavor. I recommend using a quality brand like Kerrygold for the best richness.
- Brown sugar (1 cup, packed, light or dark): Brown sugar gives these cookies their chewiness and that deep molasses note. Dark brown sugar will make them even more caramel-like. Light brown sugar keeps them a bit milder.
- Granulated sugar (½ cup): This adds a little crunch and helps the cookies spread just enough. It balances the moisture from the brown sugar.
- Large eggs (2, room temperature): Room temperature eggs mix into the browned butter much more smoothly, creating a uniform dough. If you forget to take them out, place them in a bowl of warm water for 5 minutes.
- Vanilla extract (2 teaspoons, pure): Pure vanilla is worth the splurge here. It rounds out the caramel and chocolate flavors beautifully.
- All-purpose flour (2 ¼ cups): This gives the cookies structure. Spoon and level your flour into the measuring cup to avoid packing it down. Too much flour makes cookies dry and cakey.
- Baking soda (1 teaspoon): This is the leavening agent that helps the cookies spread and get those lovely crinkly tops.
- Salt (1 teaspoon, kosher): Kosher salt in the dough balances the sweetness. It is the foundation for that salted caramel flavor.
- Semi-sweet chocolate chips (1 ½ cups): I prefer semi-sweet because it is not too sugary and holds its own against the sweet caramel. Ghirardelli or Guittard are my go-to brands.
- Soft caramel candies (about 20-24, unwrapped): This is the secret ingredient. Use the soft, chewy kind like Kraft Caramels or Werther’s Soft Caramels. Cut each one into quarters. Do not use hard caramel candies.
- Flaky sea salt (for finishing, like Maldon): This is non-negotiable. The big, crunchy flakes of salt right on top of the warm cookie create that perfect sweet-salty contrast. Table salt is too fine and will dissolve.
If you are looking for a gluten-free option, you can substitute a 1:1 gluten-free baking flour blend. Just know the texture will be slightly more delicate. And if you want to go dairy-free, use a high-quality vegan butter stick and dairy-free chocolate chips.
Equipment Needed
You do not need a fancy kitchen to make these cookies. A few basic tools will get the job done beautifully.
- Large mixing bowl and a whisk: For combining the wet and dry ingredients. A sturdy bowl that won’t slide around helps a lot.
- Medium saucepan: You will need this to brown the butter. A light-colored pan is best so you can see the butter change color.
- Rubber spatula: For folding the chocolate chips and caramel pieces into the dough without overmixing. A flexible one works best.
- Baking sheets (2): Heavy-duty, light-colored baking sheets prevent the bottoms from burning. Dark sheets can cause over-browning.
- Parchment paper or silicone baking mats: These prevent sticking and ensure even baking. Parchment is my personal favorite for clean-up.
- Cookie scoop (about 2 tablespoons): This ensures uniform cookies that bake evenly. A #40 scoop is perfect for this size.
- Cooling rack: Allows air to circulate around the cookies so they cool properly without getting soggy bottoms.
- Plastic wrap: For wrapping the dough log or covering the bowl during the chill time.
If you do not have a cookie scoop, just use two spoons to portion the dough. And a pizza cutter works great for cutting the caramel candies into quarters quickly.
Preparation Method
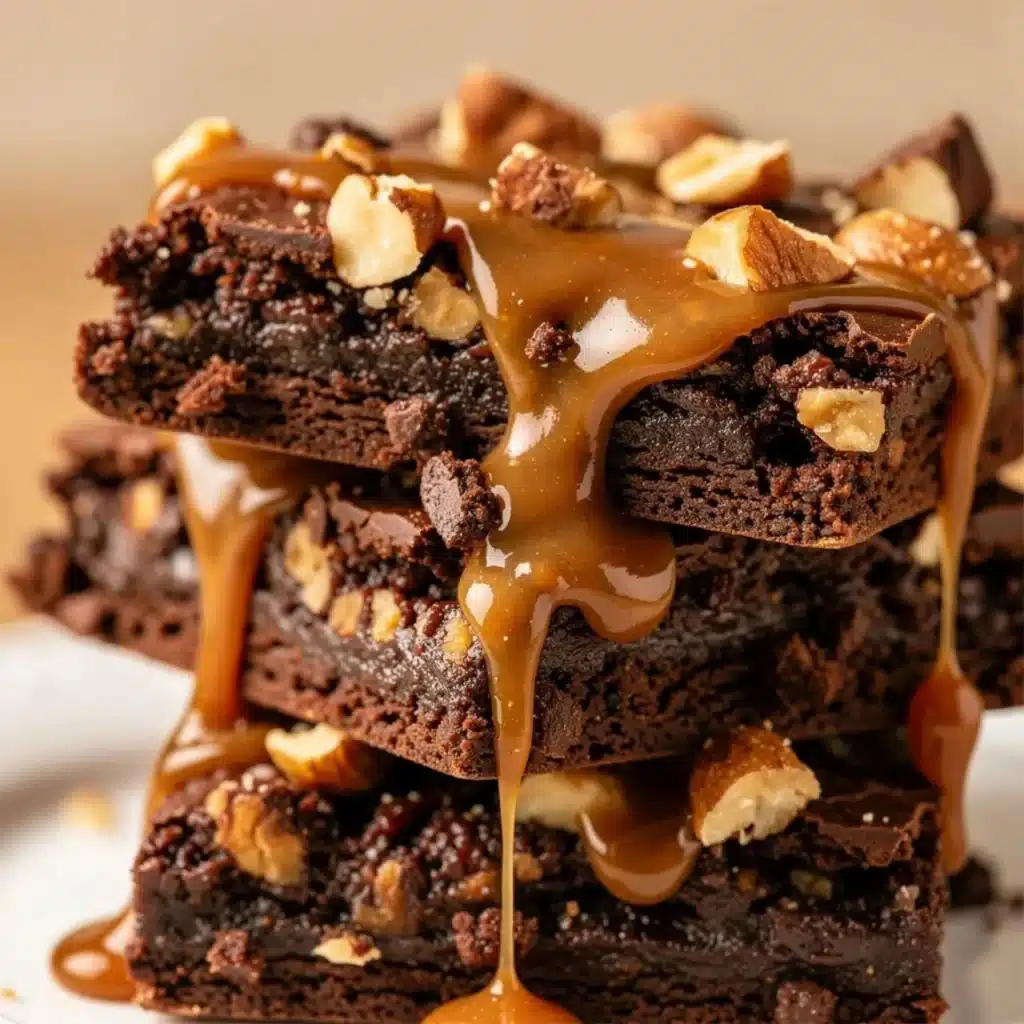
- Brown the butter: Place the 1 cup of unsalted butter in a medium saucepan over medium heat. Stir occasionally with a rubber spatula. The butter will melt, foam, and then start to turn a golden amber color. You will smell a nutty aroma. This takes about 5-7 minutes. Remove it from the heat immediately and pour it into a large mixing bowl to stop the cooking. Let it cool for 10 minutes. Do not skip this step—cold eggs will seize up warm butter.
- Mix the sugars: Add the 1 cup of packed brown sugar and ½ cup of granulated sugar to the cooled browned butter. Whisk vigorously until the mixture looks like wet sand and is well combined. There should be no sugar lumps. This takes about 1 minute.
- Add the eggs and vanilla: Crack the 2 room-temperature eggs into the bowl. Add the 2 teaspoons of pure vanilla extract. Whisk until the mixture is smooth, glossy, and lightens in color slightly. It should look like a thick caramel sauce. This takes about 30 seconds.
- Combine the dry ingredients: In a separate bowl, whisk together the 2 ¼ cups of all-purpose flour, 1 teaspoon of baking soda, and 1 teaspoon of kosher salt. Make sure there are no clumps of baking soda.
- Fold in the dry ingredients: Gradually add the flour mixture to the wet ingredients. Use your rubber spatula to fold it in gently. Stir just until no streaks of flour remain. Overmixing at this stage develops gluten and makes cookies tough. The dough will be thick and slightly sticky.
- Add the chocolate and caramel: Gently fold in the 1 ½ cups of semi-sweet chocolate chips. Then, add the quartered caramel candies (about 20-24 candies, cut into quarters). Fold them in gently. Try to distribute the caramel pieces evenly, but do not overwork the dough. The caramel pieces will be soft and might stick together a little—that is okay.
- Chill the dough (critical step): Cover the bowl tightly with plastic wrap. Refrigerate the dough for at least 2 hours, but 24 hours is even better. This chill time allows the browned butter flavors to deepen, the flour to fully hydrate, and the dough to firm up so the cookies do not spread into flat puddles. Do not skip this step.
- Preheat and prep: When you are ready to bake, preheat your oven to 350°F (175°C). Line two baking sheets with parchment paper or silicone mats.
- Scoop the dough: Use your cookie scoop (about 2 tablespoons) to portion the dough. Roll each portion into a ball with your hands. Place them on the prepared baking sheets, leaving about 2 inches of space between each ball. They will spread a little.
- Bake: Bake for 10-12 minutes. The edges should be golden brown and set, but the centers will still look slightly soft and puffy. They will finish setting on the baking sheet. For a softer, chewier cookie, pull them out at 10 minutes. For a crispier edge, go to 12 minutes.
- Add the salt immediately: As soon as the cookies come out of the oven, sprinkle a few flakes of flaky sea salt on top of each one. The heat will help the salt stick.
- Cool: Let the cookies cool on the baking sheet for 5 minutes. This allows them to firm up. Then, transfer them to a cooling rack to cool completely. But honestly, eating one warm is a life-changing experience.
Cooking Tips & Techniques
I have burned more butter than I would like to admit. The key to browning butter is to watch it like a hawk. Once it starts foaming, swirl the pan constantly. The color changes from yellow to golden to amber very quickly. Pull it off the heat the second it smells nutty and looks like light caramel. If you see black specks, you have gone too far.
Cutting the caramel candies is a bit messy, but it is worth the effort. Use a sharp knife or a pizza cutter. Lightly spray the blade with cooking spray to prevent sticking. The quarters do not need to be perfect, just roughly the same size so they melt evenly.
Do not be tempted to skip the chill time. I once tried to rush a batch and baked them after only 30 minutes in the fridge. They spread into giant, thin, greasy pancakes. The caramel leaked out and burned on the baking sheet. The chill time is non-negotiable for thick, chewy cookies with gooey caramel pockets.
If you want perfectly round cookies, use a round cookie cutter or a glass to gently scoot the edges of the hot cookies right after they come out of the oven. Swirl the cookie inside the cutter to nudge the edges into a perfect circle. It is a small trick that makes them look bakery-worthy.
For consistent results, always weigh your flour if you have a kitchen scale. 2 ¼ cups of all-purpose flour is about 280 grams. This eliminates the risk of packing the flour too tightly.
Variations & Adaptations
This recipe is a great starting point for your own experiments. Here are a few variations I have tried and loved.
- Dark Chocolate Lovers: Swap the semi-sweet chips for dark chocolate chunks (60-70% cocoa). The bitterness of the dark chocolate pairs beautifully with the sweet caramel and salty finish.
- Nutty Crunch: Add ½ cup of toasted, chopped pecans or walnuts along with the chocolate chips. Toast them in a dry pan for 3-4 minutes until fragrant before adding them to the dough. The crunch is a wonderful textural contrast.
- Gluten-Free Version: Use a 1:1 gluten-free baking flour blend that contains xanthan gum. I have had good results with Bob’s Red Mill. The cookies will be slightly more tender and may spread a tiny bit more, so chill them for a full 24 hours.
- Sea Salt Caramel Pretzel: Crush about ½ cup of thin pretzel sticks and fold them in along with the chocolate and caramel. The salty, crunchy pretzel pieces add an incredible layer of flavor and texture. It is like a sweet-and-salty party in your mouth.
- Espresso Kick: Dissolve 1 teaspoon of instant espresso powder in the vanilla extract before adding it to the wet ingredients. The coffee flavor does not make the cookies taste like coffee, but it deepens the chocolate flavor and adds a subtle richness.
I have also made these as cookie bars. Press the entire batch of dough into a greased 9×13 inch baking pan and bake for 20-25 minutes at 350°F. Sprinkle with flaky salt right after baking. They are easier for feeding a crowd and just as delicious.
Serving & Storage Suggestions
These cookies are best served warm, when the caramel is still soft and gooey and the chocolate is melty. Let them cool on the baking sheet for just 5 minutes before transferring to a plate. A tall glass of cold milk is the classic pairing, but they are also incredible with a scoop of vanilla bean ice cream for an impromptu ice cream sandwich.
For a fun dessert board, arrange these cookies alongside some fresh berries, a drizzle of extra caramel sauce, and a sprinkle of flaky salt. It makes for an impressive but effortless dessert spread for guests.
Storage: Store baked cookies in an airtight container at room temperature for up to 5 days. Place a slice of bread in the container to keep them soft—the bread will absorb excess moisture and the cookies will stay chewy. Replace the bread slice every other day.
Freezing: You can freeze the baked cookies for up to 3 months. Layer them between sheets of parchment paper in a freezer-safe container. Thaw at room temperature for about 30 minutes before serving. Or, freeze the dough balls on a baking sheet until solid, then transfer them to a freezer bag. You can bake them directly from frozen, adding 2-3 minutes to the baking time.
The flavors actually deepen after a day or two. The caramel gets even softer and the chocolate melds with the dough. If you can resist eating them all immediately, they are even better the next day.
Nutritional Information & Benefits
Let’s be real—these are a treat. But knowing what is in them helps you enjoy them mindfully. Here is the estimated nutritional breakdown per cookie (based on 24 cookies):
- Calories: 245
- Fat: 13g
- Saturated Fat: 8g
- Carbohydrates: 31g
- Sugar: 21g
- Protein: 3g
- Sodium: 180mg
The butter provides a good dose of fat-soluble vitamins like A and D. The dark chocolate chips contain antioxidants called flavonoids, which are good for heart health in moderation. And the flaky sea salt provides trace minerals like magnesium and potassium.
If you are watching your sugar intake, you can reduce the granulated sugar to ¼ cup. The cookies will be less sweet but still delicious. For a lower-calorie option, use dark chocolate chips and reduce the caramel pieces by half.
These cookies contain dairy (butter, caramel), gluten (flour), and eggs. They are not suitable for vegans or those with celiac disease without the substitutions mentioned above.
Conclusion
These perfect salted caramel chocolate chip cookies are the kind of recipe that earns a permanent spot in your baking rotation. They are the result of a lot of burnt butter and flat cookies, but I am so glad I kept trying. The combination of a chewy, browned butter dough, pockets of soft caramel, melty chocolate, and that final hit of flaky sea salt is just unbeatable.
I hope you make these for a cozy night in, a holiday cookie swap, or just because you deserve something special. Feel free to tweak the add-ins to make them your own. Swap the chocolate for white chocolate, add some toffee bits, or go all-in on the caramel with extra pieces.
I would love to hear how they turn out for you. Leave a comment below and tell me about your favorite variation. Did you add pretzels? Go dark chocolate? Make them into bars? Share your creation on social media and tag me—I cannot wait to see your delicious results. Happy baking, friend!
Frequently Asked Questions
Can I use store-bought caramel sauce instead of caramel candies?
No, I would not recommend it. Caramel sauce is too liquid and will make the cookies spread and create a sticky, burnt mess on the baking sheet. The soft caramel candies hold their shape during baking and create those perfect gooey pockets. Stick with the candies.
Why did my cookies spread too much?
The most common reason is that the dough was not chilled long enough. The butter needs to be fully firm again so the cookies hold their shape in the oven. Also, make sure your butter was not too warm when you mixed it. Let it cool for a full 10 minutes after browning.
Can I freeze the cookie dough?
Absolutely. Scoop the dough into balls, place them on a baking sheet, and freeze until solid. Then transfer them to a freezer bag. You can bake them directly from frozen, just add 2-3 minutes to the baking time. No need to thaw.
How do I keep the caramel from sticking to the baking sheet?
Using parchment paper or a silicone baking mat is essential. The caramel pieces will melt and might stick to an unlined sheet. The parchment also makes clean-up a breeze. If some caramel does leak out, let the cookies cool completely on the sheet before trying to lift them.
My caramel candies are hard. Can I still use them?
Soft caramel candies are the best for this recipe. If yours are hard, try microwaving them for 5-10 seconds to soften them before cutting. Or, look for a different brand. Hard caramel will not melt into a gooey pocket in the oven.
Pin This Recipe!
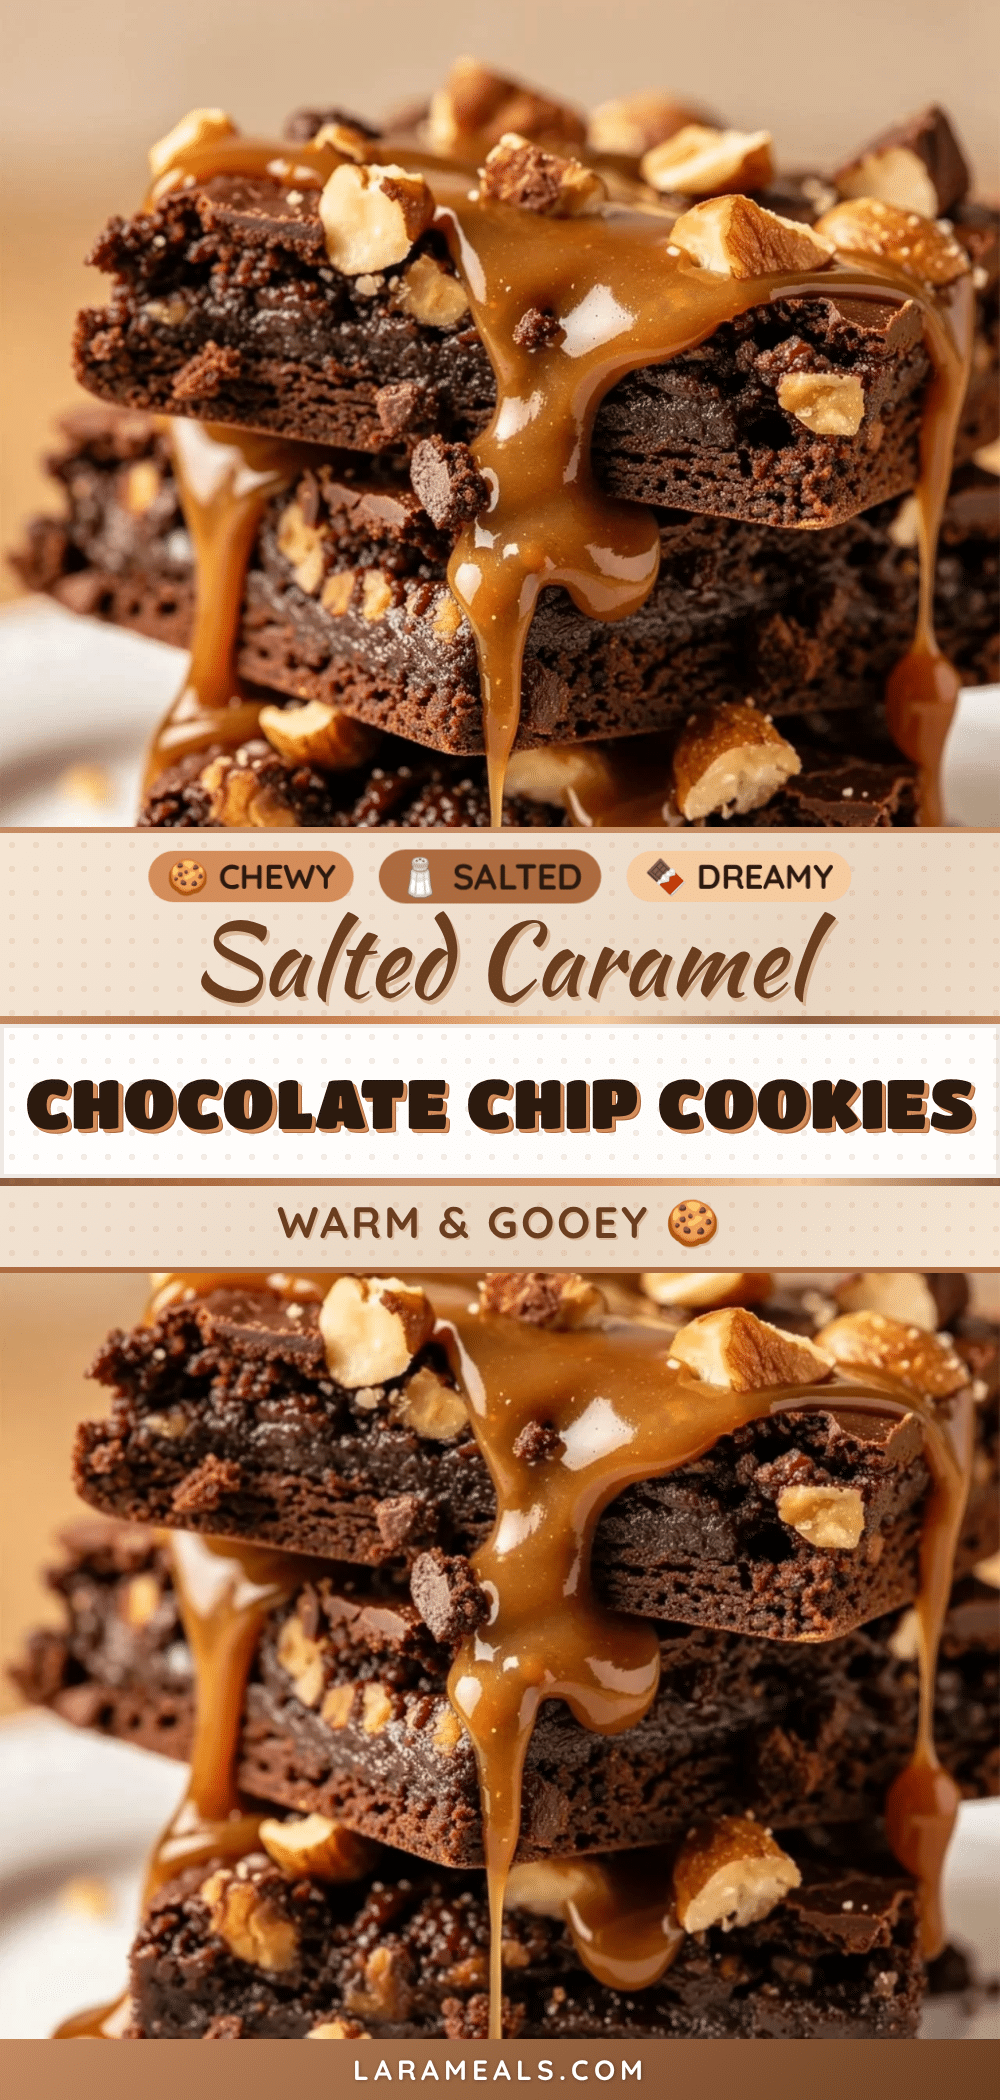
Perfect Salted Caramel Chocolate Chip Cookies
Thick, chewy cookies with crisp edges, gooey pockets of homemade caramel, and a final sprinkle of flaky sea salt. The browned butter dough and careful folding technique create a bakery-worthy treat that’s always a crowd-pleaser.
- Prep Time: 20 minutes
- Cook Time: 12 minutes
- Total Time: 2 hours 32 minutes (includes 2 hours chilling)
- Yield: 24 cookies 1x
- Category: Dessert
- Cuisine: American
Ingredients
- 1 cup (2 sticks) unsalted butter
- 1 cup packed brown sugar (light or dark)
- ½ cup granulated sugar
- 2 large eggs, room temperature
- 2 teaspoons pure vanilla extract
- 2 ¼ cups all-purpose flour
- 1 teaspoon baking soda
- 1 teaspoon kosher salt
- 1 ½ cups semi-sweet chocolate chips
- 20–24 soft caramel candies (e.g., Kraft Caramels or Werther’s Soft Caramels), each cut into quarters
- Flaky sea salt (e.g., Maldon) for finishing
Instructions
- Brown the butter: Place 1 cup unsalted butter in a medium saucepan over medium heat. Stir occasionally with a rubber spatula. The butter will melt, foam, and turn a golden amber color with a nutty aroma (about 5-7 minutes). Remove from heat immediately and pour into a large mixing bowl to stop cooking. Let cool for 10 minutes.
- Mix the sugars: Add 1 cup packed brown sugar and ½ cup granulated sugar to the cooled browned butter. Whisk vigorously until the mixture looks like wet sand and is well combined (about 1 minute).
- Add the eggs and vanilla: Crack 2 room-temperature eggs into the bowl. Add 2 teaspoons pure vanilla extract. Whisk until smooth, glossy, and slightly lightened in color (about 30 seconds).
- Combine the dry ingredients: In a separate bowl, whisk together 2 ¼ cups all-purpose flour, 1 teaspoon baking soda, and 1 teaspoon kosher salt.
- Fold in the dry ingredients: Gradually add the flour mixture to the wet ingredients. Use a rubber spatula to fold gently until no streaks of flour remain. Do not overmix.
- Add the chocolate and caramel: Gently fold in 1 ½ cups semi-sweet chocolate chips, then the quartered caramel candies. Distribute evenly without overworking the dough.
- Chill the dough: Cover the bowl tightly with plastic wrap. Refrigerate for at least 2 hours, preferably 24 hours.
- Preheat and prep: When ready to bake, preheat oven to 350°F (175°C). Line two baking sheets with parchment paper or silicone mats.
- Scoop the dough: Use a cookie scoop (about 2 tablespoons) to portion the dough. Roll each portion into a ball. Place on prepared baking sheets, leaving about 2 inches of space between each.
- Bake: Bake for 10-12 minutes. Edges should be golden brown and set; centers will look slightly soft and puffy. For softer cookies, bake 10 minutes; for crispier edges, 12 minutes.
- Add the salt immediately: As soon as cookies come out of the oven, sprinkle a few flakes of flaky sea salt on top of each.
- Cool: Let cookies cool on the baking sheet for 5 minutes, then transfer to a cooling rack to cool completely.
Notes
Do not skip the chill time—it prevents spreading and deepens flavor. For perfectly round cookies, gently scoot the edges with a round cutter or glass right after baking. Store in an airtight container at room temperature for up to 5 days; add a slice of bread to keep them soft. Freeze baked cookies for up to 3 months or dough balls for up to 3 months (bake from frozen, adding 2-3 minutes).
Nutrition
- Serving Size: 1 cookie
- Calories: 245
- Sugar: 21
- Sodium: 180
- Fat: 13
- Saturated Fat: 8
- Carbohydrates: 31
- Fiber: 1
- Protein: 3
Keywords: salted caramel, chocolate chip cookies, browned butter, soft caramel, flaky sea salt, chewy cookies, easy cookie recipe


