Love this? Save it for later!
Share the inspiration with your friends
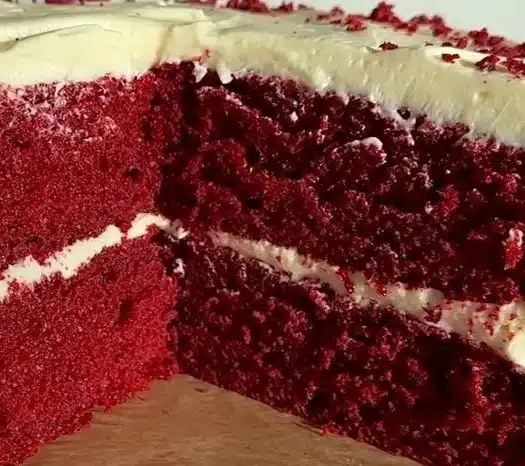
“You’ve got to try this red velvet cake,” my coworker said, sliding a slice across the break room table. I eyed it skeptically—red cake, cream cheese frosting—it all sounded a bit too classic, maybe even overrated. But one bite, and honestly, I was hooked. The cake was unlike any I’d made before: incredibly moist, with a velvety crumb that seemed to melt in my mouth, paired with a cream cheese frosting that was tangy but just sweet enough. The secret? A few little tweaks I never expected.
That afternoon, I found myself in the kitchen, trying to recreate that cake from memory, scribbling notes on ingredient amounts and timing. What started as a casual attempt turned into a mini obsession. I made this red velvet cake multiple times in one week—testing, tweaking, tasting (okay, maybe sneaking bites whenever no one was looking). The magic wasn’t just in the recipe, but in how forgiving and approachable it was. Even if you’re not a seasoned baker, this recipe feels like a warm invitation rather than a complicated challenge.
What really stuck with me was how this cake had this quiet way of making any occasion feel a little more special—whether it was a last-minute birthday, a casual get-together, or just a moment when I needed something comforting yet celebratory. It’s not just a dessert; it’s that perfect balance of cozy and fancy that you didn’t know you wanted until it’s on your plate. And I promise, once you try this Ultimate Moist Red Velvet Cake with Cream Cheese Frosting, it might become one of those recipes you reach for again and again, too.
Why You’ll Love This Recipe
This Ultimate Moist Red Velvet Cake recipe has been through many trials in my kitchen, and I can say with confidence it’s one you’ll want to keep on hand. Here’s why it stands out:
- Quick & Easy: You can have this cake ready from start to finish in about 1 hour and 15 minutes. Perfect for spontaneous celebrations or when you suddenly crave something sweet.
- Simple Ingredients: No need to hunt down fancy or obscure items. Most of these ingredients are pantry staples, and the food coloring is the only special touch to get that signature red hue.
- Perfect for Any Occasion: Whether you’re hosting a cozy dinner or surprising someone special, this cake fits right in. It’s a classic that impresses without stress.
- Crowd-Pleaser: Kids and adults alike love it. The texture and flavor combo is reliably delicious — moist, tender crumb with just the right tang of cream cheese frosting.
- What Makes It Different: This version uses buttermilk and a little vinegar to create that iconic tender crumb, balanced with a frosting that’s creamy but not overly sweet. Plus, a touch of espresso powder deepens the flavor without making it bitter.
This isn’t just another red velvet cake floating around the internet. It’s the one that makes you pause, savor, and maybe even close your eyes after the first bite. It’s familiar, comforting, yet elegant enough to host alongside a layered Neapolitan cake for a dessert table that wows effortlessly.
What Ingredients You Will Need
This recipe uses simple, wholesome ingredients that come together to create bold flavor and satisfyingly moist texture without fuss. Most are kitchen staples, and substitutions are easy if needed.
- All-purpose flour – 2 ½ cups (315g), for structure and tenderness
- Cocoa powder – 2 tablespoons (unsweetened, preferably Dutch-processed for smoother flavor)
- Baking soda – 1 teaspoon, for leavening and rise
- Salt – ½ teaspoon, to balance sweetness
- Unsalted butter – 1 cup (226g), softened (I like using Land O’Lakes for consistency)
- Sugar – 1 ½ cups (300g), granulated
- Eggs – 2 large, room temperature for better mixing
- Buttermilk – 1 cup (240ml), adds moisture and tang (or use milk + 1 tbsp vinegar as substitute)
- Vanilla extract – 2 teaspoons, for aroma and flavor depth
- Red food coloring – 2 tablespoons (gel-based preferred for vivid color without thinning batter)
- White vinegar – 1 teaspoon, reacts with soda to tenderize crumb
- Instant espresso powder – 1 teaspoon, optional but adds depth without coffee flavor
For the cream cheese frosting:
- Cream cheese – 8 ounces (226g), softened (use full-fat for best creaminess)
- Unsalted butter – ½ cup (113g), softened
- Powdered sugar – 4 cups (480g), sifted for smooth texture
- Vanilla extract – 1 teaspoon
- Salt – a pinch, to balance sweetness
Feel free to swap all-purpose flour for a gluten-free blend if needed, and coconut yogurt can replace buttermilk for a dairy-free version. For seasonal twists, add fresh raspberries between layers or a sprinkle of crushed pecans on top. I’ve found that gel food coloring works best to keep the batter thick and the color vibrant without affecting texture.
Equipment Needed
- Two 9-inch round cake pans – I recommend nonstick or lined with parchment paper to avoid sticking.
- Electric mixer – Stand mixer or hand mixer works great to cream butter and sugar properly.
- Mixing bowls – At least two for dry and wet ingredients.
- Measuring cups and spoons – Accurate measurements make a big difference here.
- Rubber spatula – For folding and scraping the batter.
- Cooling racks – Essential for letting the cakes cool evenly and prevent sogginess.
If you don’t own cake pans, you can use square pans or even a bundt pan, though baking times will vary. I once tried this recipe in a single 9×13-inch pan when short on time, and it turned out delicious—just a bit denser and took longer to bake. No fancy gadgets needed, really—just patience and good-quality tools. Also, keeping your cream cheese and butter softened but not melted is key for smooth frosting, so room temperature is best.
Preparation Method
- Prep your pans and oven: Preheat oven to 350°F (175°C). Grease and flour two 9-inch round cake pans, then line bottoms with parchment paper for easy release. This little step saves a lot of heartache later.
- Mix dry ingredients: In a medium bowl, sift together 2 ½ cups all-purpose flour, 2 tablespoons cocoa powder, 1 teaspoon baking soda, and ½ teaspoon salt. Set aside.
- Cream butter and sugar: In a large bowl, beat 1 cup softened unsalted butter with 1 ½ cups granulated sugar until light and fluffy, about 3-5 minutes. This is where you get that tender crumb—don’t rush it.
- Add eggs: Beat in 2 large eggs, one at a time, mixing well after each addition. The batter will look smooth and creamy here.
- Incorporate wet ingredients: Mix in 1 cup buttermilk, 2 teaspoons vanilla extract, 2 tablespoons red food coloring, 1 teaspoon white vinegar, and 1 teaspoon instant espresso powder (if using). The batter will be bright red and glossy—don’t be tempted to skip the vinegar; it’s part of the magic.
- Combine dry and wet: Gradually add the dry ingredients to the wet mixture, folding gently with a spatula or mixing on low speed just until combined. Overmixing can make the cake dense, so stop as soon as the flour disappears.
- Divide and bake: Evenly pour batter into the prepared pans. Tap the pans lightly on the counter to release any air bubbles. Bake for 25-30 minutes or until a toothpick inserted into the center comes out clean. Ovens vary, so start checking at 25 minutes.
- Cool completely: Let cakes cool in pans for 10 minutes, then run a knife around edges and turn out onto cooling racks. Cool fully before frosting.
- Make the cream cheese frosting: Beat 8 ounces softened cream cheese and ½ cup softened butter together until smooth and creamy. Gradually add 4 cups powdered sugar, beating on low speed to avoid a sugar cloud. Stir in 1 teaspoon vanilla and a pinch of salt. If frosting is too thick, add a teaspoon of milk; if too thin, add more powdered sugar.
- Assemble the cake: Place one cake layer on your serving plate. Spread a generous layer of frosting across the top. Place the second layer on top and cover the entire cake with remaining frosting. Smooth with an offset spatula or create swirls for texture.
Pro tip: chill the assembled cake for 30 minutes before slicing. It sets the frosting and makes cutting cleaner. If you notice the batter is too thick after adding all ingredients, a splash more buttermilk helps without compromising flavor.
Cooking Tips & Techniques
Baking a red velvet cake can feel intimidating, but a few insider tips make it way less stressful. For example, always use room temperature eggs and butter—they blend better and trap air that makes the cake fluffy. When creaming butter and sugar, don’t rush; that step is where texture begins.
Another thing: don’t skip sifting the cocoa and flour together. It prevents lumps and ensures even distribution of cocoa powder which adds subtle chocolate flavor. And yes, adding a teaspoon of vinegar might sound strange, but it reacts with baking soda to tenderize the crumb and brighten the flavor.
Overmixing is a common pitfall. Once you add dry ingredients, mix just until combined—stop when you see no more flour. Otherwise, you risk a tough cake. Also, tapping the cake pans before baking helps release air bubbles so you won’t get holes or uneven texture.
When frosting, chill your cream cheese and butter just long enough to soften but not melt. Too warm and the frosting gets runny fast. If you want a smooth finish, use an offset spatula and dip it in hot water between turns to keep it slick.
And hey, if you ever find yourself short on time, baking in a single 9×13 pan works too (just extend baking time by 10-15 minutes). I’ve done this when hosting last minute and it saved the day, though the cake is a bit denser.
Variations & Adaptations
This red velvet cake recipe is friendly to tweaks and adaptations, so you can make it your own.
- Gluten-Free: Swap all-purpose flour for a gluten-free blend like Bob’s Red Mill 1-to-1. You might need to add a teaspoon of xanthan gum if your blend doesn’t include it.
- Dairy-Free: Use coconut yogurt or almond milk mixed with vinegar instead of buttermilk. Replace cream cheese with a dairy-free cream cheese alternative or make a whipped coconut cream frosting for a different but delicious twist.
- Flavor Boost: Add a teaspoon of orange zest to the batter for a subtle citrus lift, or fold in mini white chocolate chips for texture contrast.
- Mini Cakes or Cupcakes: This batter works great for cupcakes; bake at 350°F (175°C) for about 18-22 minutes. Perfect for parties or gifting.
Once, I tried swirling in a raspberry coulis between the layers, which paired beautifully with the cream cheese frosting and added a fresh, tangy surprise. If you love bold flavors, layering with fresh berries or even a layer of chocolate ganache can take this cake to the next level.
Serving & Storage Suggestions
Serve this red velvet cake chilled or at room temperature. Honestly, the flavor shines a bit more when it’s not too cold, but it’s all good. Presentation-wise, a dusting of cocoa powder or a few fresh raspberries on top adds a nice touch without fuss.
This cake pairs wonderfully with a simple cup of coffee or a glass of milk. For a special occasion, try it alongside a creamy dessert like the tiramisu cake or a rich chocolate mousse for a decadent finish.
Store leftover cake covered in the fridge for up to 4 days. The frosting keeps it moist, but the cake does firm up a bit. You can freeze the cake layers (well-wrapped) for up to 2 months and thaw in the fridge overnight. When reheating slices, let them come to room temp or warm gently in a microwave for 10-15 seconds to soften the frosting without melting it.
Interestingly, flavors meld and deepen a bit after a day, so sometimes I make the cake a day ahead—if I can wait that long!
Nutritional Information & Benefits
Per serving (based on 12 slices): approximately 350 calories, 18g fat, 45g carbohydrates, and 4g protein. This cake provides a comforting treat with moderate calories, perfect for sharing.
Key ingredients like buttermilk add calcium and protein, while cocoa powder provides antioxidants. The cream cheese frosting offers a good dose of calcium and vitamin A, though it’s also a richer topping, so moderation is key.
This recipe is naturally gluten-friendly if you swap the flour and can be modified for dairy-free diets. It contains eggs and dairy, so be mindful of allergies. For anyone watching sugar intake, you can reduce powdered sugar slightly in the frosting without losing creaminess.
Honestly, this cake feels like a treat worth savoring, balancing indulgence with thoughtful ingredient choices.
Conclusion
The Ultimate Moist Red Velvet Cake with Cream Cheese Frosting isn’t just a recipe; it’s that reliable, crowd-pleasing dessert that brings a little joy, no matter the occasion. It’s simple enough for beginners yet impressive enough for celebrations. I love how forgiving it is, making the process fun instead of stressful.
Feel free to play with the recipe, add your favorite flavors, or bake it as cupcakes for a personal twist. Baking, after all, is about enjoying the process as much as the result. This cake has become a staple in my kitchen, and I hope it finds a spot in yours, too.
If you try it, I’d love to hear how it turns out or what variations you added. And hey, if you’re in the mood for more sweet inspiration, you might enjoy the creamy texture of my classic cheesecake with fresh berries for another luscious dessert option.
Frequently Asked Questions
Can I make this red velvet cake without food coloring?
Yes, you can skip the red food coloring, but the cake won’t have the classic bright red hue. The flavor will still be delicious with the cocoa and buttermilk.
How do I prevent the cream cheese frosting from being too runny?
Make sure your cream cheese and butter are softened, not melted. Chill the frosting for 15-20 minutes if it feels too soft before frosting the cake.
Can I bake this cake in one pan instead of two?
Absolutely. Use a 9×13-inch pan and increase baking time to around 40-45 minutes. Check doneness with a toothpick.
What’s the best way to store leftover cake?
Keep it covered in the fridge for up to 4 days. Freeze layers if you want to store longer, and thaw overnight in the fridge.
Is there a way to make this recipe vegan?
Yes, but it requires substitutions like flax eggs, plant-based butter, dairy-free cream cheese, and non-dairy milk with vinegar. The texture might vary, but it can still be tasty.
Pin This Recipe!
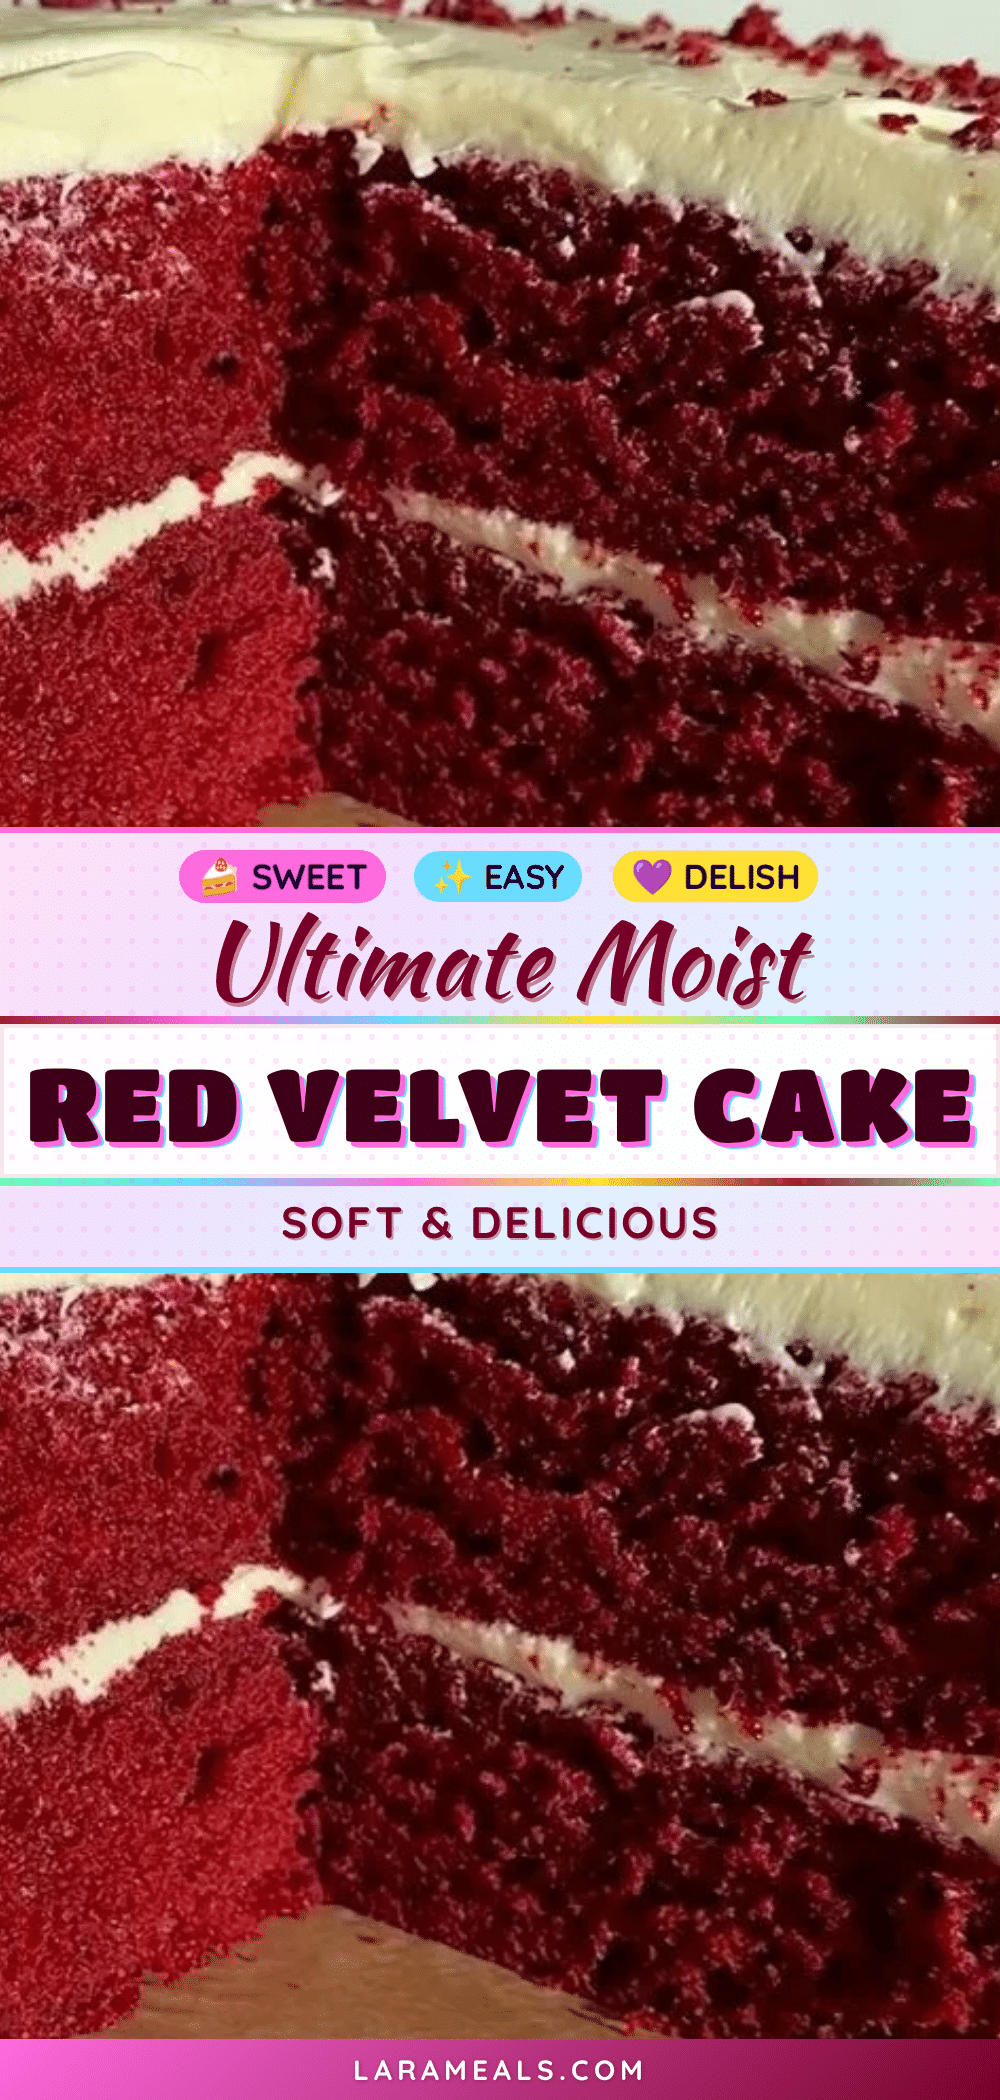
Ultimate Moist Red Velvet Cake Recipe with Cream Cheese Frosting
A moist and tender red velvet cake with a velvety crumb paired with tangy yet sweet cream cheese frosting. Perfect for beginners and any occasion.
- Prep Time: 20 minutes
- Cook Time: 30 minutes
- Total Time: 1 hour 15 minutes
- Yield: 12 servings 1x
- Category: Dessert
- Cuisine: American
Ingredients
- 2 ½ cups (315g) all-purpose flour
- 2 tablespoons unsweetened cocoa powder (preferably Dutch-processed)
- 1 teaspoon baking soda
- ½ teaspoon salt
- 1 cup (226g) unsalted butter, softened
- 1 ½ cups (300g) granulated sugar
- 2 large eggs, room temperature
- 1 cup (240ml) buttermilk (or milk + 1 tbsp vinegar as substitute)
- 2 teaspoons vanilla extract
- 2 tablespoons red food coloring (gel-based preferred)
- 1 teaspoon white vinegar
- 1 teaspoon instant espresso powder (optional)
- For the cream cheese frosting:
- 8 ounces (226g) cream cheese, softened (full-fat recommended)
- ½ cup (113g) unsalted butter, softened
- 4 cups (480g) powdered sugar, sifted
- 1 teaspoon vanilla extract
- A pinch of salt
Instructions
- Preheat oven to 350°F (175°C). Grease and flour two 9-inch round cake pans, then line bottoms with parchment paper.
- In a medium bowl, sift together flour, cocoa powder, baking soda, and salt. Set aside.
- In a large bowl, beat softened butter and granulated sugar until light and fluffy, about 3-5 minutes.
- Beat in eggs one at a time, mixing well after each addition.
- Mix in buttermilk, vanilla extract, red food coloring, white vinegar, and espresso powder (if using).
- Gradually add dry ingredients to wet mixture, folding gently or mixing on low speed just until combined.
- Divide batter evenly into prepared pans. Tap pans lightly to release air bubbles.
- Bake for 25-30 minutes or until a toothpick inserted in the center comes out clean.
- Cool cakes in pans for 10 minutes, then turn out onto cooling racks to cool completely.
- For frosting, beat cream cheese and butter until smooth and creamy.
- Gradually add powdered sugar, beating on low speed to avoid sugar clouds.
- Stir in vanilla extract and salt. Adjust consistency with milk or more powdered sugar if needed.
- Assemble cake by spreading frosting on one layer, topping with second layer, then frosting entire cake.
- Chill assembled cake for 30 minutes before slicing for cleaner cuts.
Notes
Use room temperature eggs and butter for better mixing and fluffier cake. Do not overmix after adding dry ingredients to avoid dense cake. Gel food coloring keeps batter thick and vibrant. Chill frosting if too soft before applying. Baking in a single 9×13 pan is possible with longer baking time (40-45 minutes).
Nutrition
- Serving Size: 1 slice (1/12 of cak
- Calories: 350
- Fat: 18
- Carbohydrates: 45
- Protein: 4
Keywords: red velvet cake, cream cheese frosting, moist cake, easy cake recipe, beginner baking, classic dessert


